


Stop Hurting Yourself: 15 Systematic Techniques for Injury-Free Climbing
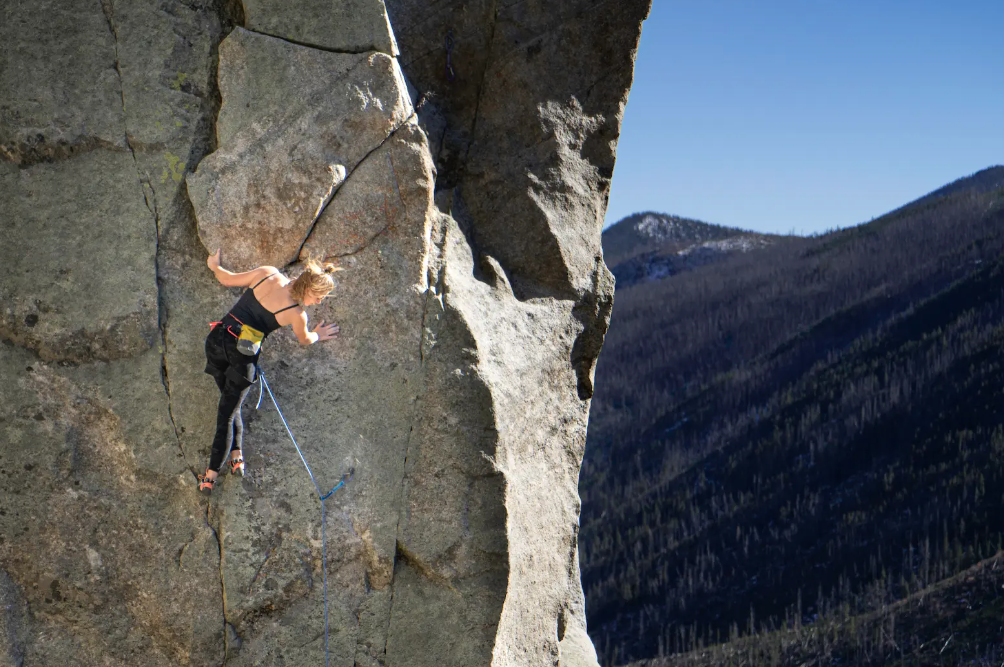
Climbing is a high-risk activity. Performing consistently well while avoiding injury is both an art and a science.
It’s not just about warming up; it requires you to develop the right tactics and cultivate a keen sense of when to push forward and when to hold back.
Use the text below as your personal checklist to ensure you have done everything possible to avoid injury.
Part 1: Pre-Training Preparation and Foundation
1. Perform a Complete and Progressive Warm-Up
Any effective climbing warm-up should include three key phases:
Phase 1: Increase heart rate and body temperature through activities like jogging or jumping rope.
Phase 2: Combine easy climbing with dynamic movement exercises, paying particular attention to the range of motion in your arms.
Phase 3: Slowly and steadily increase the climbing difficulty, allowing your body to gradually adapt to the intensity.
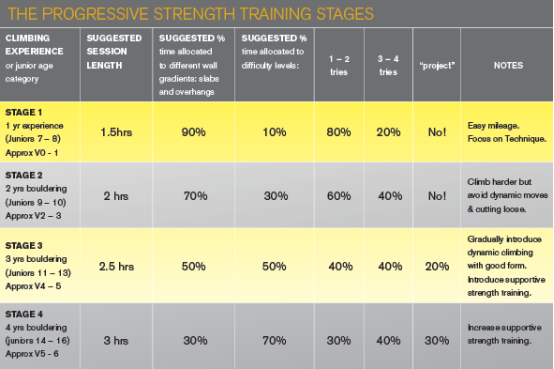
2. Objectively Assess Your Skill Level
Never attempt training routines that exceed your current experience level.
Beginner climbers, regardless of the age they start, must follow a progressive approach.
For example, a beginner who starts climbing at age 14 must accumulate four years of experience before entering Stage 4 training.
Adolescents in growth spurts should minimize the intensity and frequency of their climbing. Parents and coaches should closely monitor their growth using growth charts.
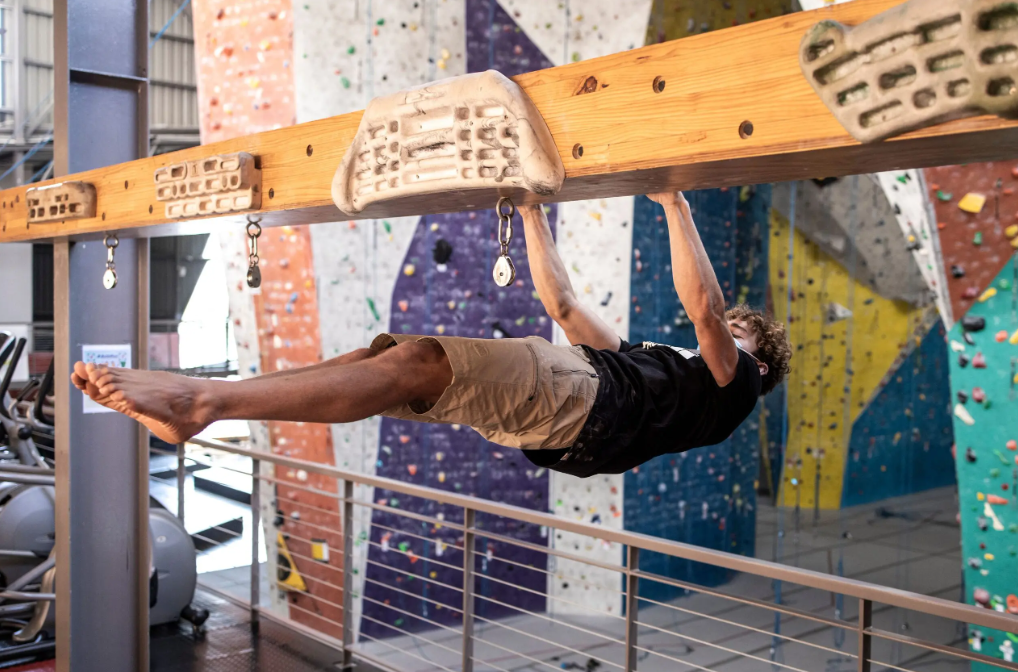
3. Build a Solid Physical Foundation
Engaging in hard rock climbing is very dangerous if your foundational upper body strength is insufficient.
A training plan aimed at enhancing supportive strength and core stability can provide you with the necessary foundational strength.
Seek professional advice, but be careful not to overdo it—the goal of training is to build functional strength, not to excessively increase muscle mass.
Part 2: Execution and Strategy During Training
4. Use a Progressive Warm-Up Approach
Do not attempt your maximum-grade projects too early in your session.
The correct approach is: Complete several problems at each grade level, alternate between walls of different angles, and increase rest time between problems as the difficulty increases (e.g., 1 minute rest between V0s, 2 minutes between V1s, 3 minutes between V3s).
Avoid getting a “pump” in your arms early on. Ensure you have climbed for at least 45 minutes before attempting your most difficult projects.
5. Ensure Adequate Rest Between Attempts
Do not blindly and repeatedly throw yourself at a project.
A useful rule of thumb is: Rest for approximately 1 minute for every hand move completed.
Take a 10 to 15-minute break after every 30 minutes of focused training. This helps maintain productivity and prevent injury.
You can stretch your legs during breaks, but avoid stretching fatigued arms.
After a break longer than 15 minutes, perform a brief warm-up again.
6. Prioritize Skill Over Strength
Use rest periods to mentally review your sequence of moves, thinking about the technical details of each movement, rather than relying solely on brute force during every attempt.
7. Know When to Switch Styles and Projects
Avoid spending more than 30 minutes on a single project. Proactively switch to a different wall angle, try using different types of holds, or attempt a different route.
This develops your abilities comprehensively and prevents localized overuse.
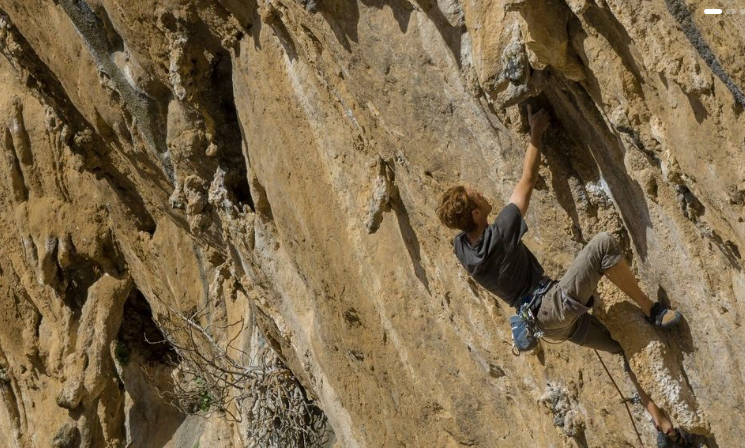
8. Approach High-Risk Holds and Moves with Caution
In bouldering, developing versatile strength and skills is crucial.
Therefore, unless you have a specific reason like a prior injury, you should not completely avoid high-risk moves.
However, this requires extra caution:
- Ensure you are fully warmed up but still feel strong and energetic.
- Perform a “test launch”—pre-load your tendons without committing full force to feel the move.
- Pay special attention to foot friction and be prepared to let go unexpectedly.
- If the move is dynamic, be extra careful and maintain body control as much as possible.
- Allow longer rest periods between high-risk attempts to reduce the total number of tries.
Pay Special Attention to the Following Situations:
- Pockets: Especially when using a split-finger combination, down-pulling, or side-pulling, which can apply twisting forces to the fingers. Try to keep fingers stable in the pocket, avoiding twisting.
- Small, Sharp Edges: Risk is high if gripped with a full crimp. The safest grip is a half-crimp (90-degree finger angle).
- Shoulder-Limit Moves: Such as iron crosses.
- Large Dynamic Moves.
- Repeated Gaston Moves: Take care of your wrists.
- Compression Heel Hooks: Be mindful of pre-activating and protecting the biceps femoris muscle.
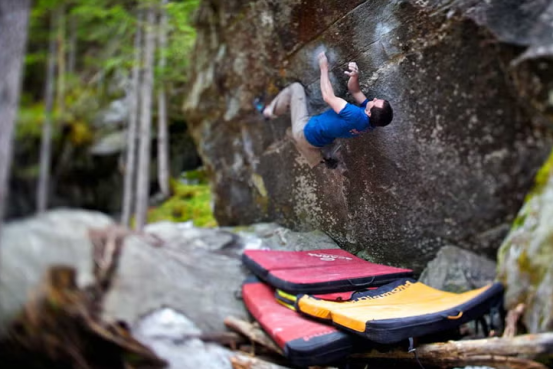
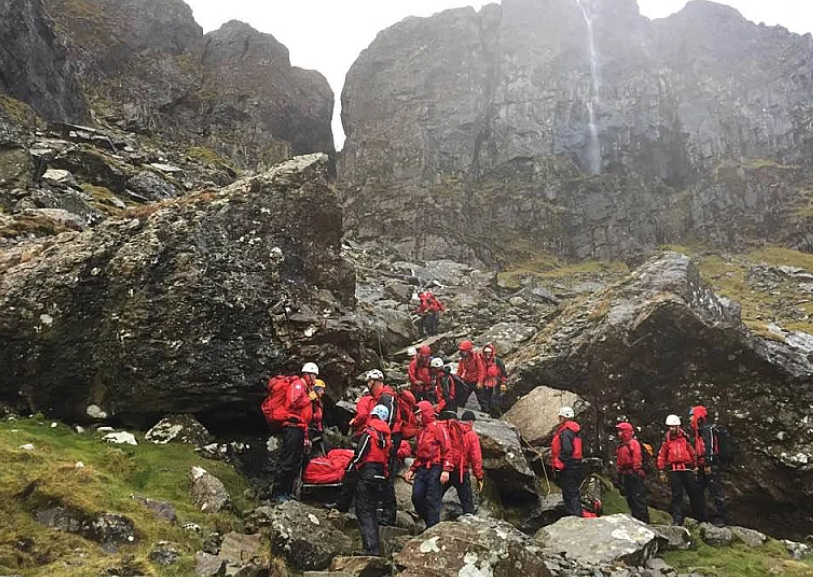
9. Observe Falling and Landing Etiquette
The risks in climbing extend beyond elbows, shoulders, and finger tendons.
When focused on difficult moves, you must always be aware of other climbers’ positions, learn how to spot and pad falls effectively, communicate with your spotter, and always know clearly how and where you will land.
Part 3: Post-Training Recovery and Balance
10. Perform an Effective Cool-Down
Conclude every training session with very easy climbing, followed by a quick pulse-raising activity (like jumping jacks), and finish with some gentle static stretching.
11. Strengthen Antagonistic Muscles for Balance
Climbing trains specific and limited muscle groups; many common injuries stem from muscle imbalances.
Therefore, after each training session, perform exercises for the antagonistic or opposing muscle groups.
It is recommended to complete the following exercises for 3 sets of 20 repetitions each:
- Push-Ups: Work the chest, shoulders, and triceps.
- Rubber Band Reverse Wrist Curls or Finger Extensions: Balance the forearm flexors.
If you feel too tired immediately after climbing, you can perform these antagonistic exercises separately on a rest day.
Part 4: Long-Term Training and Lifestyle Management
12. Always Emphasize Training Quality
Always train when you feel fresh and recovered.
Never continue climbing stubbornly after completing a difficult route, and never push yourself to the point where you can’t easily solve simple problems by the end of your session.
Forget the “no pain, no gain” motto. Stop proactively before your performance declines significantly and begin your cool-down.
13. Plan Training Cycles and Content Rationally
- Consecutive Training Days: If you climb on two consecutive days, make the first day more intense and focused on high intensity, and the second day more volume-oriented, accumulating mileage.
Example: Day 1: Bouldering, Day 2: Top-rope climbing; OR Day 1: Project hard routes, Day 2: Accumulate climbing volume.
- Periodization: Divide your training into phases (typically 1 month each).
Example: Focus primarily on strength training for one month, then shift to endurance training the next month.
During a strength phase, you might schedule 2-3 strength sessions per week, complemented by 1 endurance session.
- Schedule Deload Weeks: Ensure you have one easy week, or even a complete rest week, every 2 to 3 months.
Furthermore, plan two 2-week breaks per year for complete physical and mental recovery.
14. Avoid Overtraining
Strictly control your training frequency according to your level:
- Beginner: 2-3 days per week.
- Intermediate Climber: 3-4 days per week.
- Advanced Climber: Up to 5 days per week.
(This frequency calculation includes other forms of training like route climbing, hangboarding, campus board training, etc.)
15. Maintain a Supportive Lifestyle
Maintain a healthy, balanced diet and ensure adequate hydration.
Consume a small, protein-rich snack immediately after training to aid recovery.
If your daily diet lacks sufficient protein, consider using protein supplements.
Consciously reduce training intensity during periods of heavy workload or insufficient sleep.
Core Principle:
The ultimate goal of injury-free climbing is to enable you to enjoy the sport sustainably.
Through scientific planning, keen awareness, and adequate recovery, you will be able to climb longer, higher, and safer.