


Mountain Rescue Guide: Correct Response Measures in Emergency Situations
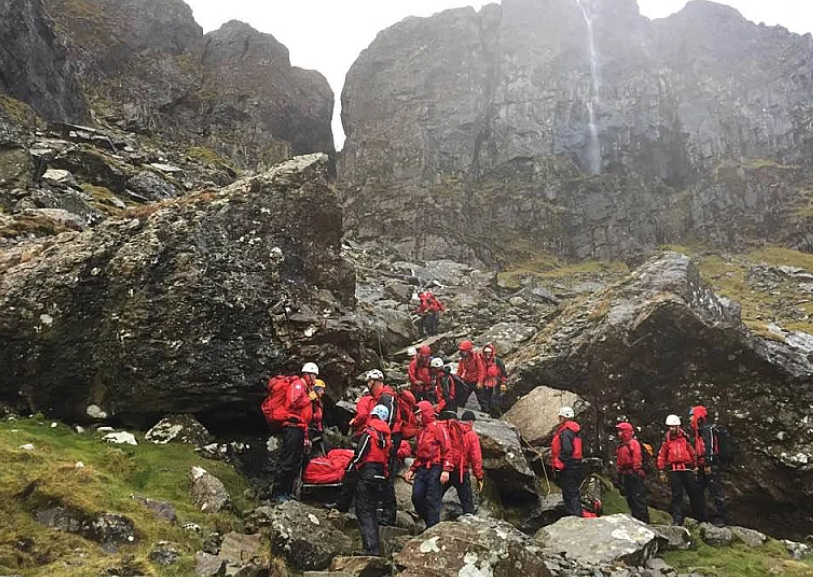
Every year in the UK’s mountainous regions, over 1,000 search and rescue operations are initiated by the public.
If you encounter an emergency in the mountains, how should you correctly call for help? The following outlines key steps and considerations to help you respond appropriately in an emergency.
1. Emergency Contact Methods
1.1 Which number should you dial?
In the UK, both 999 and 112 are emergency numbers. They function identically and can be used for voice calls, text message (SMS) requests for assistance, and location tracking.
It is advisable to pre-register your mobile phone with the emergency SMS service, enabling you to contact rescue services via text in areas with weak signal or noisy environments.
When abroad in Europe, 112 is the universal emergency number, but some mountainous areas may have local dedicated numbers.
1.2 Which agency should you contact?
Mountain Rescue is the primary organization handling mountain emergencies.
If unsure whether an ambulance is needed, ask yourself: Could rescuers use a stretcher to move the casualty from the current location to a road? If the answer is no, you should contact Mountain Rescue directly.
When dialing 999, request to be connected to the Police and Mountain Rescue.
2. Providing Key Information: Using the ATMIST Framework
When contacting rescue services, provide the following information clearly and systematically. Using the acronym ATMIST is recommended:
| Letter | Meaning | Example |
| A | Age and other casualty details | e.g., 20-year-old male |
| T | Time of incident | e.g., 13:30 |
| M | Mechanism of incident | e.g., Fell 20 meters down a scree slope |
| I | Injuries or illness | e.g., Head injury |
| S | Signs and symptoms | e.g., Confused, aggressive, scalp bleeding |
| T | Treatment given and trends | e.g., Wound bandaged, casualty becoming drowsy |
Other important information includes:
- Caller’s name and contact number.
- Casualty’s name, age, gender (if known).
- Precise location (preferably grid reference and terrain description).
- Hazards at the scene (e.g., proximity to cliff edge, loose scree slope).
- Number in party and any plans (e.g., splitting up).
- First aid administered and equipment carried.
- Colour of party’s clothing or tent for aerial identification.
- Current weather conditions, including wind, cloud level, visibility.
- Backup contact details (e.g., other team members’ mobile numbers).
After the call, the rescue team may send an SMS with a SARLOC link. Please click it promptly to share your GPS location, significantly improving rescue efficiency.
3. If There’s No Mobile Signal: How to Attract Attention?
In areas with no signal or poor visibility, use these methods to signal for help:
- Whistle: The internationally recognized distress signal is six successive blasts on a whistle, with the response being three blasts. If unsure, continuous blowing can attract attention.
- Torch/Flashlight: At night, use a torch to flash six times. Avoid shining directly at rescue helicopters, as this can impair the pilot’s night vision equipment.
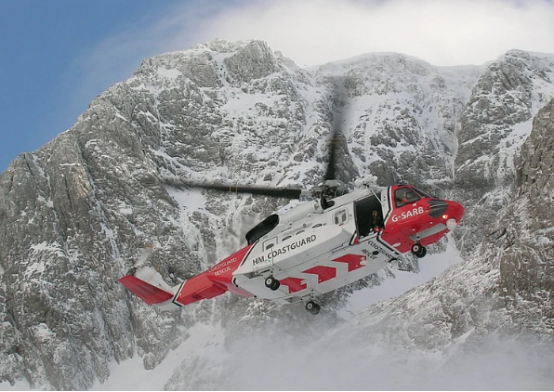
4. Helicopter Rescue Considerations
If a rescue helicopter arrives:
- Hand Signals: Raise both arms in a “Y” shape to indicate you need assistance. Do not wave casually.
- Prepare for Downwash: Helicopter downwash is extremely strong. Secure all loose items, including backpacks, and ensure people are braced.
- Do Not Touch the Ropes: The first rope discharged is for static electricity dissipation and should be handled only by the winch operator.
- Remove Loose Items: In advance, secure or remove items like tents, hats, etc., that can be blown away.
- Protect Your Eyes: Be aware of debris (sand, stones, vegetation) stirred up by the rotor wash.
- Manage Keys: If a casualty is airlifted from the mountain, ensure their vehicle keys are passed to remaining team members.
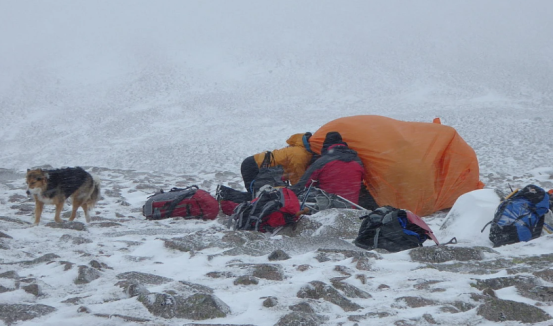
5. Understanding Rescue Response Times
Mountain Rescue teams are mostly volunteer organizations. Members often have regular jobs, so response times can be lengthy. The typical process involves:
- Initial assessment and tasking.
- Volunteers travelling from work/home to the rescue base.
- Collecting equipment and traveling to the incident area.
Even in areas with high team member density, arrival on scene may take over 2 hours. Therefore, during the wait, it is crucial to protect against cold and wind, keeping casualties warm and dry.
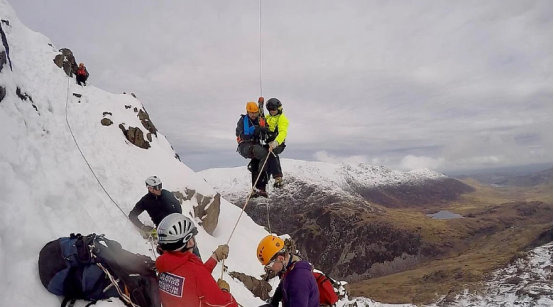
6. After the Rescue
If a team member is airlifted to hospital, the rescue team will typically assist the remaining party to descend safely, providing warmth, hot drinks, and further guidance.
Summary
Before undertaking mountain activities, it is recommended to research local rescue resources, register for the emergency SMS service, and carry distress tools like a whistle and torch. In an emergency, remain calm, communicate clearly, and cooperate fully with rescue personnel’s instructions to maximize safety.
Note: This document is compiled based on UK Mountain Rescue practices. Specific procedures may vary by region. Consult local mountain safety guidelines before your trip.