


How to Climb Your First Winter Mountain
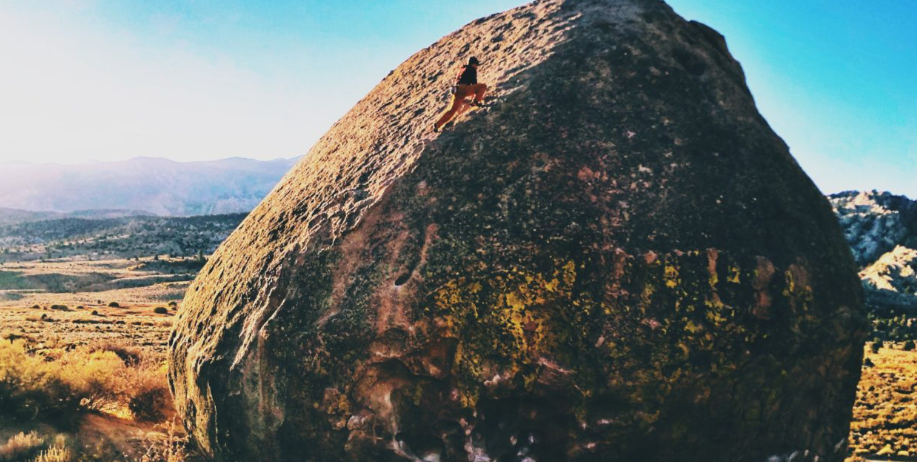
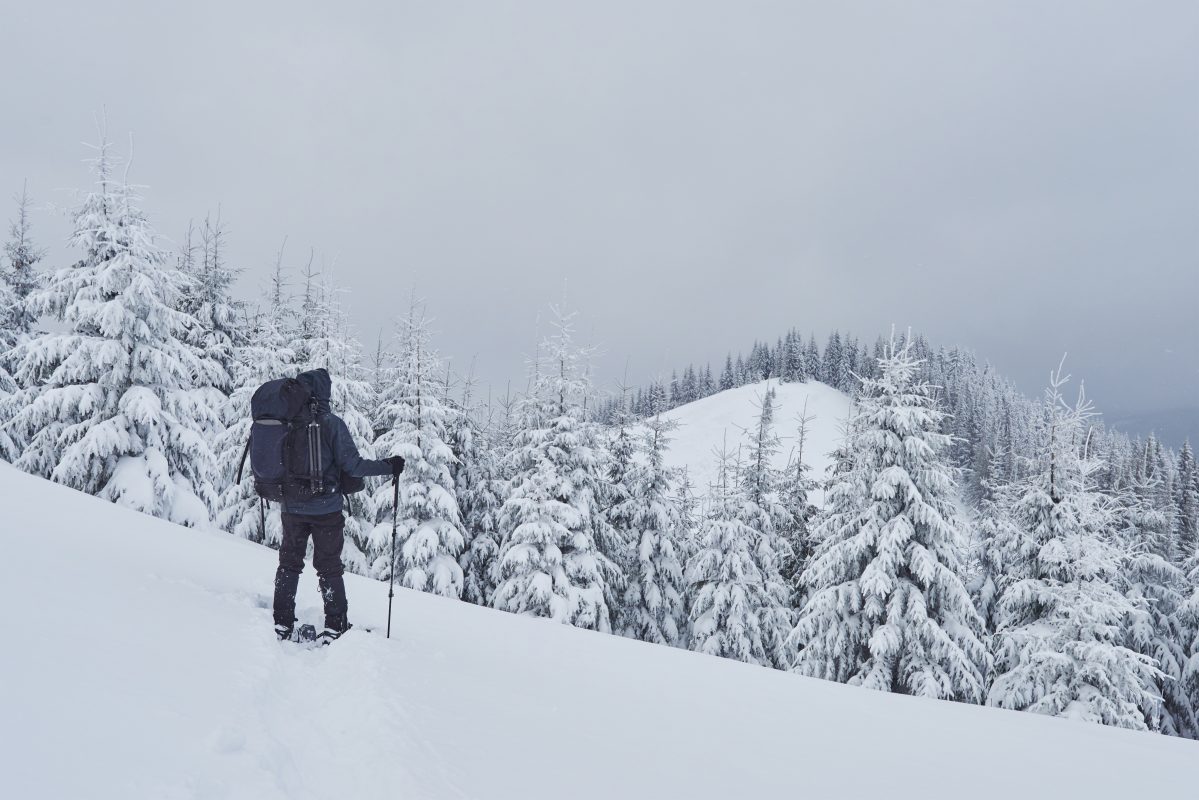
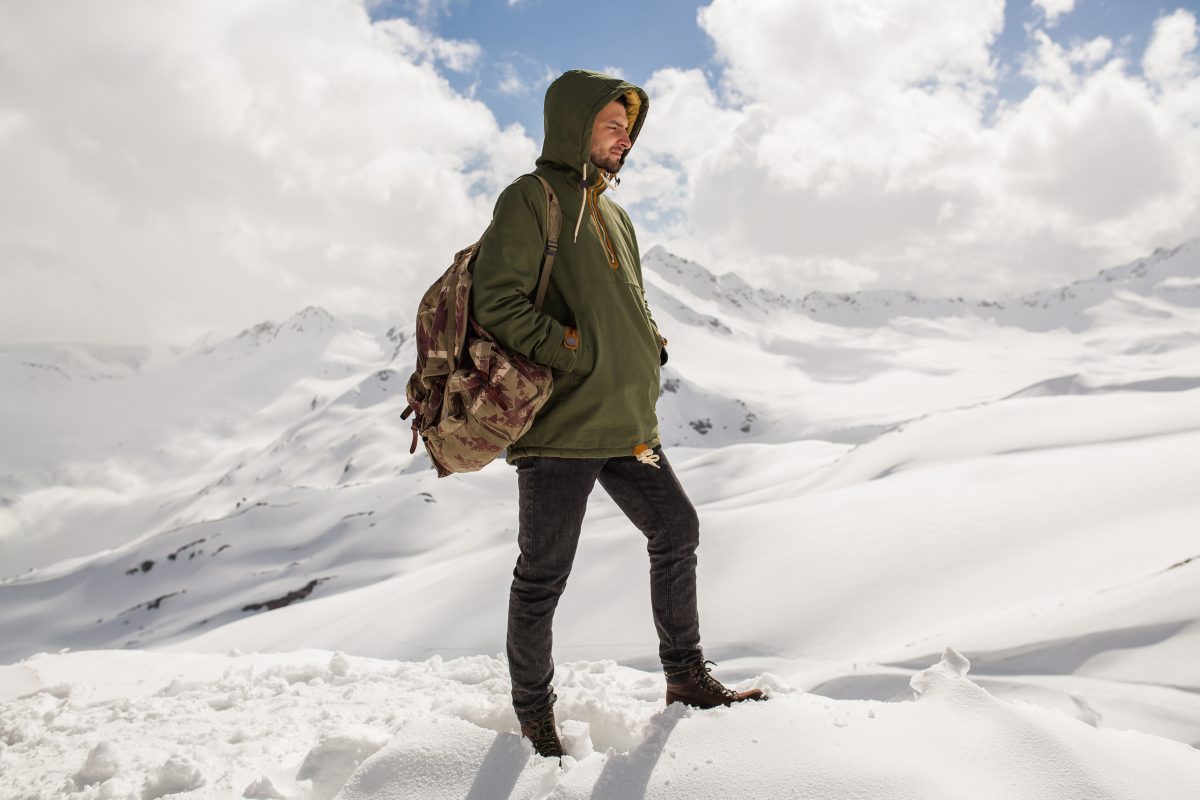
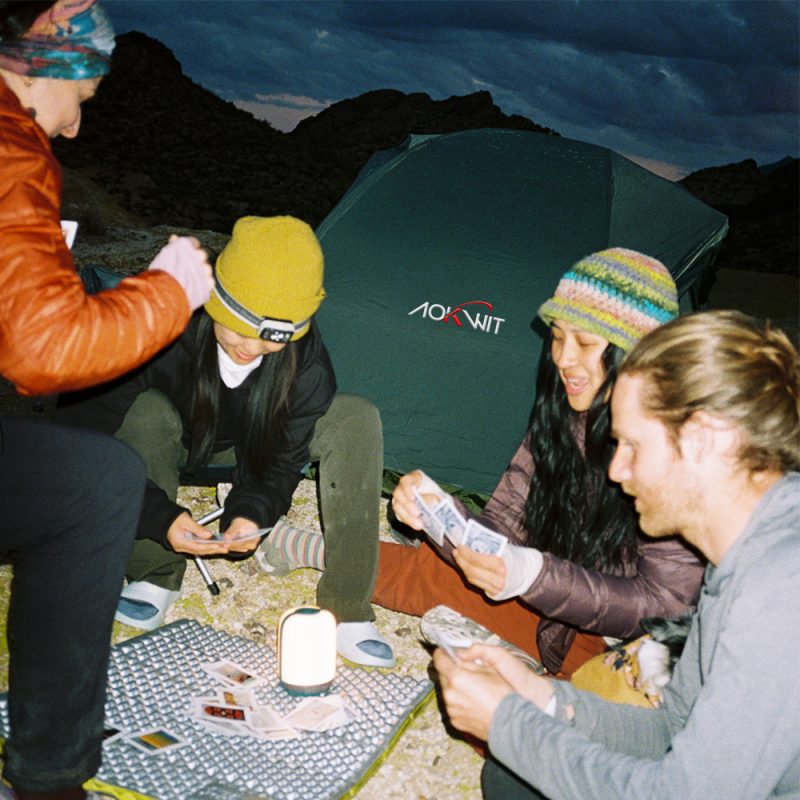
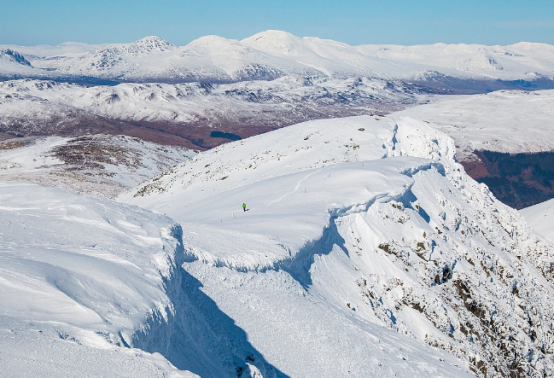
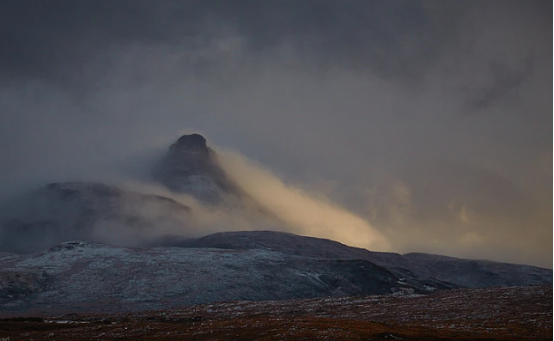
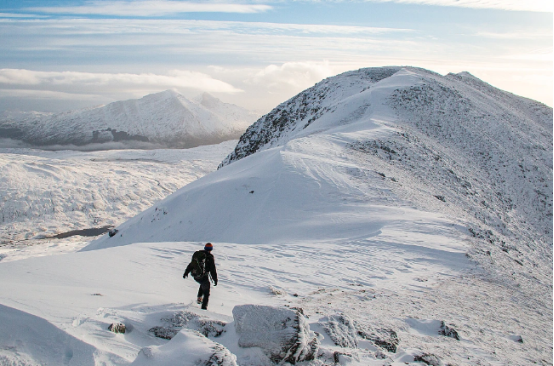
Winter presents mountains in a completely different light. Whether it’s the cold, brilliant glare of sunlight reflecting off snow or the solemn gloom before a storm, the peaks appear more majestic, offering an excitement that transcends ordinary hiking and verges on mountaineering.
However, while the rewards of winter mountain activities are great, the challenges far exceed those of summer.
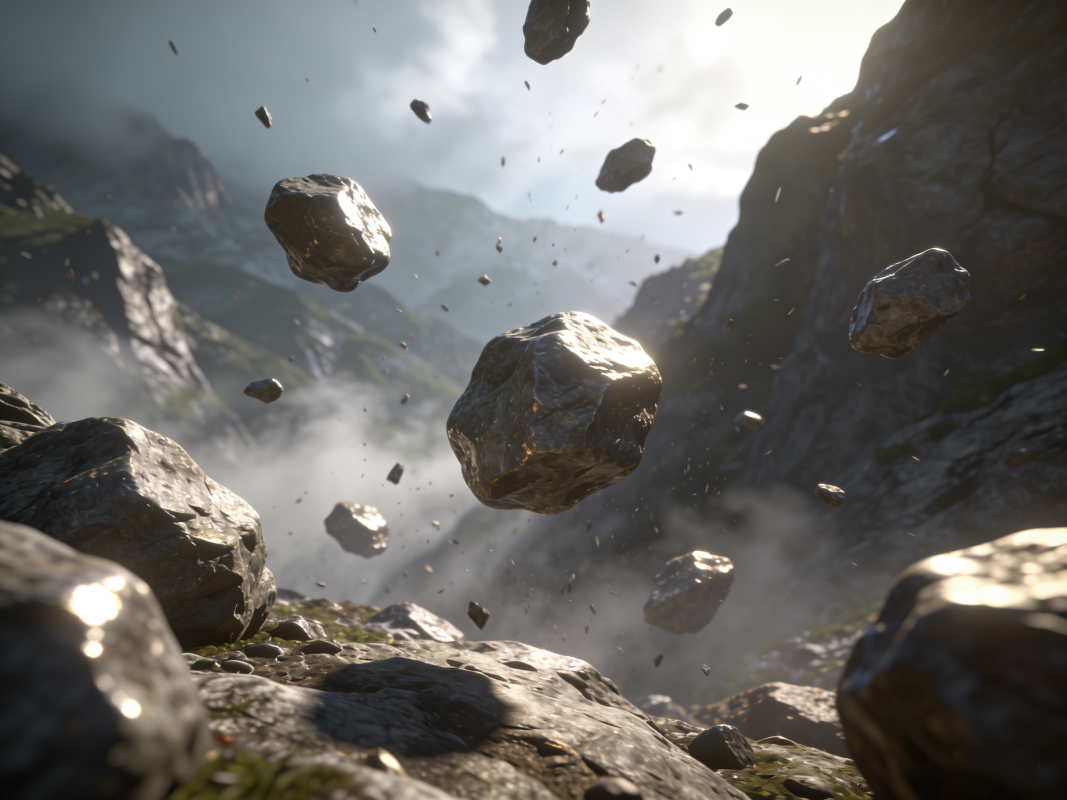
Bitter cold, frozen ground, thick fog, avalanche risk, severe weather, and the early onset of darkness—even without setting foot on snow, one can foresee the comprehensive test these elements pose to physical fitness, mental fortitude, and technical skill.
For beginners in winter mountain activities, these descriptions might seem daunting, but this wariness is actually prudent.
To ensure that the first experience is both safe and enjoyable, the following provides a series of practical suggestions to help you take a steady first step.
This article is primarily aimed at beginners in winter hillwalking. Technical grading for winter climbing will be discussed in a separate piece.
1. Build a Solid Foundation
Experience from summer hiking is a crucial starting point for winter mountain activities.
Mountain knowledge and “mountain sense” require continuous accumulation, but one should not venture into the winter environment entirely unprepared.
Remember: We are always learning when it comes to skills and mountain awareness.
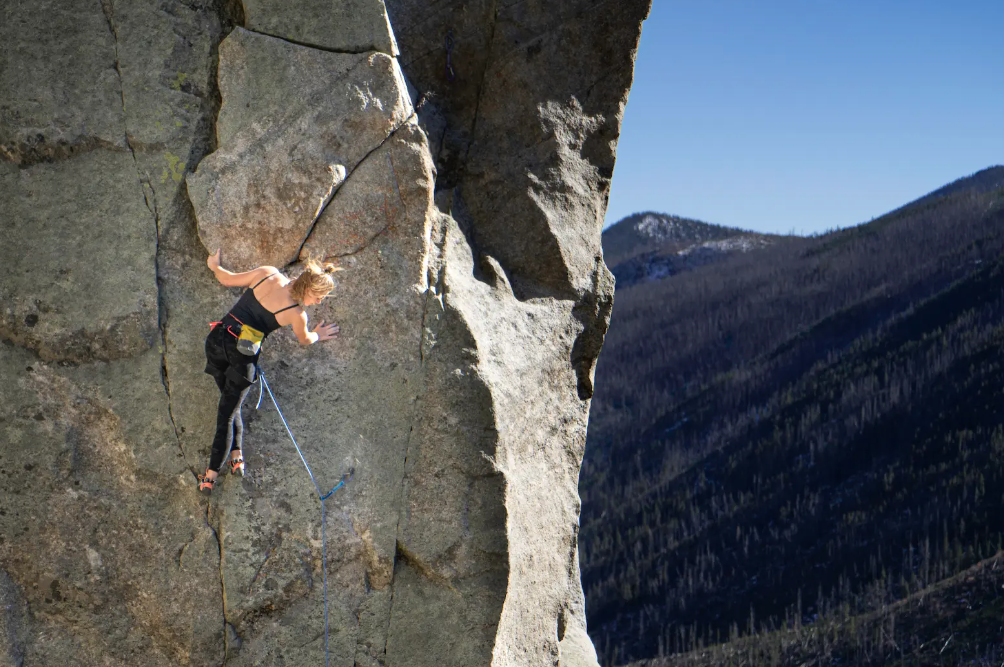
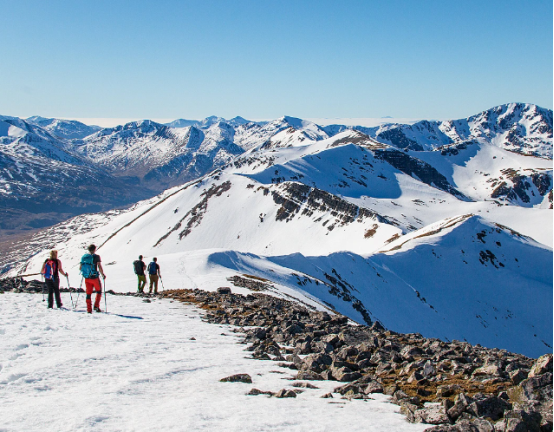
2. Start with Simple Routes
A long and enjoyable winter mountain career traditionally begins with the basics, gradually building experience and capability.
As a winter novice, initial goals should be conservative to avoid preventable mistakes.
For the first few outings, choose routes that require no technical climbing, avoiding steep and potentially unstable slopes.
Be aware: Any terrain that appears straightforward in summer can become a genuine mountain challenge when covered in snow.
Ridges like Striding Edge or Crib Goch might look spectacular in snowy photos, but at the beginner stage, they should be considered long-term goals, not targets for a first attempt.
When planning, ensure the distance and ascent are achievable under current ground conditions. It’s best to choose a mountain that is not too remote and typically has other walkers.
In short: Err on the side of caution.
3. Pay Close Attention to Mountain Weather Forecasts
Weather is a critical factor determining the success or failure of a mountain day, especially in the unpredictable winter. Battling harsh conditions requires strength and endurance, but never push it to the extreme—a winter storm on the summit can be deadly.
Start monitoring weather trends several days before your trip, and always consult professional mountain weather forecasts, such as:
- Mountain Weather Information Service (MWIS)
- Met Office Mountain Weather Forecast
If forecasts predict poor conditions, consider scaling back your goal from a high peak to a mid-level hill, or even switching to a valley or pass route. Below the summits, you can still enjoy nature’s grandeur and practice skills like navigation.
If the weather is truly uncertain, perhaps a café or an indoor climbing wall is the wiser choice. As the old saying goes: The mountains will always be there; the important thing is that you return safely.
4. Understand the Practical Meaning of “Winter”
For mountaineers, “winter” is not defined by the calendar but by ground conditions.
Even in February, if the bogs are unfrozen and greenery persists, it may be winter hiking, but it’s not the quintessential “winter mountain experience.” True winter mountain activity requires snow cover at a minimum, ideally including frozen terrain.
Climbing the same mountain twice can yield vastly different experiences.
Ground conditions are highly variable: snow can be wind-scoured thin or deposited deep; it can be light powder or wet, heavy slush; paths can turn into ice sheets, and rocks can be covered in slick ice or long, fragile hoar frost.
Wind-sculpted snowdrifts resemble art, while cornices overhanging cliff edges conceal danger. Progress can be a muddy struggle or the crisp bite of crampons on hard ice—but a slip can have serious consequences.
Before setting off, check online for real-time ground condition reports. Recommended sources include:
- Various Facebook groups dedicated to winter mountaineering
- Officially issued ground condition reports
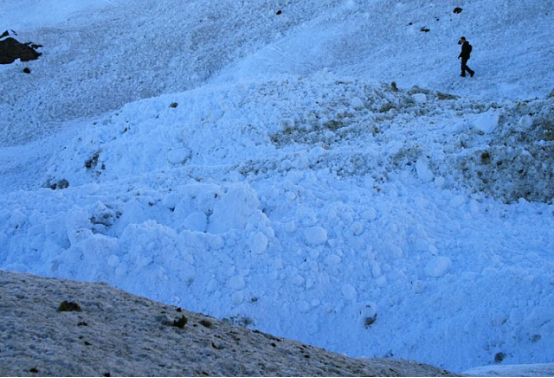
5. Check Avalanche Forecasts and Stay Alert
Avalanches threaten not just climbers and skiers; winter walking routes can also pass through avalanche terrain.
Before your trip, in addition to checking the weather, understand the avalanche risk.
Study maps to anticipate areas likely to hold wind-loaded snow, such as lee slopes, the ends of ridges, and gullies.
Avalanche assessment is a dynamic process and cannot rely solely on forecasts. Continuously observe snow conditions and weather changes during your journey, and maintain flexibility in your route and decisions.
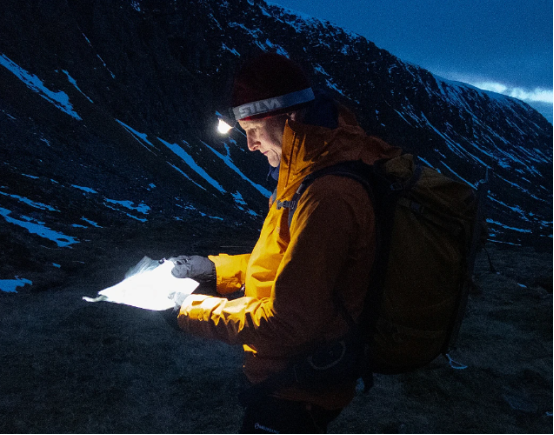
6. Improve Your Navigation Skills
The common low visibility of winter—whether due to thick fog, falling snow, or early darkness—makes navigation skills essential.
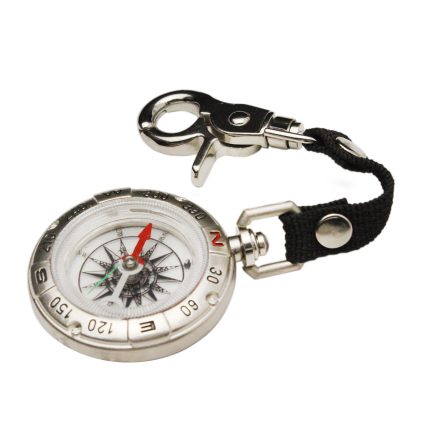
Can you navigate confidently with a map and compass in a complete whiteout? Even with smartphone maps, proficiency in traditional navigation remains a must.
It’s advisable to carry both electronic devices and a paper map. Note that electronics can lose power quickly in the cold, and touchscreens are difficult to operate when wet or while wearing gloves.
7. Allow Plenty of Time and Maintain a Steady Pace
Travel speed can slow dramatically in deep snow or strong winds. Low visibility also increases route-finding difficulty. Furthermore, frequent stops to adjust layers, put on/take off crampons, etc., all consume time.
When planning, allow extra time for winter factors. Aim for an early start to avoid being out after dark. Maintain a steady, sustainable pace to avoid excessive fatigue. Through practice, make equipment adjustments and rest/refuel stops more efficient.
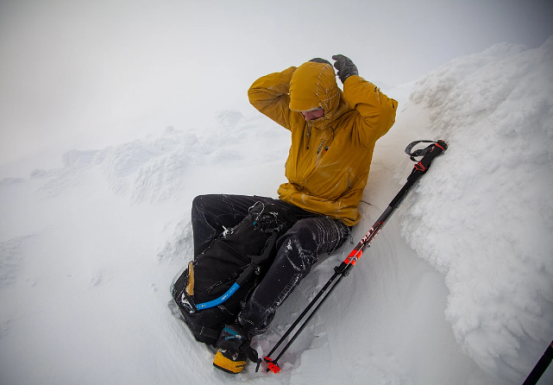
8. Know When to Turn Back
A wise retreat is as important as a successful summit. Before setting out, establish key turnaround times or locations as decision points.
During the trip, honestly assess whether progress is delayed, if the route remains viable, the condition of party members, and if the weather is deteriorating.
Sometimes perseverance is admirable; other times, an orderly retreat is wiser. Judging when to push on and when to pull back is a skill every mountain-goer must cultivate.
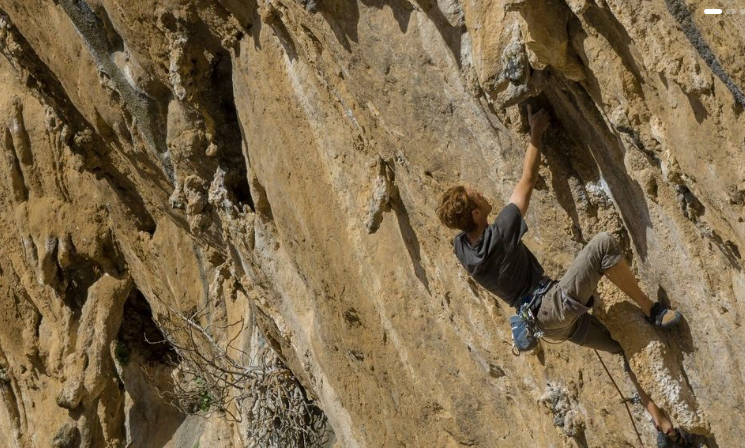
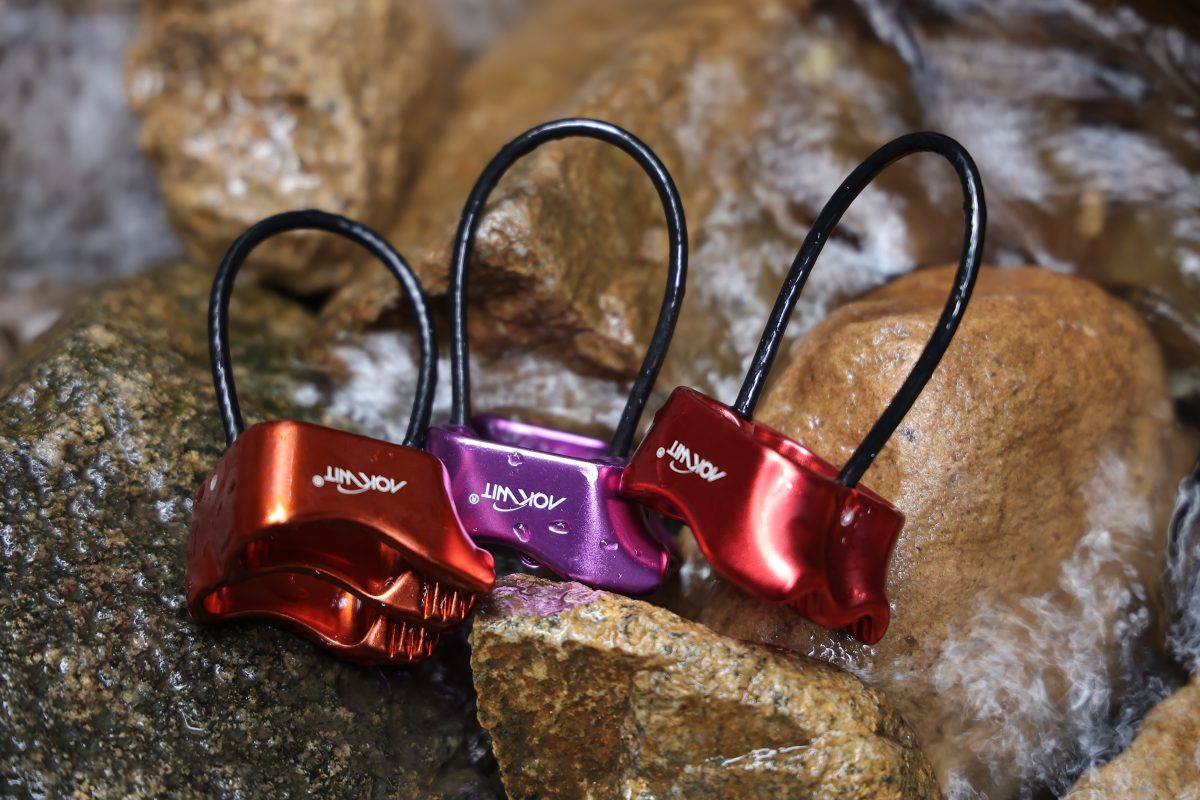
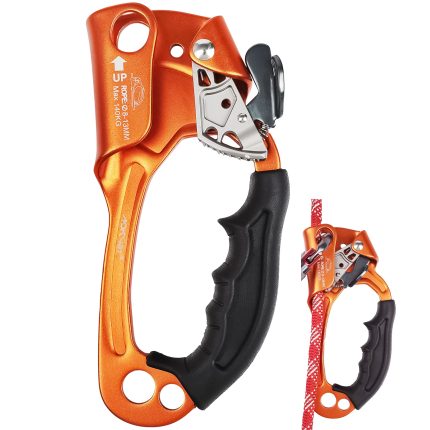
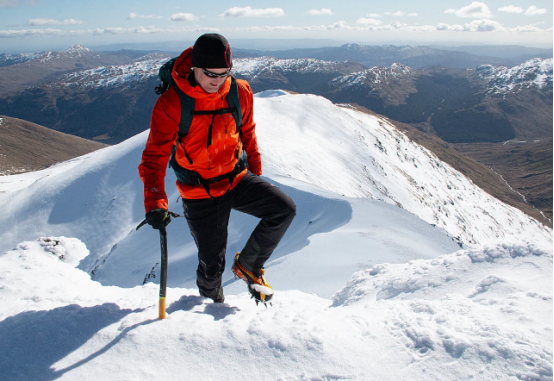
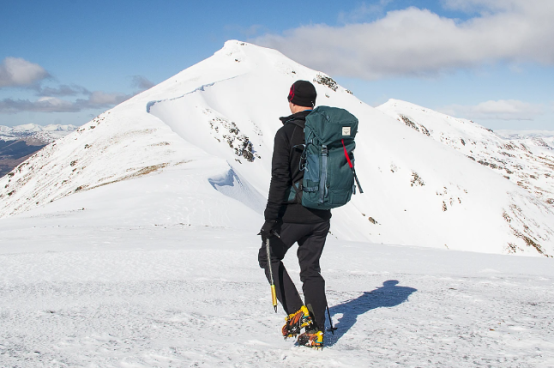
9. Learn to Use an Ice Axe and Crampons—And Bring Them
Even if a peak appears to have little snow from a distance, hard snow or ice patches can persist in sheltered spots.
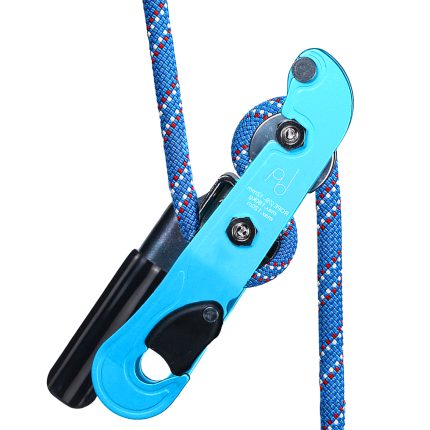
If a slope is steep and icy, carrying an ice axe and crampons is the only way to pass safely. Carrying them without knowing how to use them is equally dangerous, so learn the basic techniques before your trip.
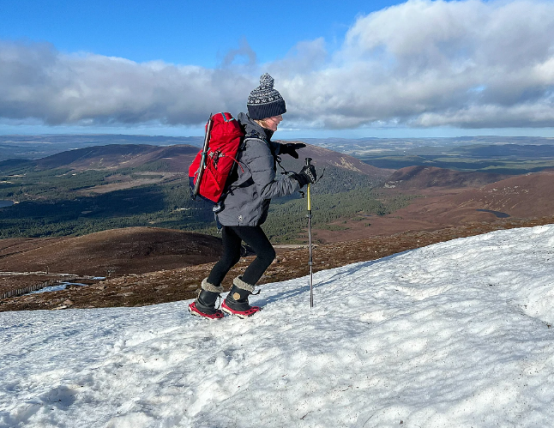
10. Can Microspikes Substitute for Crampons?
Microspikes are often seen as a beginner’s choice due to their lightness and ease of use. In certain situations—such as discontinuous thin snow, rocky sections, or gentle slopes—they may be more appropriate.
However, note that on hard snow, ice, or steeper slopes, only proper crampons provide sufficient security. The choice should be based on thoughtful consideration of the terrain, not a default to microspikes.
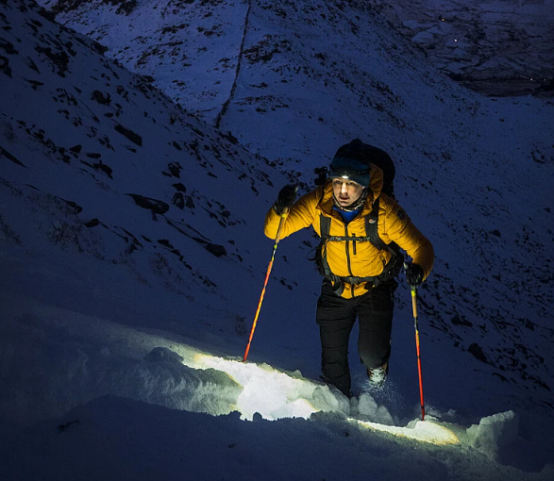
11. Carry a Backup Headlamp
Winter days are short, and darkness often arrives unexpectedly. A reliable, bright headlamp with good battery life is essential.
It is highly recommended to also carry a backup headlamp or torch—changing batteries in a stormy, dark night can be very difficult. Before leaving, ensure all lighting devices are fully charged.
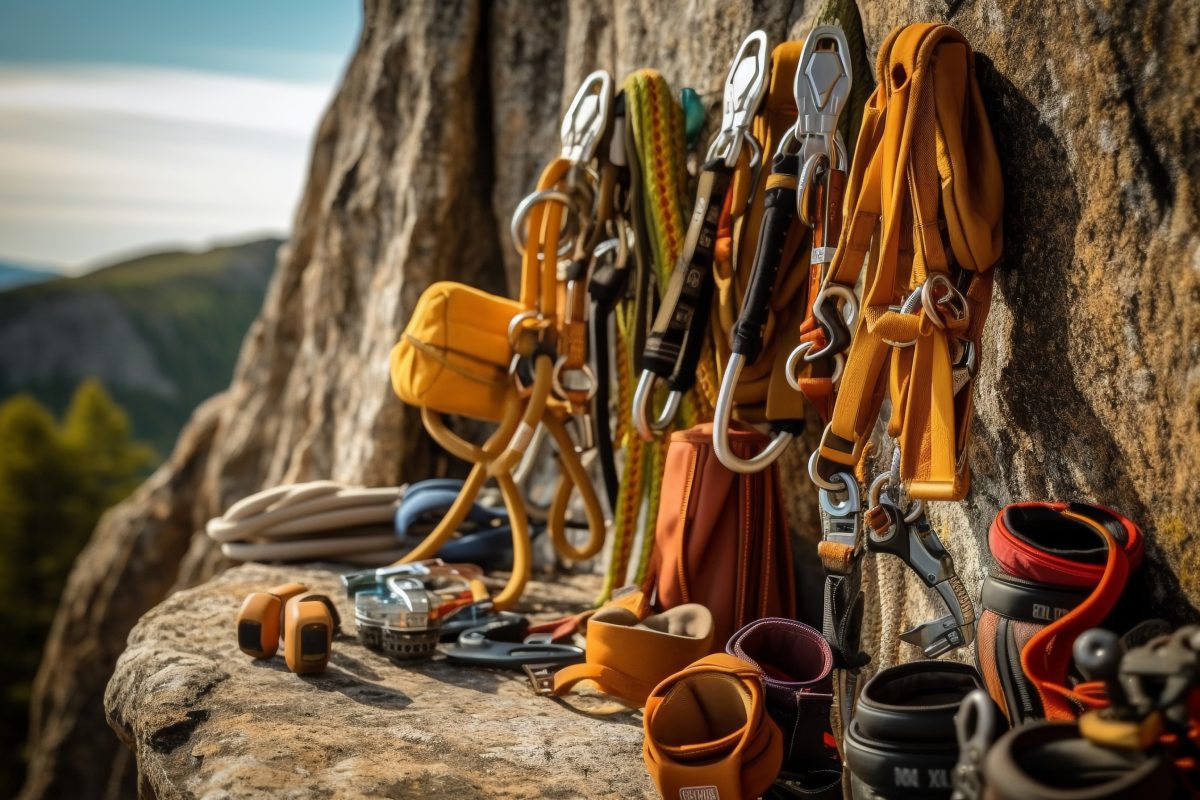
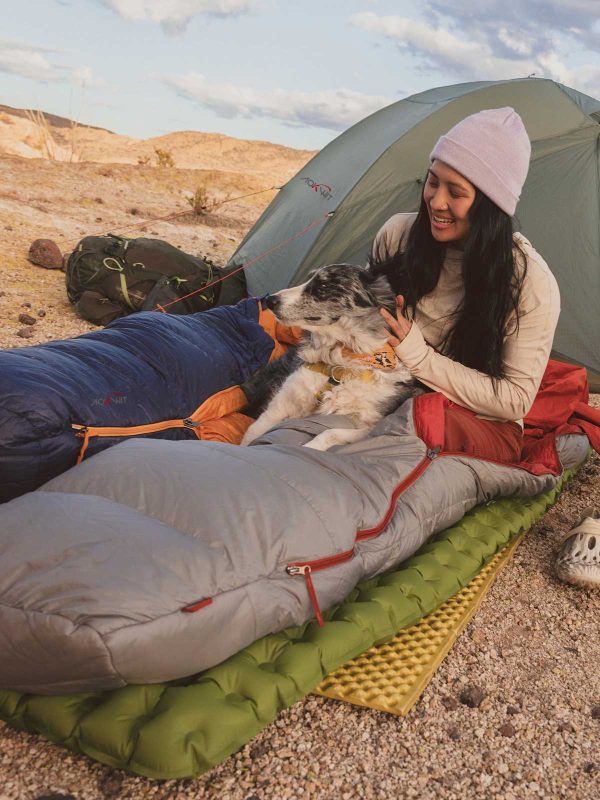
12. Prepare Winter-Specific Gear
Winter packs typically need to be larger, around 30–40 liters, and should allow for carrying an ice axe externally. Other season-specific essentials include:
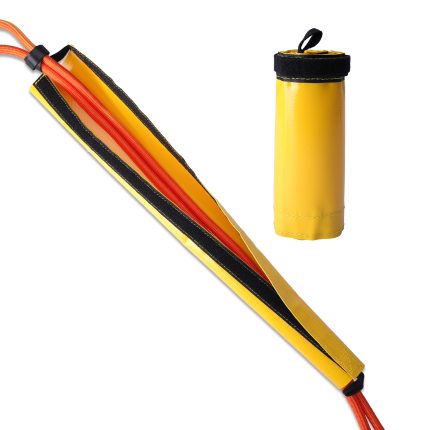
- Group Emergency Shelter: Quicker to deploy than a two-person tent, it provides a space to shelter from wind and snow, crucial in an emergency.
- Power Bank: Ensures your phone has power if you need to contact rescue services.
- Ski Goggles: Protect eyes from blowing snow or hail, maintaining clear vision.
- Multiple Pairs of Gloves: Carry at least two to three pairs, including thin liners, durable insulated “workhorse” gloves, and a backup pair of heavy mittens for extreme conditions.
- Spare Hat and Face Protection/Balaclava: Prevents heat loss from the head; carry an extra.
- Gaiters: Keep legs and feet dry, especially in deep or wet snow.
- Insulated Jacket: Choose synthetic insulation, which retains warmth even when damp.
- Bright-Colored Outer Layer: Increases visibility in snowy terrain, aiding identification during a rescue.
13. Clothing System: Layering
Winter clothing should follow a layering principle to adapt to changing conditions.
The base layer should be moisture-wicking. Mid-layers can be added or removed based on perceived temperature. The outer layer should be a waterproof, windproof, and breathable jacket and trousers.
Additionally, carry an extra insulated jacket for use during breaks, in emergencies, or in extreme cold.
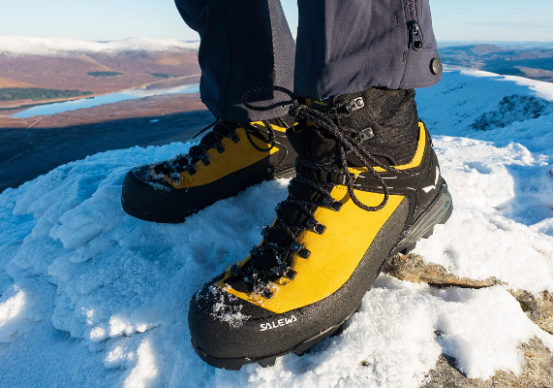
14. Choose Suitable Boots
Winter mountain boots need to be warm, waterproof, supportive, and compatible with crampons.
In common grading systems, B1 boots are compatible with C1 crampons and suitable for most winter walking. B2 boots are stiffer, compatible with C1/C2 crampons, and suited for more technical terrain.
If unsure, seek advice from a professional outdoor gear shop.
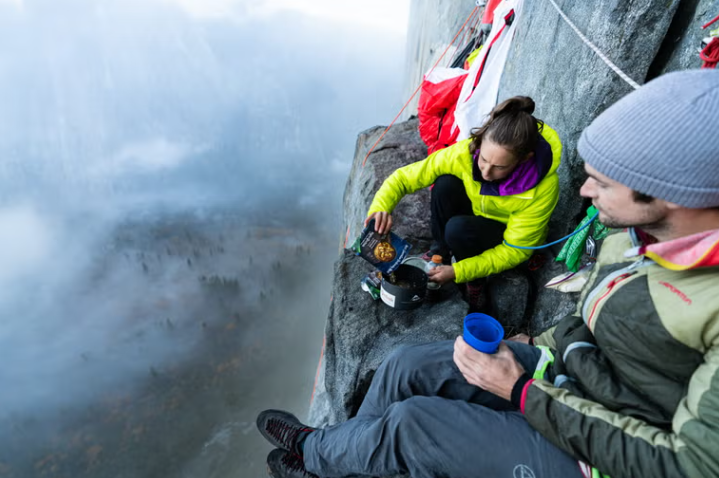
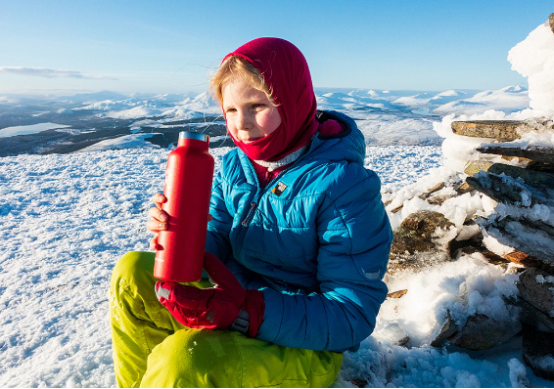
15. Maintain Energy and Hydration
Cold temperatures and high exertion accelerate energy consumption and fluid loss. Carry ample high-energy, non-freezing food, plus extra emergency rations.
Adopt a strategy of eating small amounts frequently to avoid a drop in core temperature from prolonged stops.
Carry at least 1–2 liters of water per day; adding sugary drinks can provide energy. In extreme cold, standard water bottles freeze easily. Consider using a thermos or insulating bottles with materials like old socks.
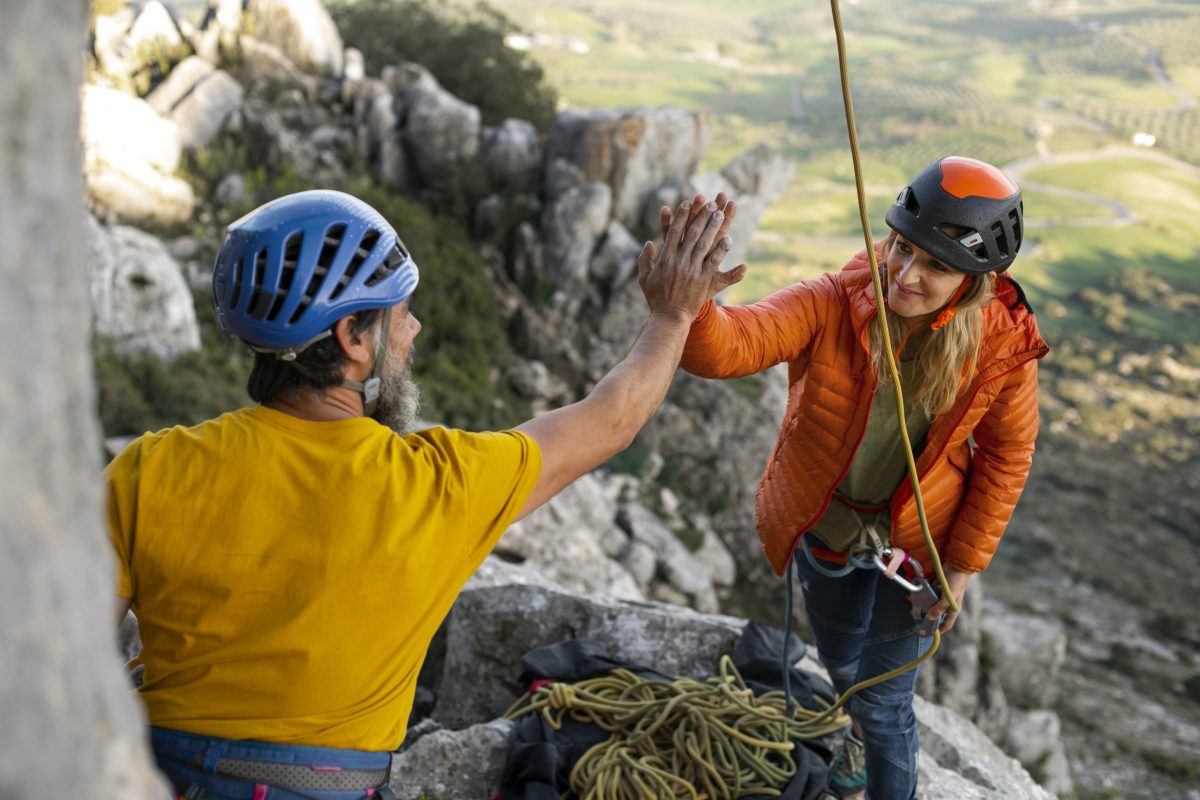
16. Consider Going with Others
Winter mountain activities are especially well-suited to being done with at least one partner, ideally someone with winter experience.
Companions can aid in decision-making, provide psychological support, and assist each other if trouble arises. However, be wary of “groupthink” and avoid irrational decisions due to peer pressure.
In a mixed-ability team, pace should be set by the slowest member. Keep the group together—don’t split up or apply pressure.
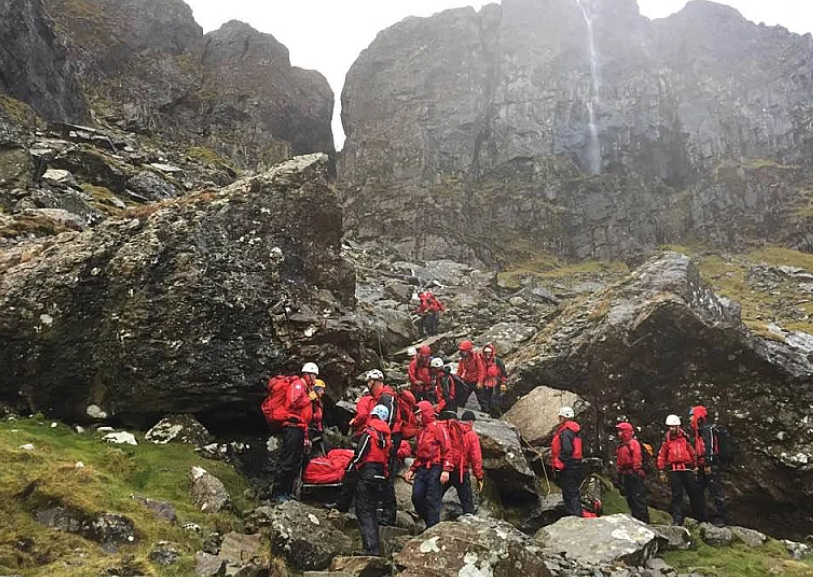
17. If Something Goes Wrong
Even with the best preparation, accidents can happen. Anyone can get lost or misjudge a situation. In an emergency, first assess if self-rescue is possible. In cases of serious injury, hypothermia, fractures, etc., contact mountain rescue immediately.
Remember, mountain rescue teams are largely volunteer-based, and call-outs carry risk themselves. Therefore, calling for help should be a considered decision. But if self-rescue is truly impossible, do not hesitate—rescuers would rather respond to a call than find someone who didn’t call soon enough in a desperate situation.
Winter mountain activity is a test of personal capability and a lesson in respect for the power of nature. By preparing well, exercising caution, and continuing to learn, you will find your own rhythm and rewards in the snowy wilderness.