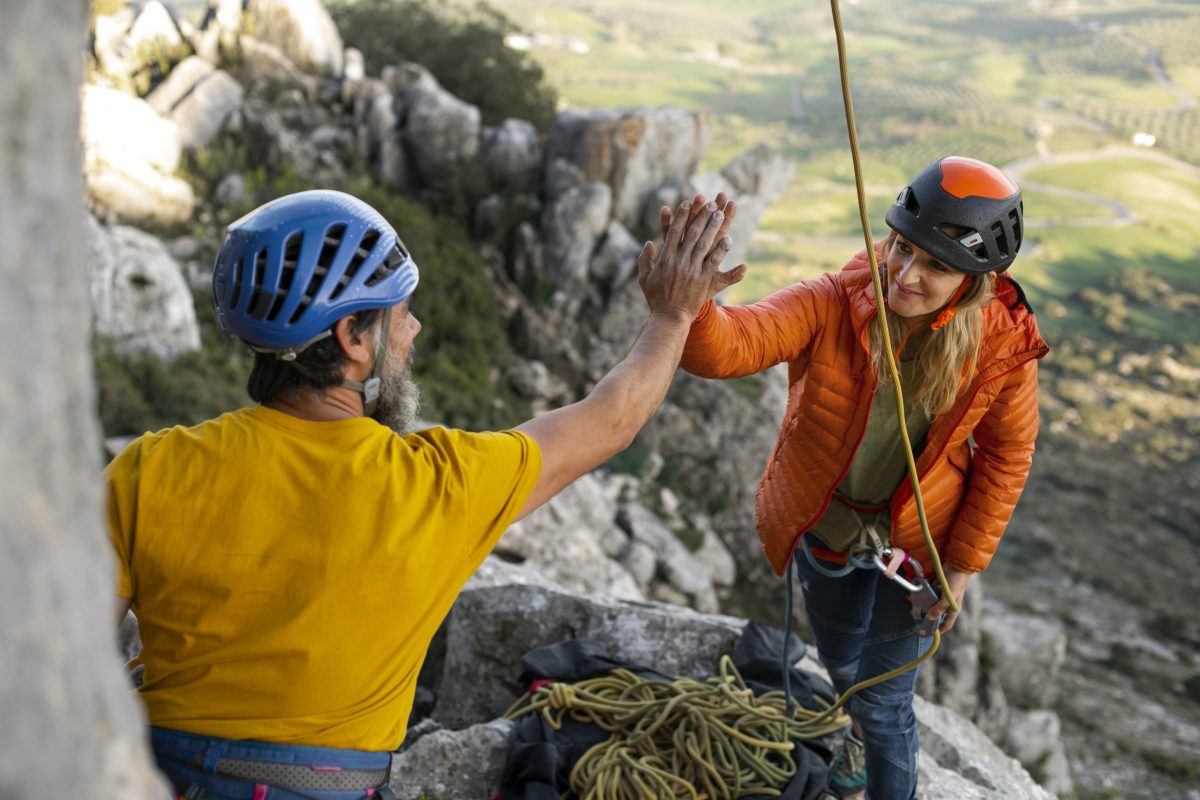


Advanced Skills: Winter Ice Climbing Skills – Part 2
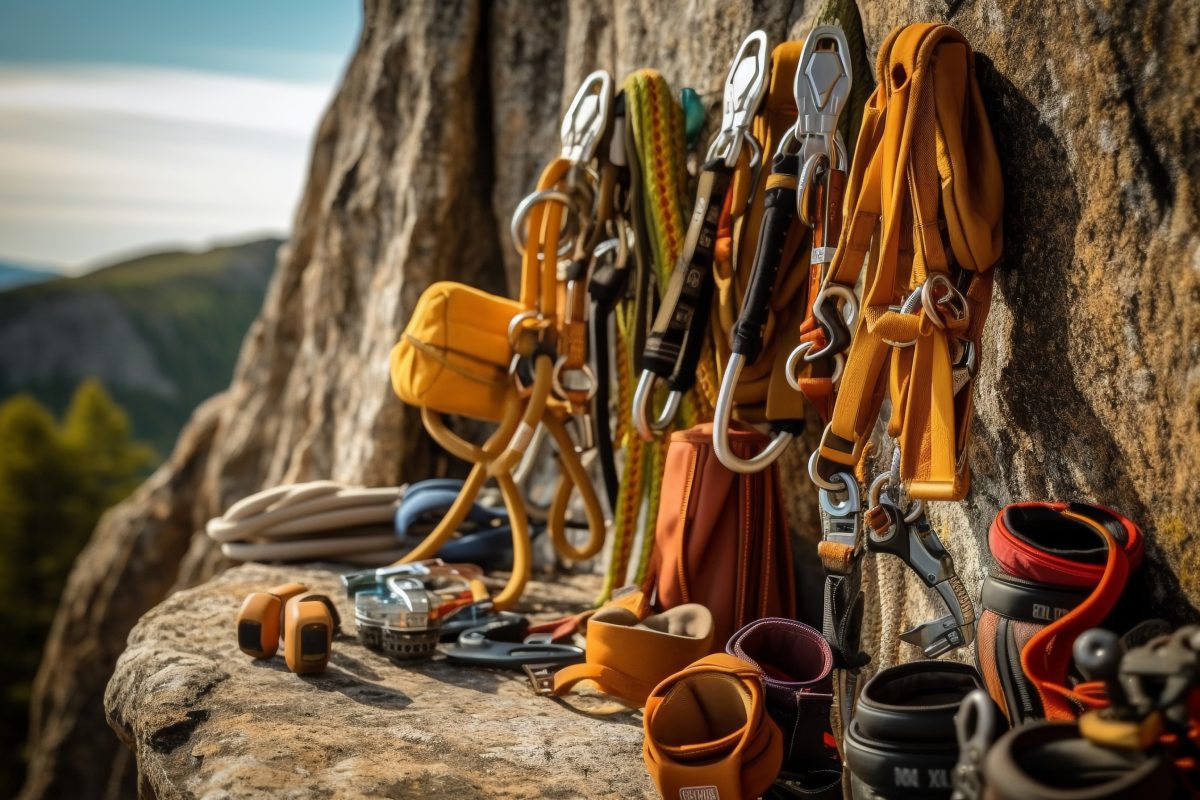
IV. Placing Crampons
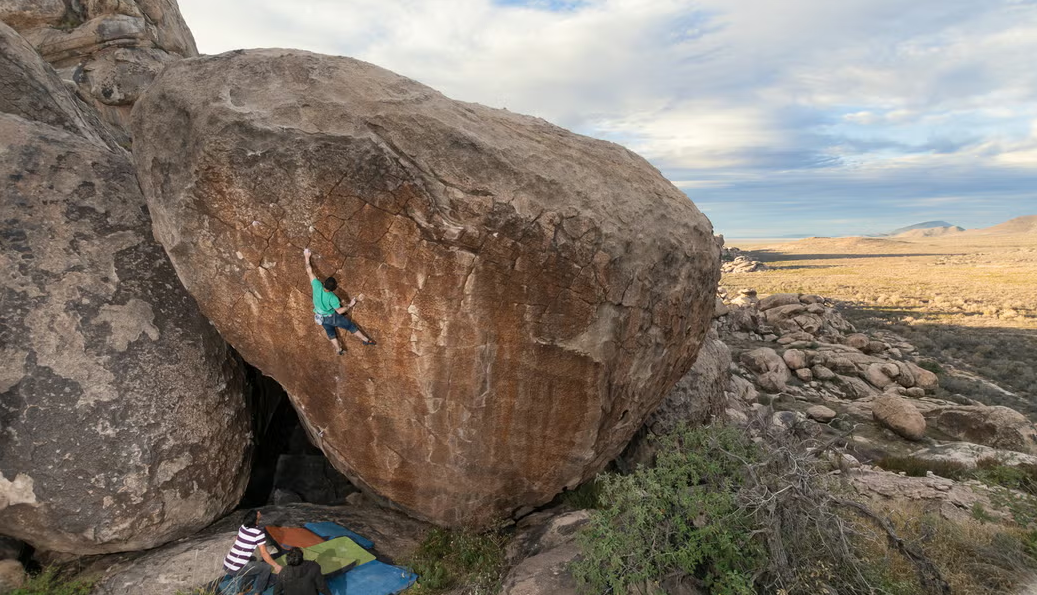
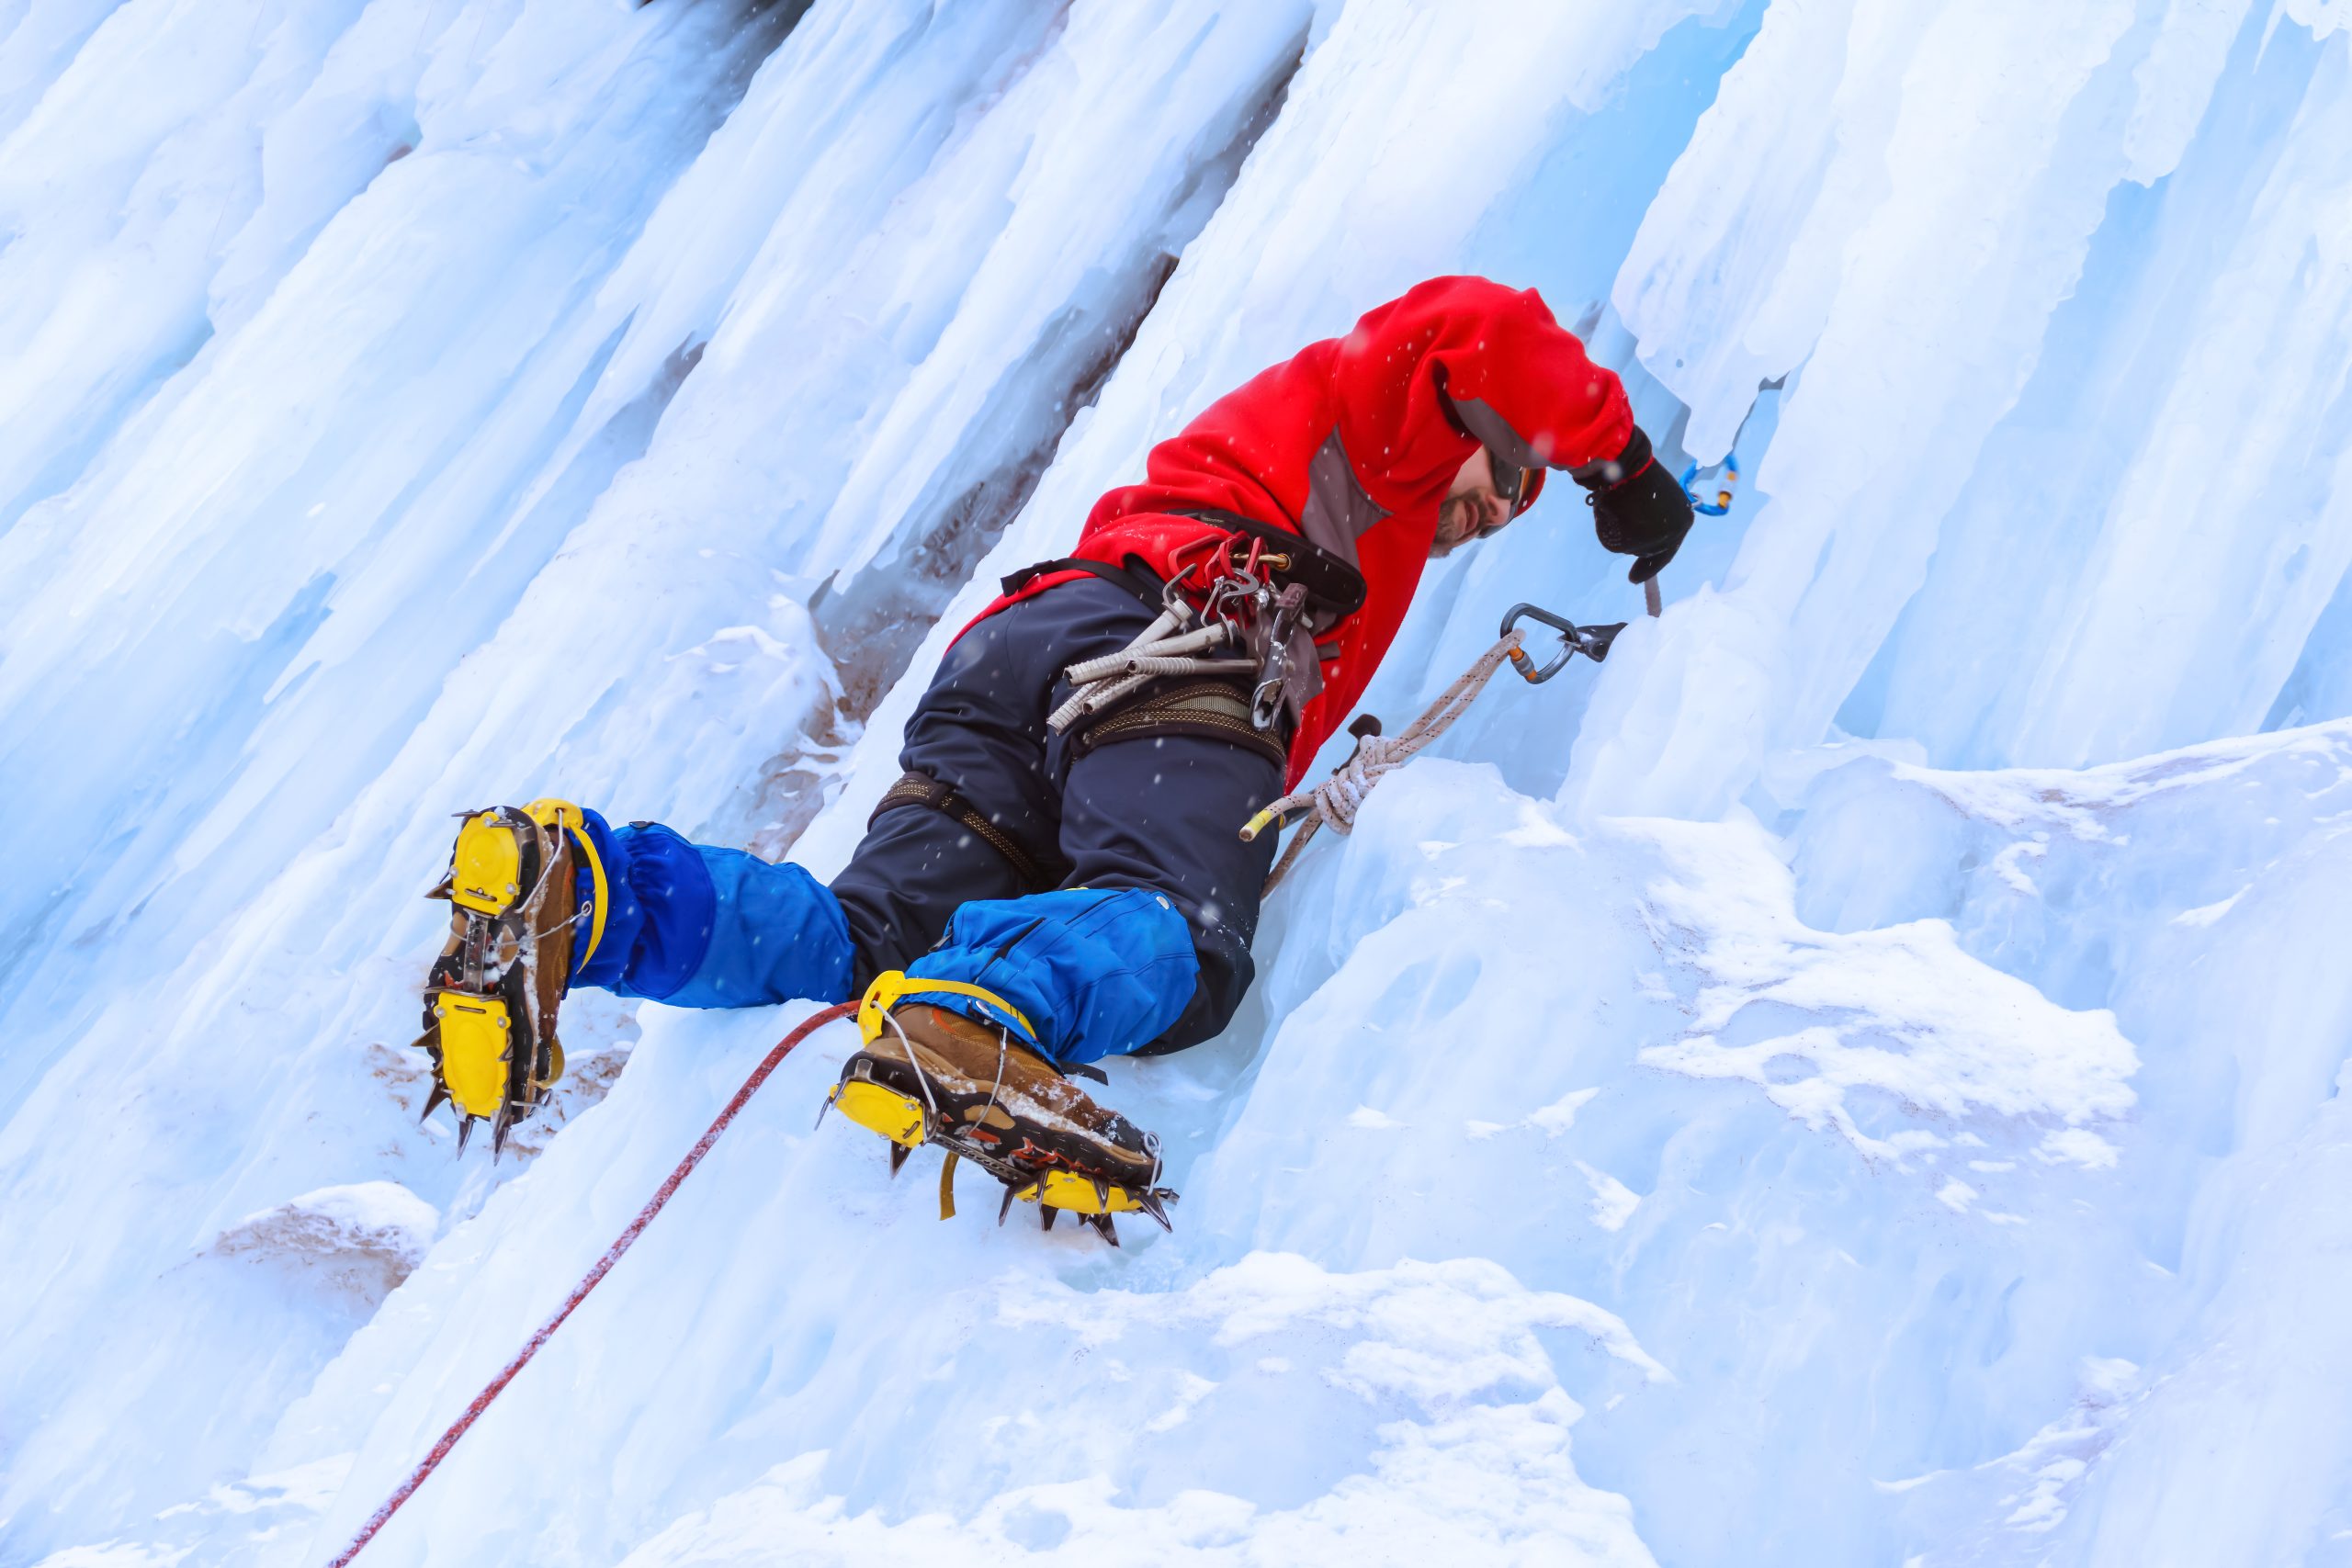
In ice climbing, effective footwork—like in rock climbing—is key to conserving arm energy by minimizing arm load through smart crampon use. Two core principles guide crampon placement: body positioning (managing center of mass) and visual focus on where you place your front points.
Body Positioning Impact
Your center of mass directly affects the force on your crampon points. Try this: stand shoulder-width apart. First, relax hips to sag your butt—you’ll feel weight on your heels. Then, bend knees slightly, clench glutes to pull hips forward—weight shifts to the balls of your feet/toes. Adopting the latter position (relaxed knees, hips forward) uses body weight to secure front points, critical for upward movement.
The Power of Looking Down
Eyeballing your front points helps utilize ice irregularities and avoids blindly kicking. Many climbers neglect this, but focusing on placement ensures secure positioning and lets you bend legs without hitting ice. Keep your gaze until satisfied with each placement.
Two Key Techniques for Crampon Use
Kicking In: Best for smooth ice. Eyeball the spot, lift your leg, bend the knee with toes slightly raised, then kick points in with controlled force—enough to bite but not shatter ice. Weight the points positively. Keep heels level to prevent shearing; dropping heels slightly engages secondary points for stability. You don’t need deep penetration—balance weight over the points using your center of mass.
Placing Points: Ideal for featured ice (edges, pockets, hollows). Think like rock climbing: spot features first. Use front points on small edges/pockets or hook secondary points (V-shaped on technical crampons) over protrusions, leveraging ice texture for secure placement.
Practice Tips
Mastery comes from top-roped practice, blending both techniques. Prioritize body positioning to balance weight over crampons and intentional visual focus on each placement. Efficient footwork reduces arm strain, making ice climbing safer and more sustainable.
V. Placing Ice Tools
On ice climbs, ice tools serve two key roles.
First, they act as “handles” for balance as you move your feet, but a common mistake is over-gripping them to pull oneself up instead of using leg strength—this quickly fatigues forearms and shoulders.
Second, when leading, tools function as “runners.” Leashed climbers rely on wrist loops and solid placements for security, while leashless climbers (often using cords for technical attachment) still need tools as “solid handholds”—think stable vs. loose rock holds in rock climbing. Prioritize efficient, bomb-proof placements (“sticks”) to maintain mental and physical stamina.
Whether leashed or leashless, periodically shake out tired arms—holding them up while placing tools drains energy, so regular relaxation is crucial.
VI. Top Tips for Placing Ice Tools
Placing curved shafted balanced ice tools relies on precision, not power. Focus on controlled technique: a combined swing and wrist flick, similar to throwing a dart. Excessive force risks overdriving picks or shattering ice.
Here’s a streamlined process for precise placements:
Grip: Hold the axe with a firm yet relaxed grip, aligning your thumb along the shaft to direct swings accurately.
Choose Your Spot: Target a “beachball-sized” area above your head, slightly offset from your belly button (center of mass). Keep your arm slightly bent when reaching up—easier for removing poor placements. Inspect ice for concave spots (where snow collects) or old placements to avoid brittle areas. Stagger placements vertically, not horizontally, to reduce ice stress.
Mark the Spot: Gently touch the pick to the ice to mark your “X” target. Keep eyes locked on this spot as you prepare to swing.
Swing & Flick: Initiate the swing from your shoulder, keeping shoulder, elbow, wrist, and tool aligned. Twist your hip toward the swinging arm for balance. As your arm extends, deliver a snappy wrist flick—like a dart throw—to angle the pick correctly. This maximizes first-time placement success.
Assess Placement: Listen for a solid “thunk,” watch for shaft vibrations (like arrows in a bow ad), and feel the vibration dampen. If poor, wiggle the pick up/down (not sideways to avoid breakage) to remove, then retry—sometimes clearing surface ice improves subsequent placements. Avoid futile hits on rock or hollow ice.
Test & Trust: Semi-weight the placement to test stability. Experienced climbers trust “feel,” but new climbers should pull-test, especially when leading. Once satisfied, commit to the hold.
Move On: Once confident, forget the placement and focus on the next move or upward progress.
Remember the core steps: Look; Place; Test; Trust; Move. Prioritize technique over strength—this reduces effort, minimizes ice damage, and builds reliable placements.