


Rock Climbing Knots Tutorials (Part 1)
Knot tying is a fundamental skill that mountaineers and climbers must master from the outset. With over a dozen commonly used knots, one can complete the learning process in less than two weeks by studying a new knot daily. Should any inaccuracies be found in this text, we welcome corrections from experts. Collaborative input and open exchange remain core purposes of this forum.
We begin with the Figure 8 Knot family – the first knot system climbers encounter for connecting ropes to harnesses. While appearing straightforward, the basic Figure 8 gives rise to multiple variations.
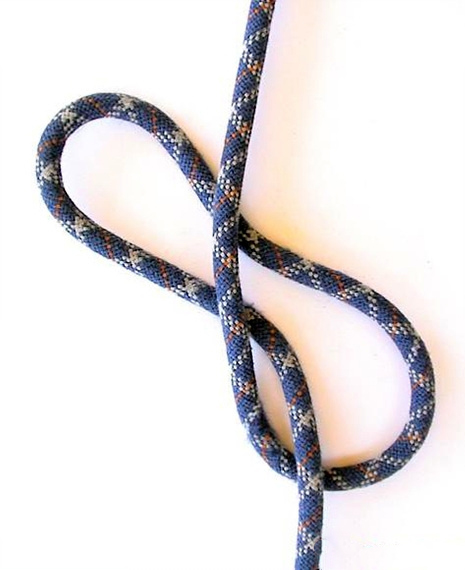
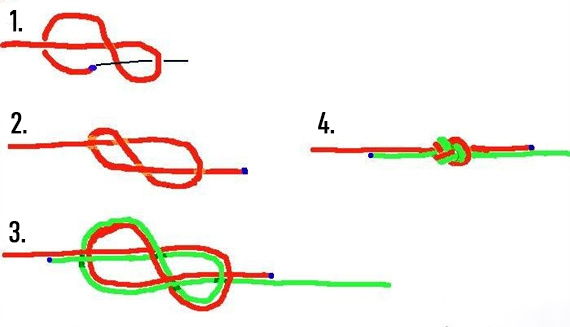
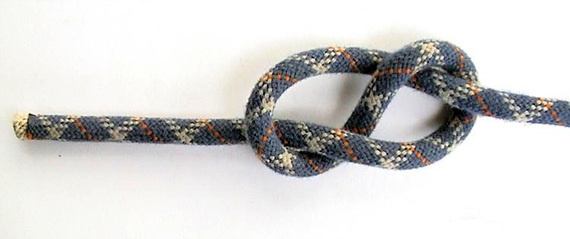
1.1 Basic Figure 8 Knot
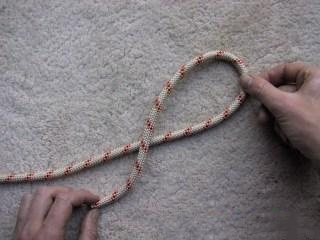
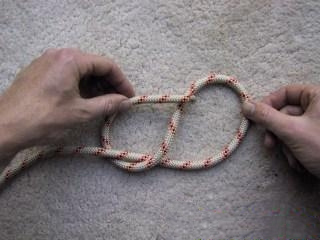
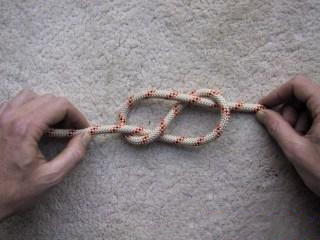
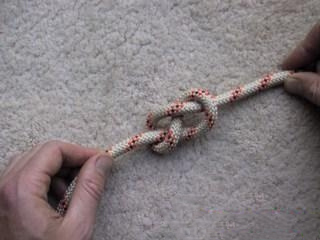
Primary functions:
Serves as foundation for the Figure 8 Follow Through knot
Used in belaying and rappelling operations as an end-line stopper knot to prevent accidental rope slippage through belay/rappel devices
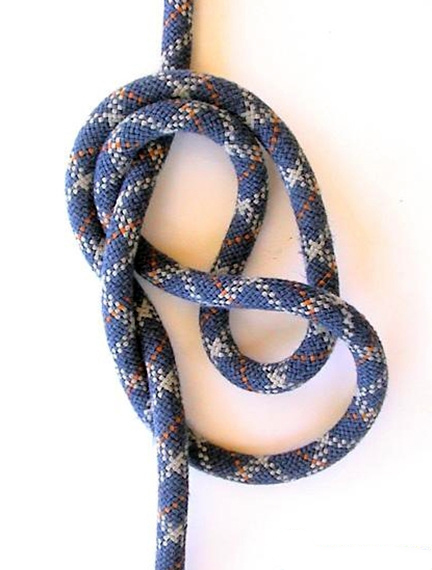
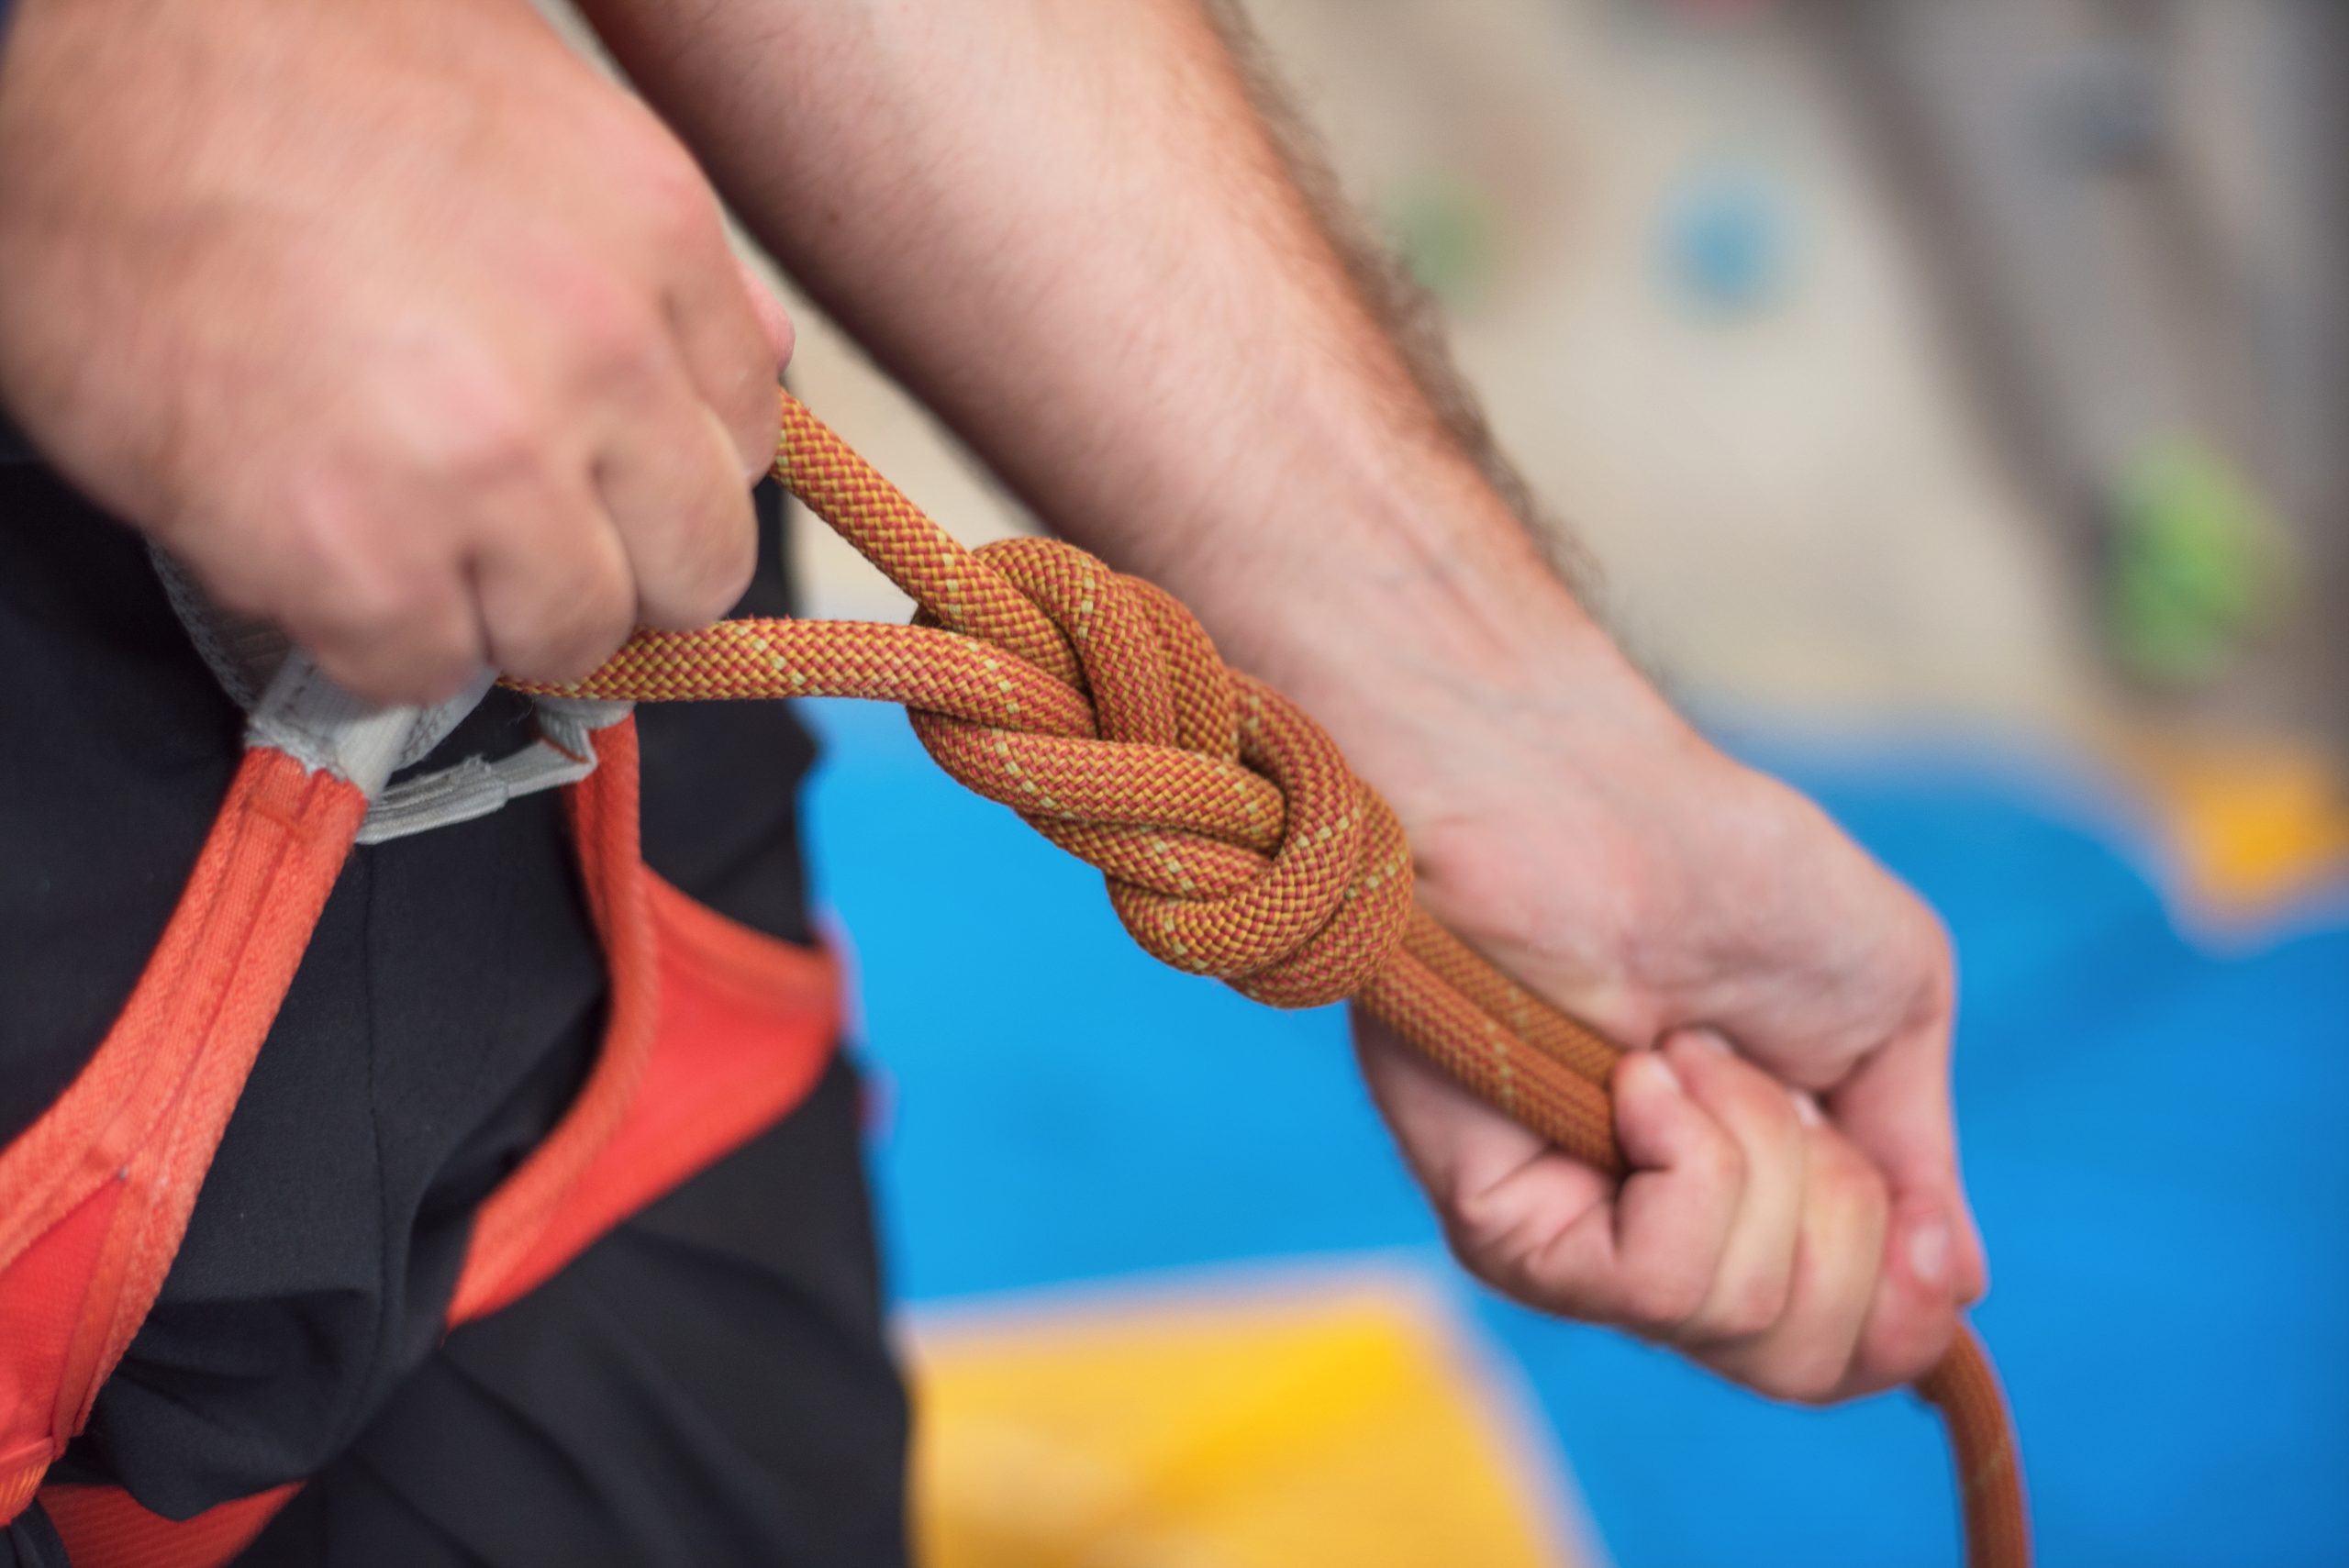
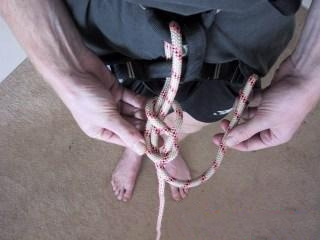
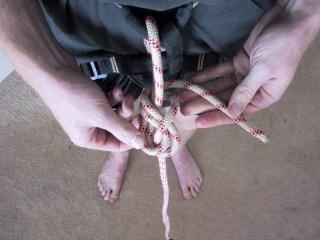
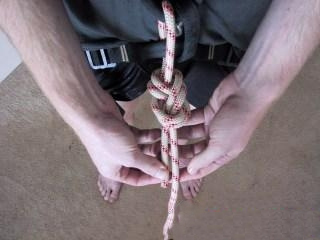
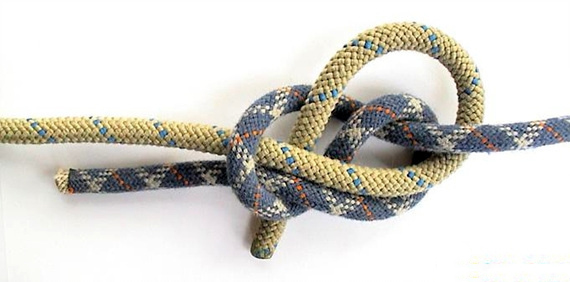
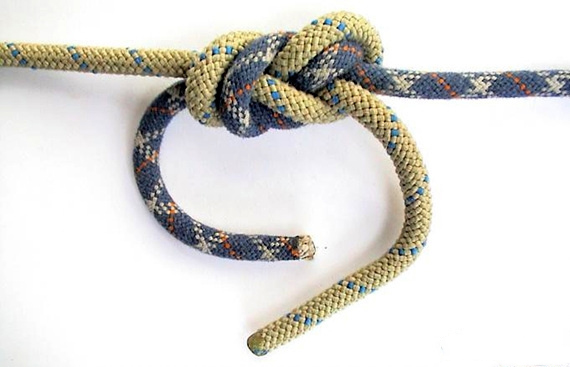
1.2 Figure 8 Follow Through (Harness Connection)
Note: After completing the Figure 8 Follow Through, always add a safety knot (overhand knot) and maintain 50-60cm tail length.


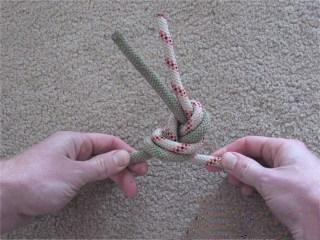
1.3 Retraced Figure 8 (Rope Connection)
Note: Never omit safety knots at both ends. Alternative connection methods include Double Fisherman’s Knot or Overhand Knot (for rappelling only).
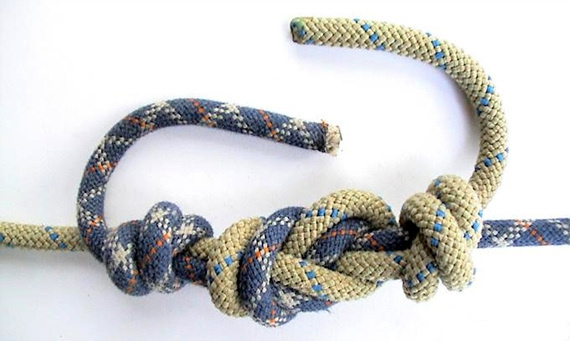
1.4 European Death Knot (EDK) / Figure 8 on a Bight (End-line Connection)
Exclusive use: Joining two rope ends exclusively during dual-rope rappelling to prevent device slippage. Never employ for rope connections under load – this knot dangerously releases under tension. Also known as the “European Death Knot”.
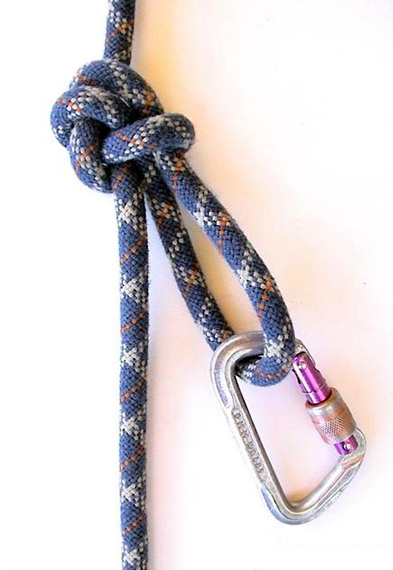
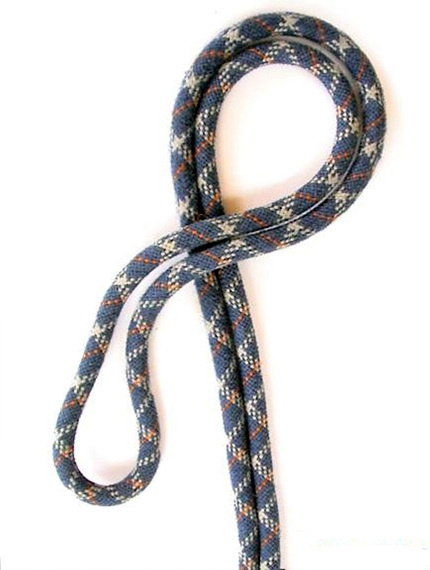
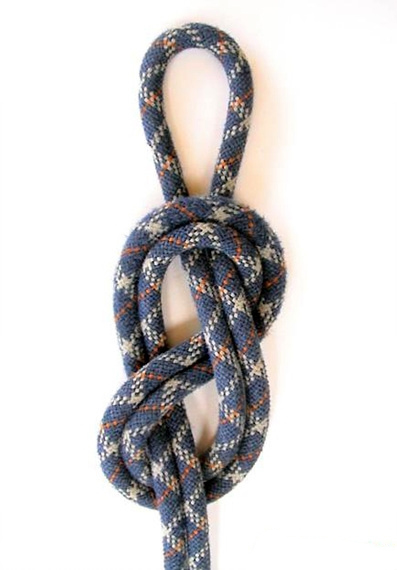
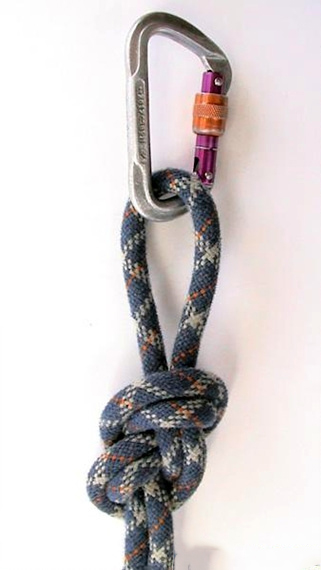
1.5 Single Figure 8 on a Bight
1.6 In-Line Figure 8
Applications: Rope team travel or anchor point establishment (though Alpine Butterfly Knot is generally preferred for this purpose)