How to Climb Your First 7A Boulder
Climbing a 7A boulder is a significant milestone; for most people, it represents the culmination of years of dedication and hard work.
Whether climbing 7A feels near or far, there are some foolproof methods to ensure you maximize your chances of achieving this lofty goal.
Given time, commitment, and a fair bit of self-belief, climbing 7A should be achievable for everyone.
I. Find a Project That Suits You
We are often drawn to projects because someone said they are super cool, or you saw someone make it look easy in a video, or it has some associated clout.
If that motivates you, great—it will get you out of your comfort zone and trying hard, which is part of the battle. However, don’t try something that doesn’t suit your style just because you feel it should be your first 7A.
If you’re trying to push your limits, it makes sense to at least stick to your strengths for your first 7A.
A boulder that inspires you is a great starting point; one that inspires you, suits your style, and fits your body is even better.
II. Progress by Climbing with People Better Than You
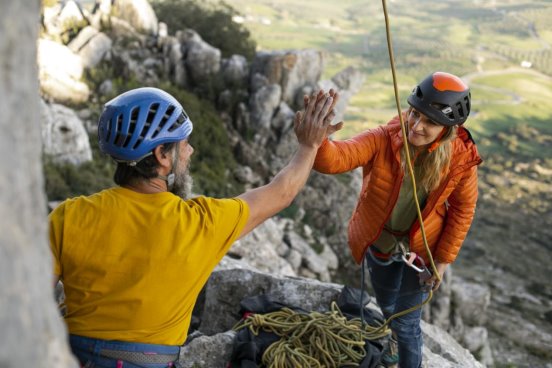
Sometimes being the only one not demonstrating the big moves—or the only one unable to leave the ground—can be frustrating.
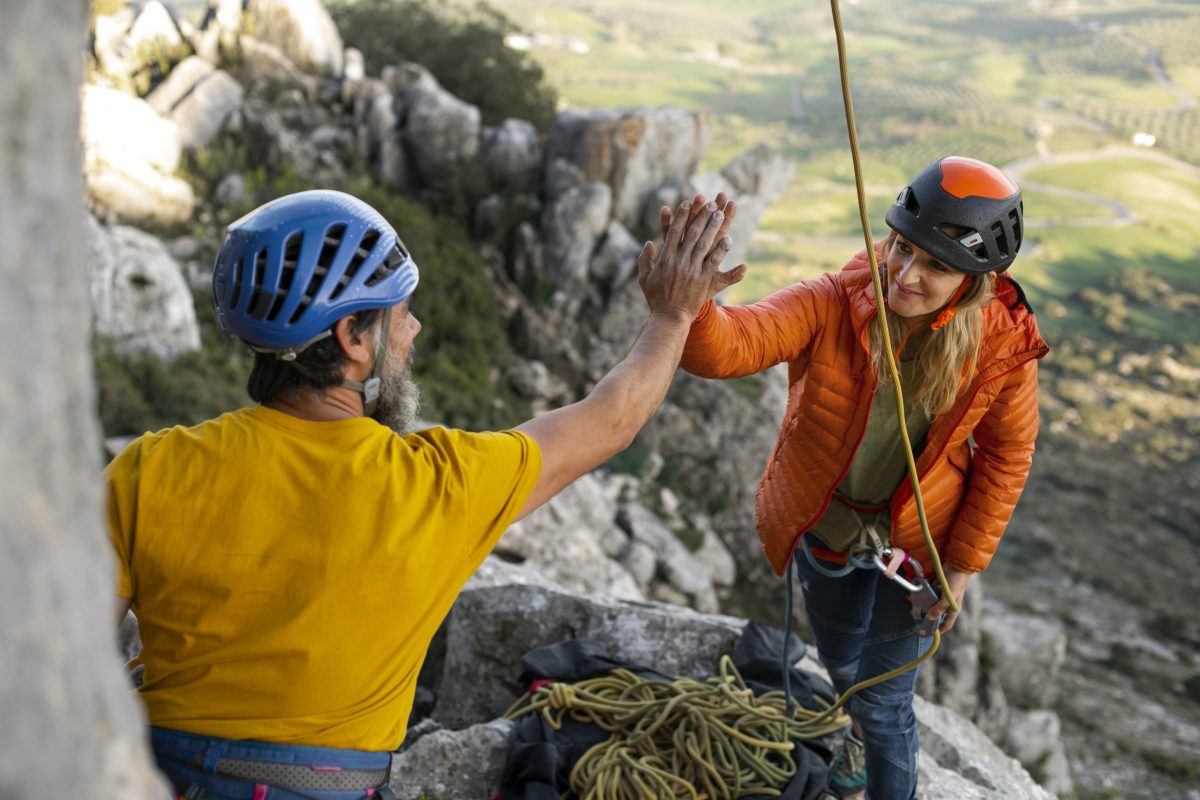
But by climbing with people who are stronger, more technically skilled, and more experienced than you, you gain shortcuts to the best beta, find it easier to trust certain holds and positions, and gain a better understanding of the nuances of the rock!
Climbing with people better than you removes a lot of the uncertainty when climbing at your limit, which is exactly what you need when chasing a new grade.
III. Don’t Focus Too Much on the Grade (Focus on Time on Rock)

This might sound counterintuitive, but focusing too much on the arbitrary grade of 7A might actually make your journey to it slightly longer.
While it’s a good idea to keep looking for 7A lines that interest you, you should also dedicate time specifically to climbing boulders in the 6A to 6C+ range.
As you gain more experience on these slightly easier grades, you will better understand the rock and the movement it offers, and you’ll be able to apply those lessons to harder project climbing.
No matter how good your local climbing wall facilities are, nothing helps you become a better outdoor climber like spending time on rock.
If you prioritize getting outside and increasing your climbing mileage, it won’t be long before you start looking at 7-meter-plus boulders and feeling like they are within reach.
IV. Give Yourself Time and Fail Multiple Times
Someone once told me that if you can do all the individual moves on a boulder on your first session, it’s not actually your limit.
If you want to push your grade, moving onto a wall, trying to pull on, finding you can’t, trying the next move, failing to do it, etc., is completely normal.
If you have an indoor climbing background, think about the hardest climb you’ve ever completed indoors.
Chances are, it took you several weeks, multiple sessions, and you finally succeeded only after knowing all the precise hand and foot placements, having the sequence fully ingrained in your mind, and the moves feeling instinctive.
Projecting a boulder outdoors shouldn’t be much different, except it potentially involves worse landings, tougher approaches, and no spotters to help you rehearse the crux moves.
Reframe what you consider a successful session—gaining more confidence on the feet, feeling better about a position, finding a better thumb position on a hold, linking two or three moves together—so you not only make better progress on the climb but also enjoy the process more.
This is also something you should practice indoors. It’s easy to move on from a boulder indoors that feels slightly beyond your capability, especially because there are so many alternatives around you!
While having sessions just for fun is important, it’s equally important to have sessions mostly dedicated to trying a hard boulder you know you can’t complete in one go.
As with everything, pushing your limits, getting used to “failing,” and redefining what you consider “success” are skills you can learn.
V. Strengthen Your Weaknesses
Deep down, most of us have a relatively accurate idea of our weaknesses.
If you don’t, there are simple ways to find out—ask the people you climb with regularly (ideally kind but honest people you trust!).
Think carefully about which areas of your local climbing wall you try to avoid, and extrapolate that to your climbing, or even consider getting some testing done with a coach or via a coaching platform.
7A finger strength paired with 6A footwork will make 7A holds feel harder than they are, and conversely, 6A finger strength paired with 7A footwork means you won’t be able to stay on the wall long enough to move your feet!
And between feet and fingers lies a whole lot of body and brain—make sure to address any area that might be a weak link in the chain!
VI. Ensure You Have the Right Shoes
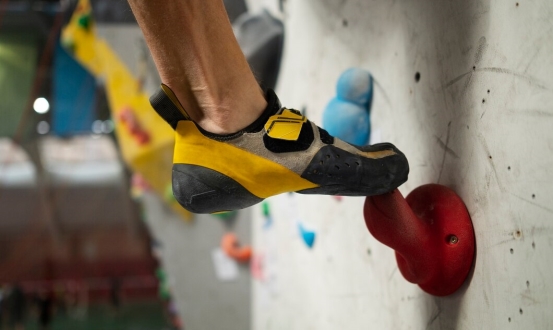
There are two aspects to this:
1. Ensure you have shoes that fit you well:
- a. Ensure they fit snugly, without dead space in the toes or heels.
- b. Ensure you feel you have a good understanding of where your big toe is, how to place the shoe on a foothold, and how to apply pressure through it.
- c. Ensure you trust the rubber, and that the shoes don’t pinch or distract you in certain positions.
- d. Ensure they provide support where you need it.
2. Ensure these shoes are also suitable for your project:
- If your first 7A is a slippery sandstone slab, don’t bring a pair of stiff, downturned shoes that make smearing nearly impossible.
- Conversely, if you’re tackling a steep overhanging boulder, having a stiffer, more downturned shoe might help keep your feet and lower body on the rock.
Hard rubber or soft rubber, flat or downturned—there’s no right or wrong in isolation. But for each specific climbing rock and style, there will be a combination that helps provide that extra bit of support where you need it.
Footwear manufacturers usually tell you what their shoes are designed for, but getting onto rock and actually trying shoes similar to your project will be the way to find the best match.
VII. Go to Fontainebleau
Not necessarily to climb your first 7A, but to consolidate the skills needed to climb your first 7A!
Fontainebleau [fon-ten-uh-bloh] is renowned for its strictness—poor footwork, positioning, and commitment are punished, while precision, trust, and attention to detail are rewarded.
Perhaps most importantly, the place of Fontainebleau itself completely disregards grades.
If you do go, be sure to respect the rock—don’t climb if it’s damp—but if you’re lucky enough to get some dry days, you can bring the lessons Font teaches to your 7A project, and you’ll definitely see it with fresh eyes.
VIII. Rest
When you’ve figured out the sequence, linked the moves, and are ready for your first real 7A attempt—don’t forget to rest!
Take off your shoes, put on a jacket, brush the boulder, and set a timer for 10-15 minutes.
Mentally rehearse the beta so you have absolute clarity on what to do. When the timer goes off, give it everything!
