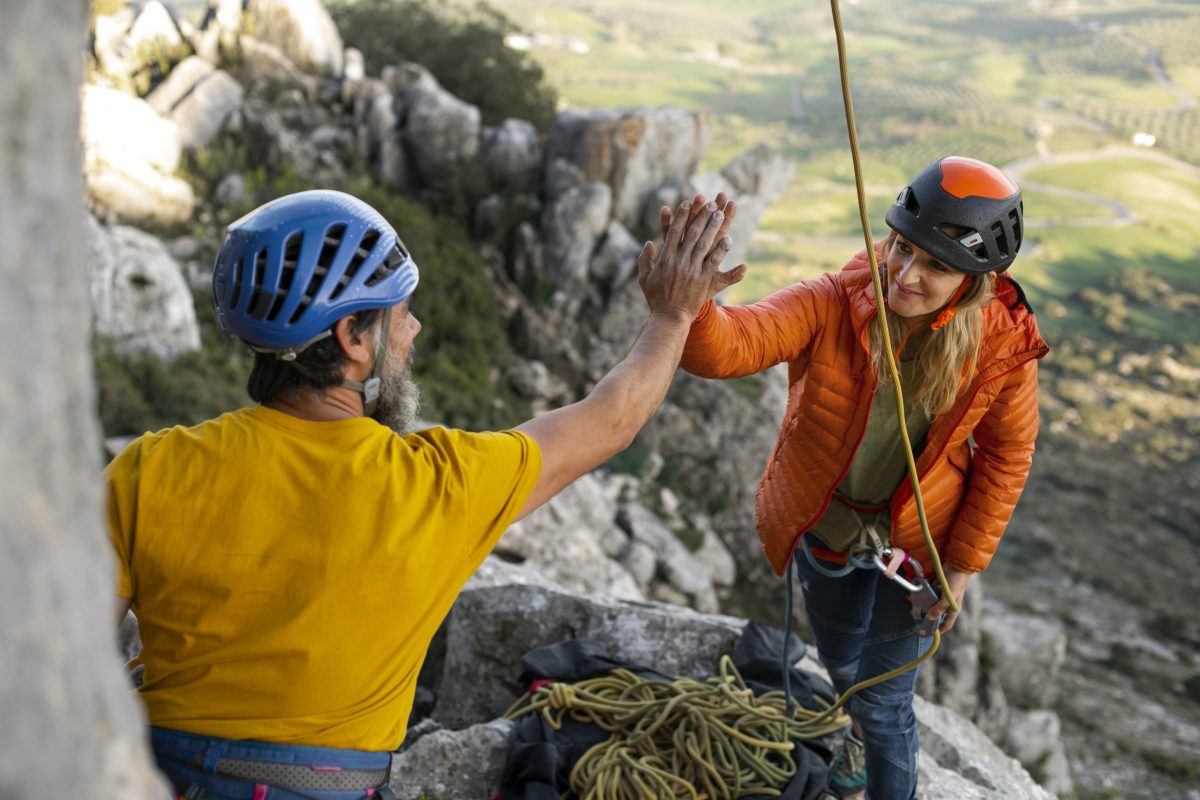


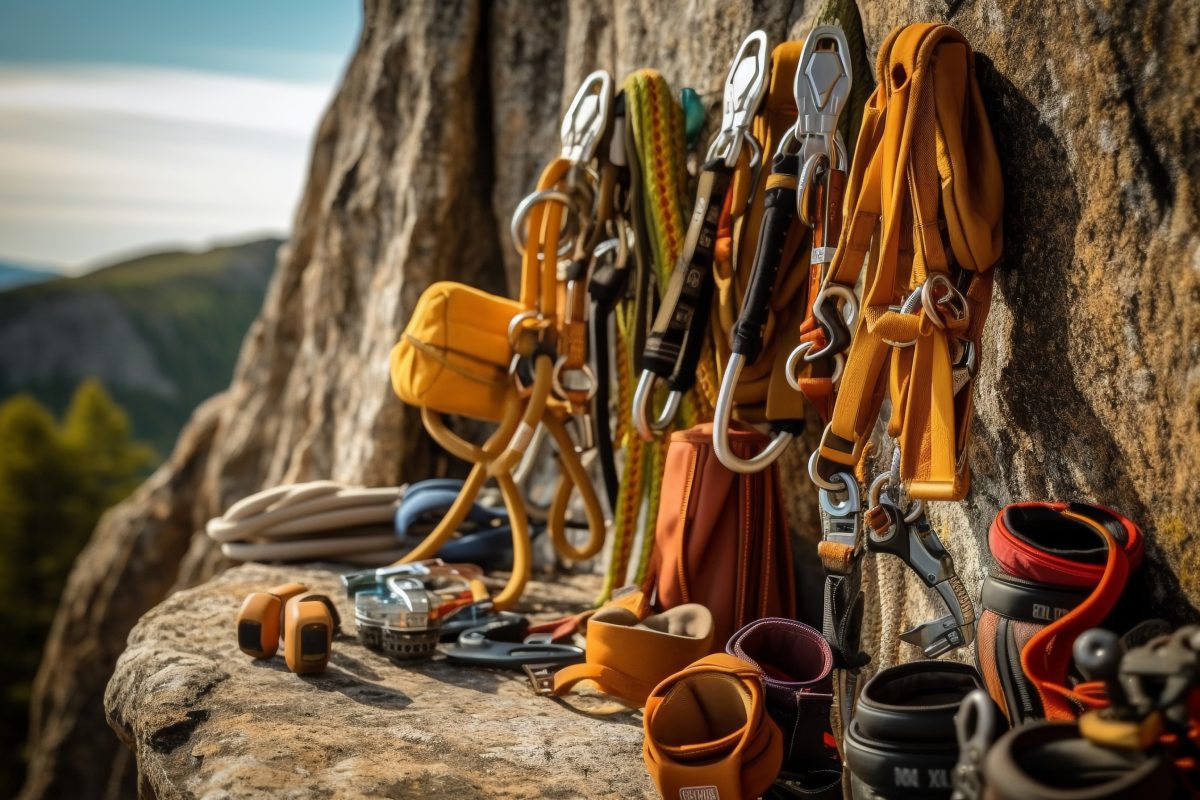


8 Essential Climbing Knots: A Complete Guide & Practical Tips
Mastering proper climbing knot techniques is a fundamental skill that every climber—regardless of experience level—should learn and practice until proficient.
Although the variety of knots used in climbing can be overwhelming for beginners, there’s no need to worry.
You can start with the following eight basic and practical knots:
the Figure-8 Follow-Through, the Water Knot, the Prusik Knot, the Double Figure-8, the Munter Hitch, the Double Fisherman’s Knot, the Clove Hitch, and the Girth Hitch.
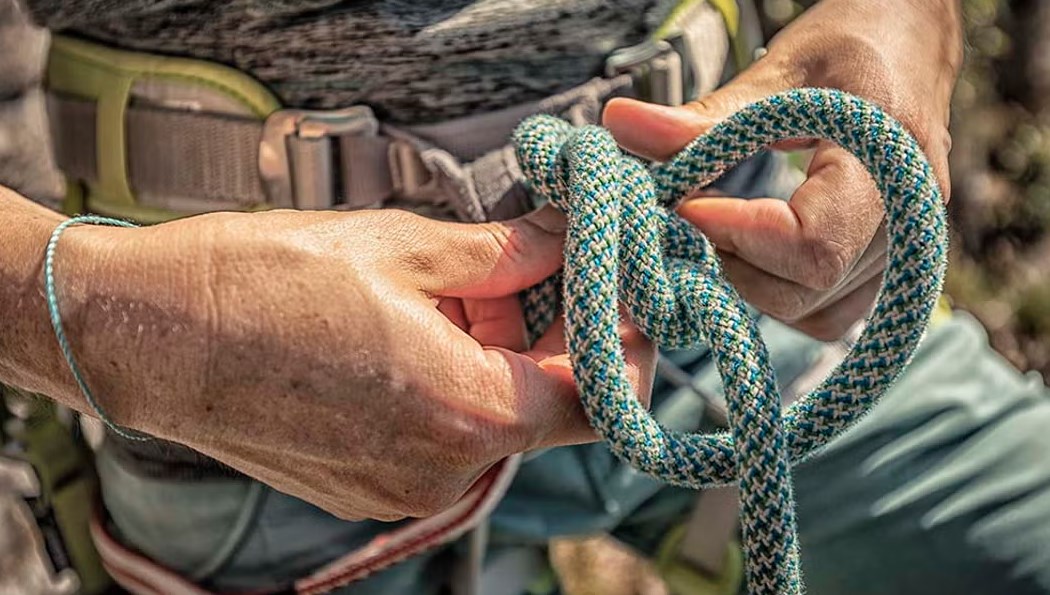
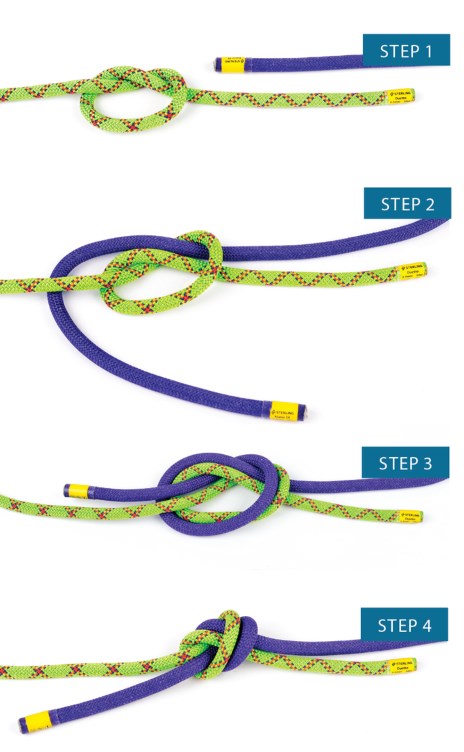
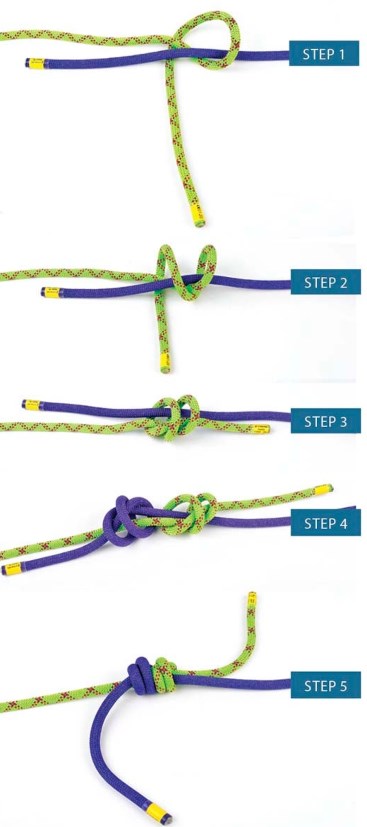
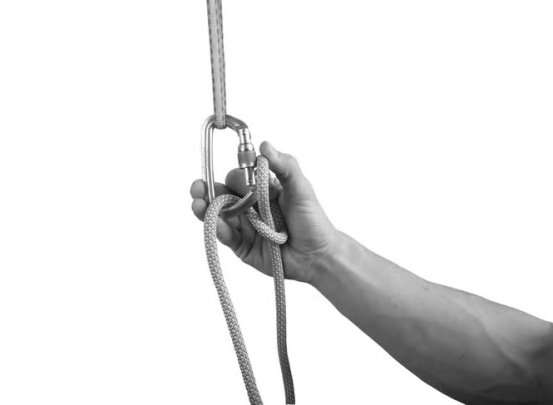
1. Figure-8 Follow-Through
Your tie-in knot—the critical knot that connects you to the rope—is usually the first one you learn.
Among tie-in knots, the Figure-8 is the easiest to learn and least likely to come untied accidentally.
The downside is that it can become very tight and difficult to undo after catching a fall, but that’s a small price to pay for safety.
Practice repeatedly until you can tie it smoothly even in the dark.
How to tie:
Form a Figure-8 knot about 24–30 inches from the end of the rope, then retrace the knot with the tail.
Leave about 12 inches of tail and secure it with a stopper knot such as a double overhand or a fisherman’s knot.

Indoor climbing gyms often require the use of the Figure-8 for both leading and belaying. Many facilities even require a knot test.
Use:
Connecting the rope to the harness.
Advantages:
- Easy to tie and remember;
- Easy to visually inspect—if tied incorrectly, the shape will look obviously abnormal.
- Pro Tip: Stay Focused!
Every year, serious accidents occur due to distraction while tying knots—even among experienced climbers. Stay focused when tying in, and make sure the rope passes correctly through both the leg and waist loops.
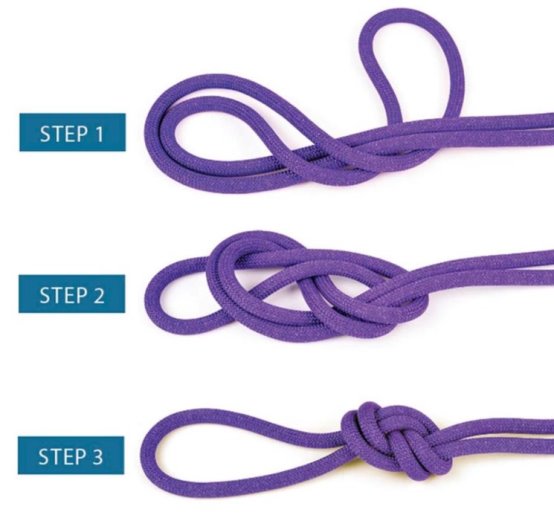
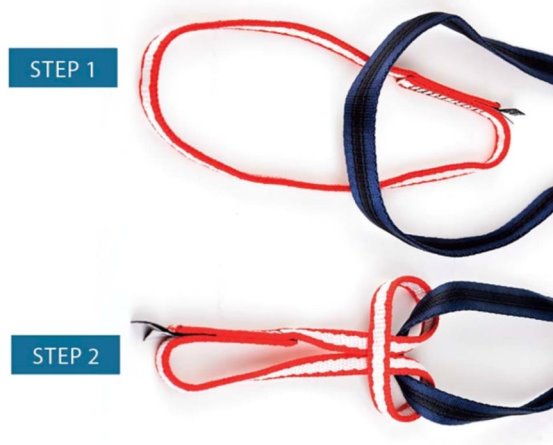
2. Water Knot
The Water Knot is used to join two webbing strips, two ropes, or a rope to webbing. It is essentially an overhand knot retraced with the other end, forming a secure and easy-to-tighten knot.
Always check that it is fully tightened before each use, and leave at least 2 inches of tail.
The Water Knot is mainly used to create slings or simple harnesses from nylon webbing.
Sewn slings are lighter and more compact, but they are not adjustable and are unsuitable for situations where you need to wrap around a tree or rock.
Some climbers prefer the Water Knot for joining rappel ropes, but the Double Fisherman’s Knot is easier to untie after loading, especially with wet ropes.
Uses:
- Making slings or harnesses;
- Joining rappel ropes.
- Advantages: Simple and easy to remember.
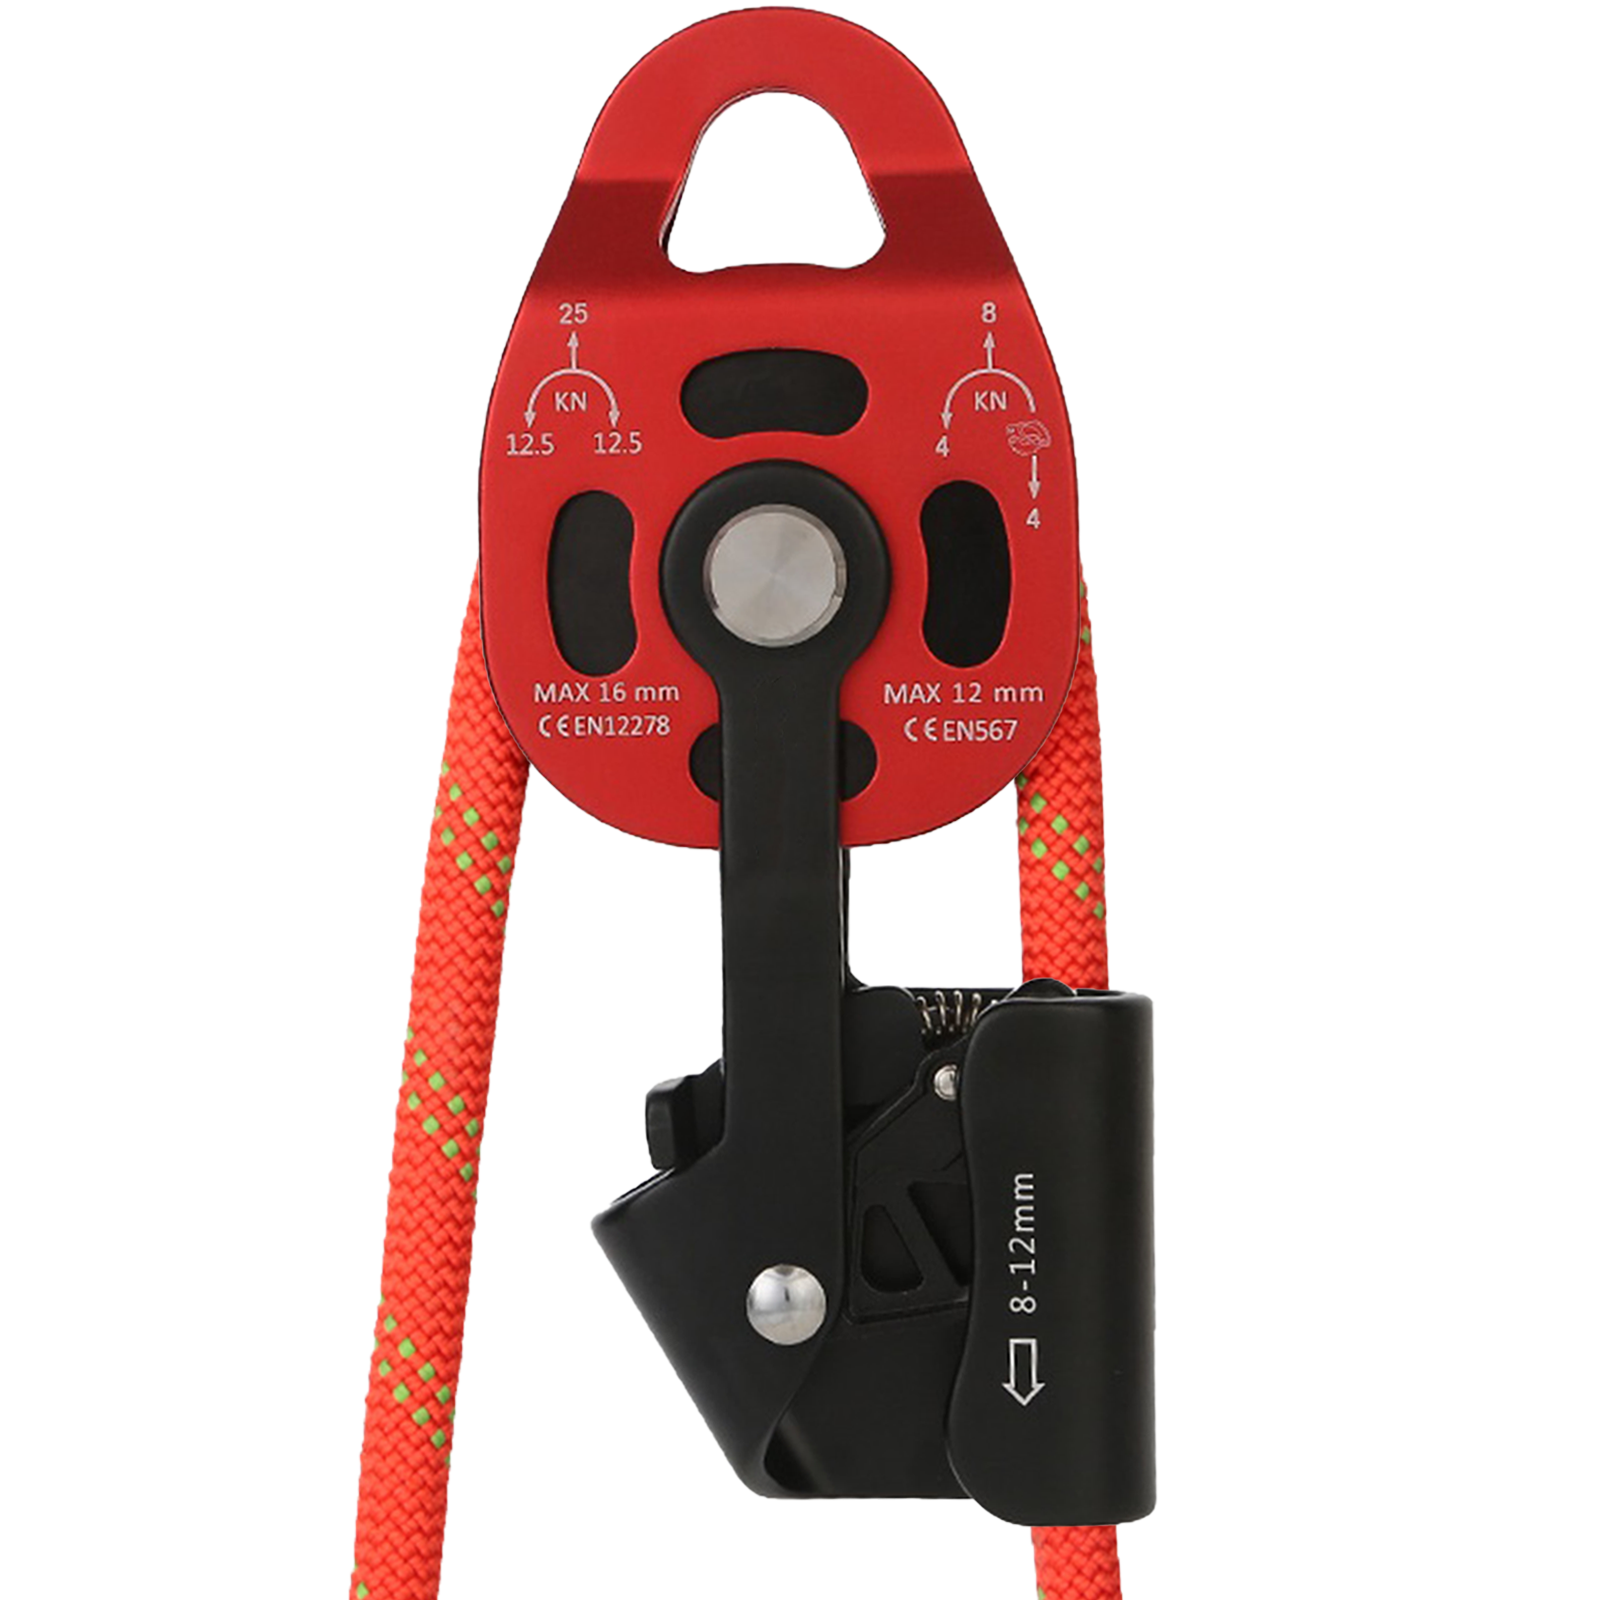
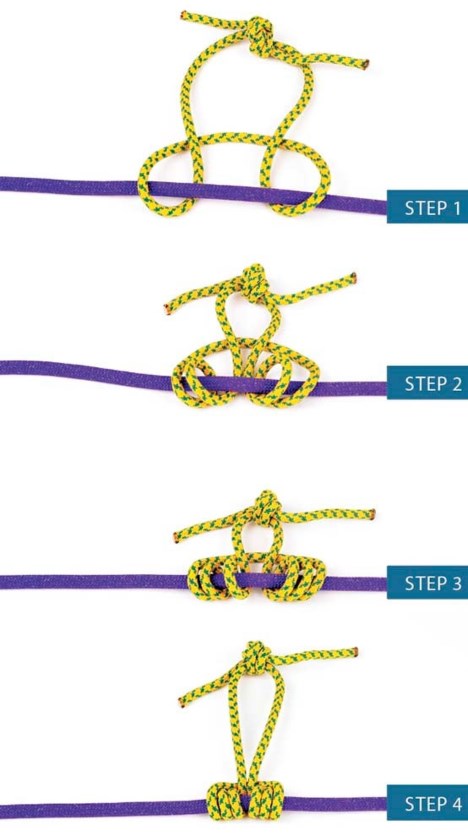
3. Prusik Knot
This is a friction knot that slides freely when unloaded but grips the rope tightly when weighted. It is commonly used for backup during rappelling or for ascending a rope.
How to tie:
Use a 4–6 mm accessory cord to form a 12-inch loop, join the ends with a Double Fisherman’s or Water Knot, and wrap the loop around the main rope 3–4 times.
Thinner cord offers better grip; in an emergency, even a shoelace can be used.
Uses:
- Rappel backup;
- Ascending a rope (Prusiking);
- Rescue and emergency operations.
Advantages:
- Simple and reliable;
- Has many variations for different situations;
- Works with almost any type of rope.
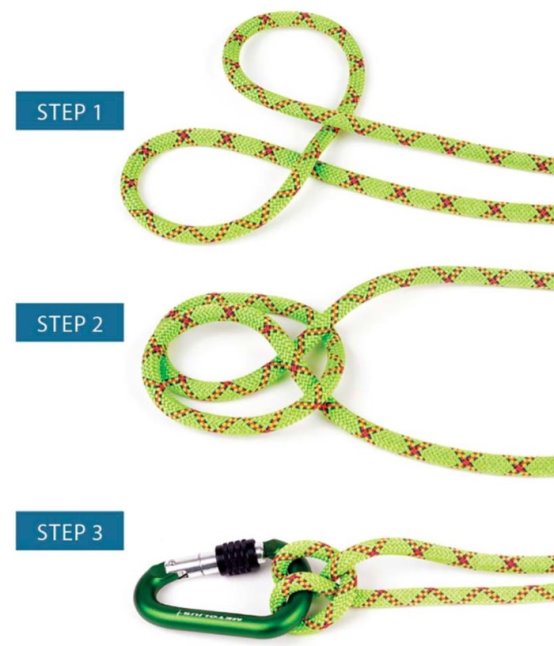
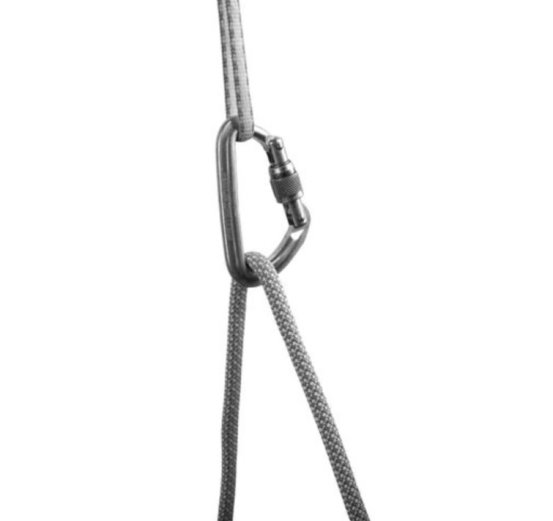
4. Double Figure-8
Used to quickly secure the rope to an anchor or to connect yourself to a protection point.
Although the Clove Hitch offers better adjustability and is easier to untie, the Double Figure-8 remains a fast and reliable option.
Uses:
- Securing yourself to a protection point;
- Tying the rope to an anchor (requires a carabiner).
Advantages:
- Easy to tie and inspect;
- Relatively easy to untie even after being weighted.
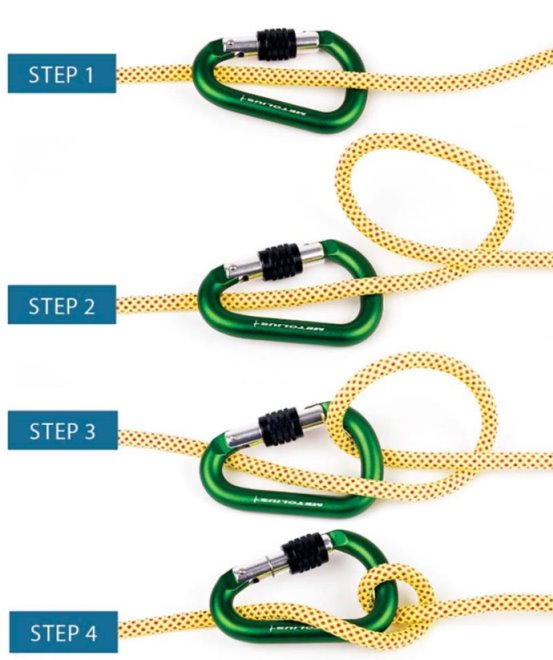
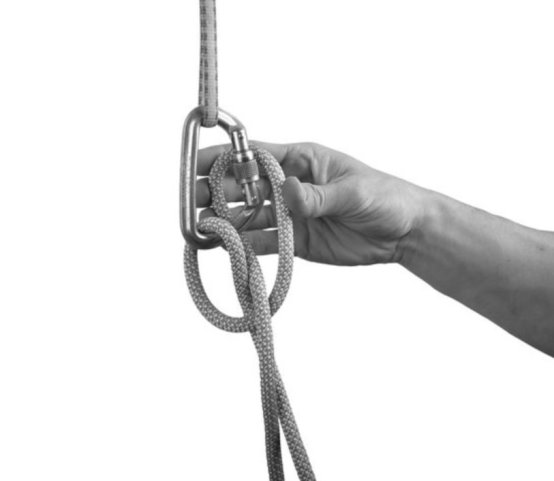
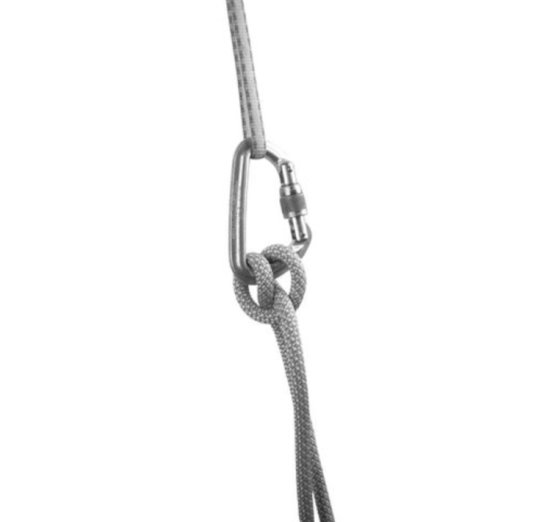
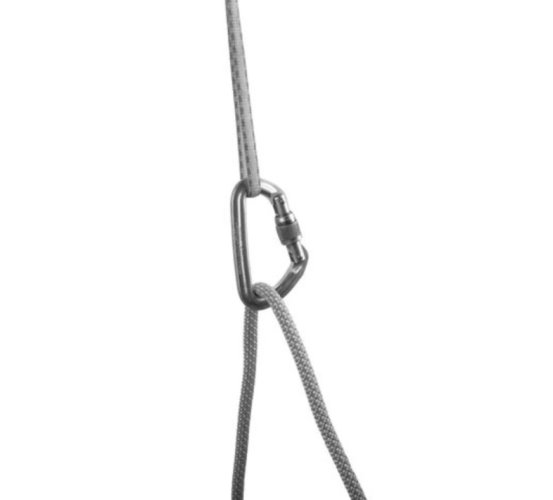
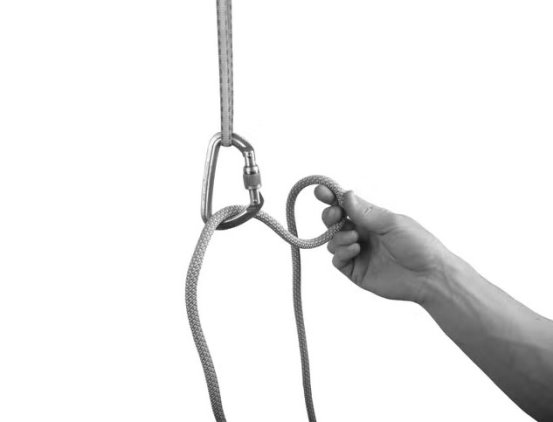
5. Munter Hitch
If you lose your belay device, the Munter Hitch can be used for emergency rappelling or belaying. It creates friction to control descent, but it can twist the rope and should only be used when necessary.
How to tie:
Loop the rope around a carabiner and cross it over itself before clipping in.
Ensure the knot can rotate freely.
Use:
Emergency rappelling or belaying.
Advantage:
Works with any rope diameter.
6. Double Fisherman‘s Knot
Used to join two ropes of the same or different diameters. It is more secure than the Water Knot and less likely to come loose.
It can also be used to secure rope ends or create loops.
The downside is that it can be very difficult to untie after being weighted.
Gently tapping or rolling the knot may help loosen it before prying it open with a tool.
Uses:
- Joining slings or rappel ropes;
- Backing up the tail of a Figure-8 knot.
Advantages:
- Extremely secure;
- Relatively easy to untie even in wet conditions.
7. Clove Hitch
Used to quickly secure yourself to an anchor, with easy length adjustment.
It can be easily released by flicking the carabiner.
Note: Do not use it to secure the end of a rope, as it may slip. Use a more secure knot like the Double Figure-8 instead.
Uses:
- Securing to an anchor;
- Adjusting system length.
Advantages:
Versatile, easy to adjust, and easy to manipulate.
8. Girth Hitch
Widely used for connecting slings, extending gear, or reducing leverage.
Simple to tie, but it should not be used as the primary load-bearing knot.
Uses:
- Connecting a sling to the belay loop of a harness;
- Securing partially placed protection;
- Multi-purpose temporary connection.
Advantages:
Simple, easy to remember, and flexible.
Bonus Tip: One-Handed Tying
In alpine or multi-pitch climbing, efficiency is crucial. Learning to tie the Clove Hitch and Munter Hitch with one hand can significantly improve your speed and safety.
One-Handed Clove Hitch:
1.Pass the rope through the carabiner, away from the wall;

2.Grab the rope below to form a small loop with the bottom segment on top;
3.Pass the loop around the rope, palm facing the gate, and clip it into the carabiner;
4.Pull tight to finish.
One-Handed Munter Hitch:
1.Start similarly to the Clove Hitch by passing the rope through the carabiner;
2.Grab the rope behind the carabiner and flick your wrist to form a loop;
3.Flip the loop so your knuckles face the gate and clip it in;

4.Pull tight to complete.
Conclusion
Mastering these eight knots and their applications will greatly enhance your climbing safety and efficiency. Be sure to practice repeatedly in a safe environment until they become muscle memory.
Happy Climbing!