


Equipment Knowledge: Avoid Blind Consumption – Professional Insights on Climbing Gear (Part 2)
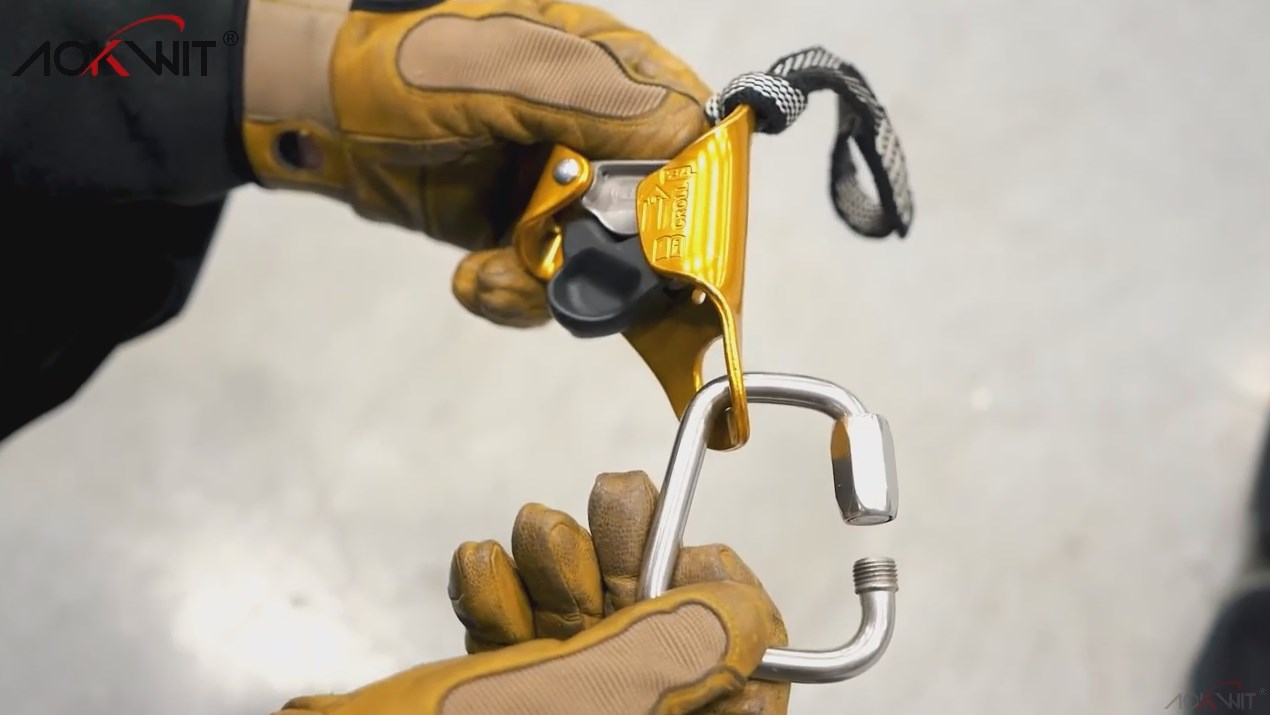
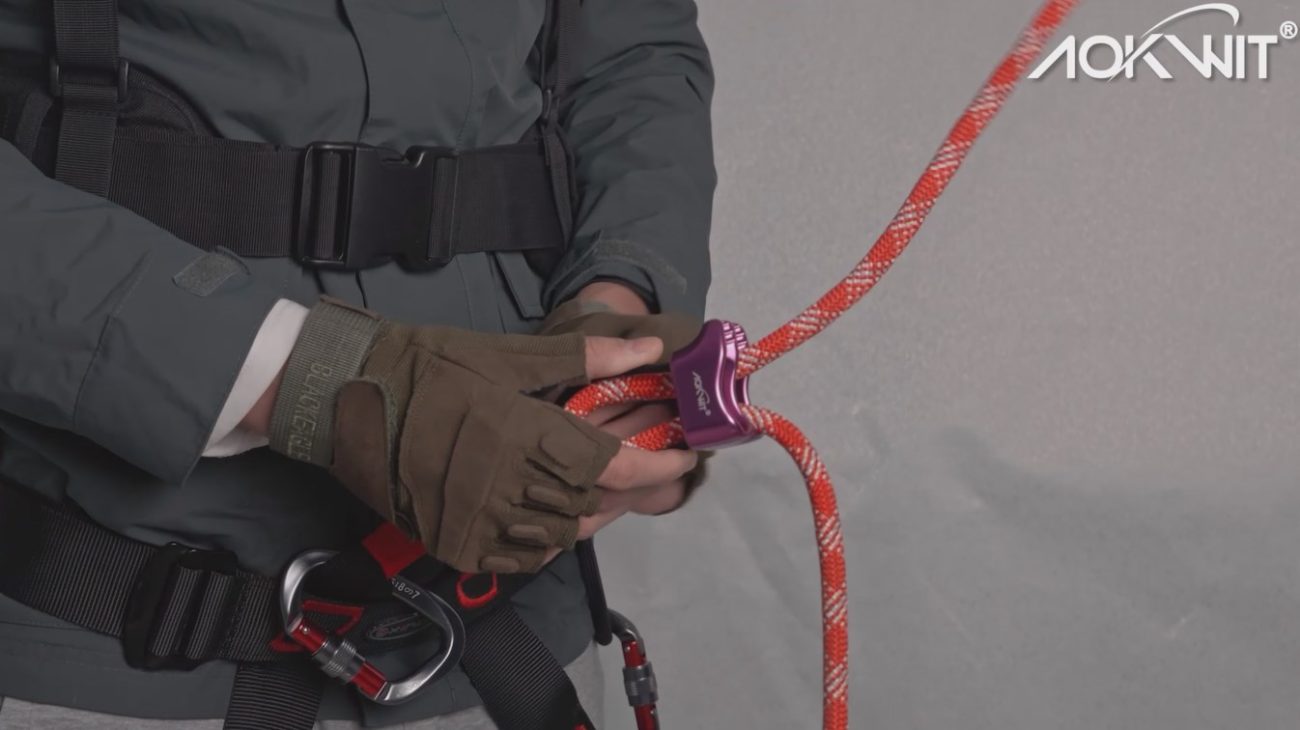
I. Belay Devices
The primary function of a belay device is to increase friction and stability when using a rope for belaying, enabling controlled descent.
However, belay devices differ in specialization. Compared to dedicated descenders, belay devices rely more on physical friction, making them prone to overheating during prolonged descents. They also lack the consistent speed control and stability of specialized descenders.
Nonetheless, they are sufficient for most climbing and mountaineering scenarios.
The most common types include the figure-8 and tube-style belay devices.
Key differences are outlined below:
- Friction Teeth (Yellow Box in Diagram): Some tube-style belay devices feature friction teeth (shown in the yellow frame), while others lack them (purple frame)
- Friction teeth are evenly distributed along a V-shaped groove. When the rope (a round object) is weighted, it deforms and presses into the V-groove. The teeth allow easy stopping and speed adjustment during braking.
- These devices can also be flipped, providing two friction modes.
2. Attachment Loop (Red Box in Diagram): Early tube-style devices used spiral-shaped attachment loops, while some plate-style devices omit this feature.
- The loop prevents the belay device from sliding away when not under load. Always clip the loop to a carabiner, not just the rope. It also aids in carrying the device and securing it while threading the rope.
3. Top Belay Hole (Green Box in Diagram): Some devices, like the Black Diamond ATC Guide, include an additional top belay hole.
- This hole connects to an anchor point for “top-rope belaying.” When the follower falls, the rope-on-rope friction in the V-groove locks the system automatically, eliminating the need for the belayer to manually brake. The belayer can then continue feeding rope once the climber resumes climbing.
- This type of device is essential for mountaineering, as alternatives like the Munter hitch or Garda knot are less reliable and reserved for emergencies.
4. Release Hole (Light Blue Box in Diagram): This hole has limited utility. It is used when the follower is stranded on an overhang after a fall and cannot return to the wall. The belayer can attach a sling or quickdraw to the hole, leveraging mechanical advantage to unlock the device and slowly lower the climber.
5. Auto-Locking Belay Devices (Blue Box in Diagram): Unlike manual tube-style devices, auto-locking devices instantly lock the rope during a fall, preventing accidents caused by belayer error. They are ideal for sport climbing but less suitable for top-rope belaying or dual-rope descents.
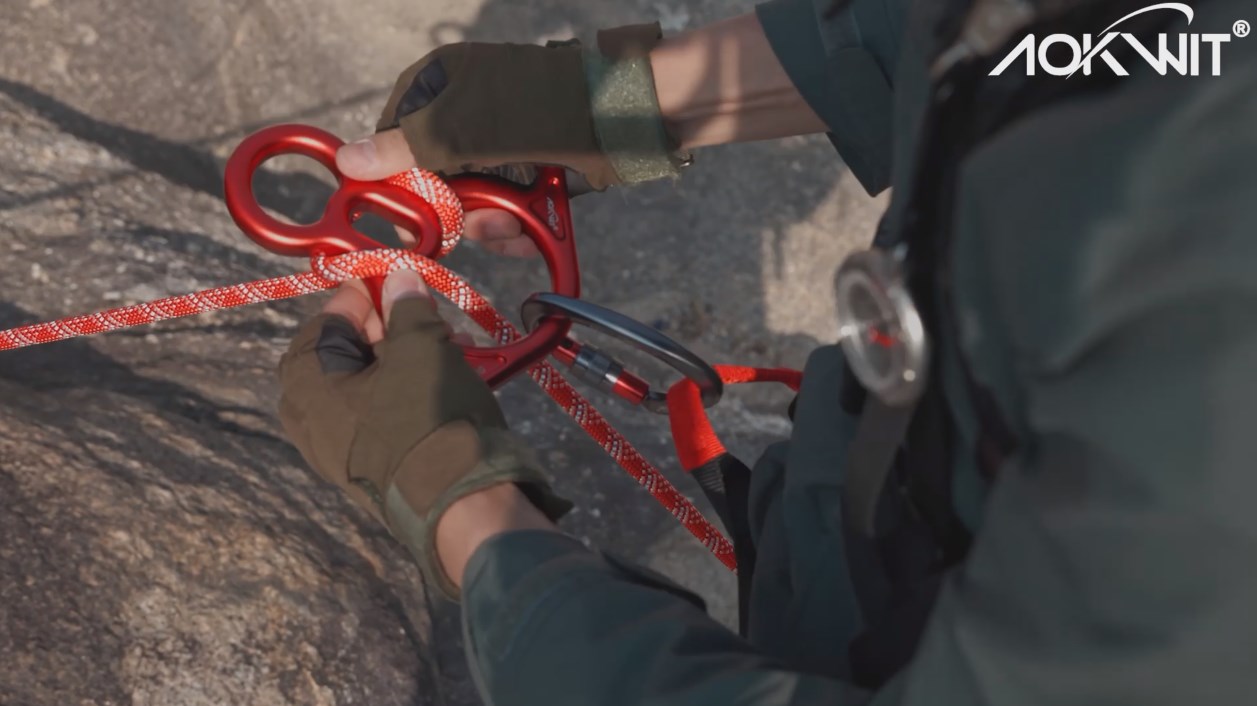
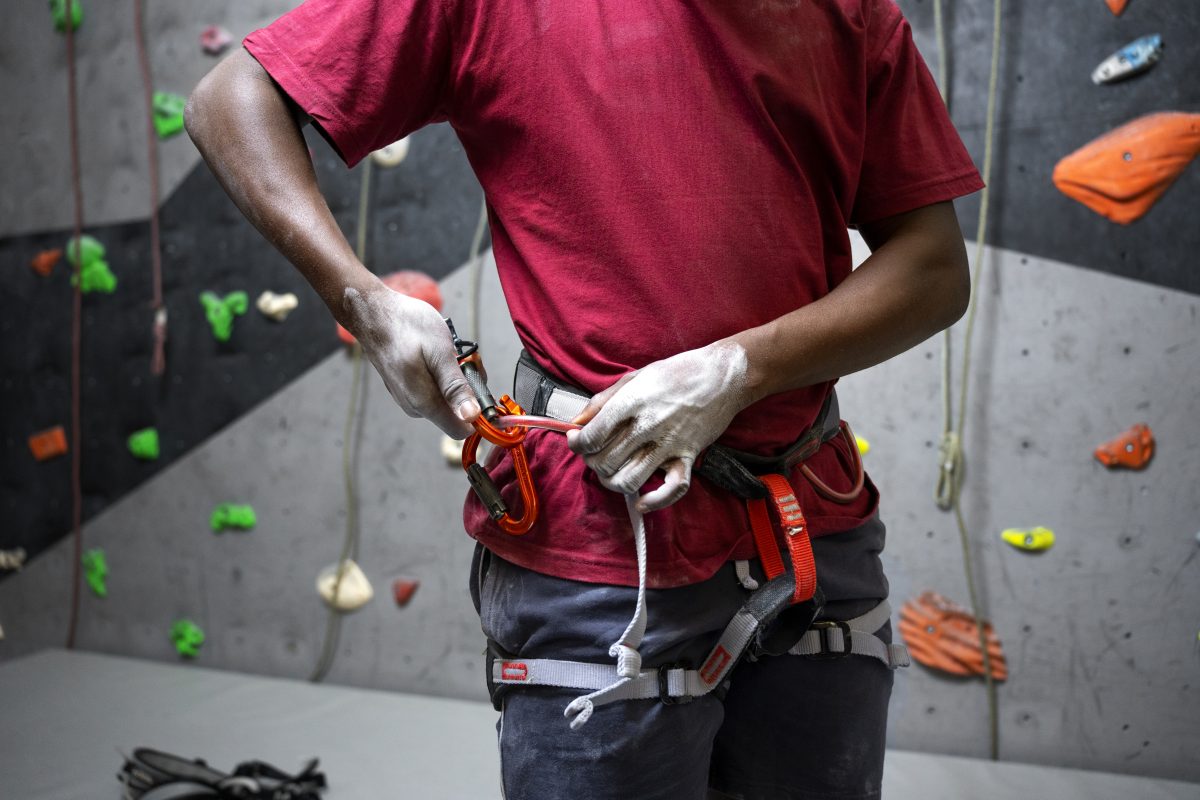
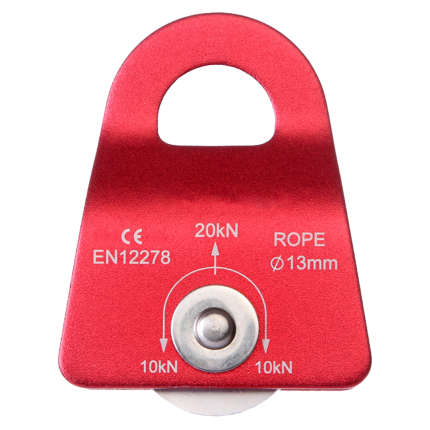
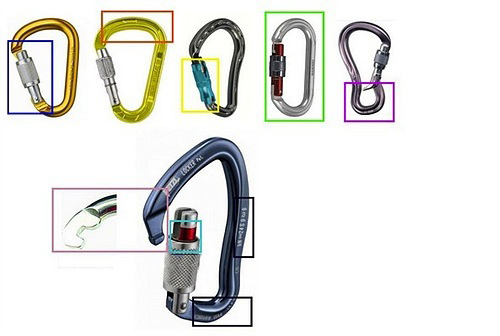
II. Carabiners
Carabiners are aluminum connectors used to link belay devices, secure ropes, or attach slings. They are designed for strength, weight, gate size, and compactness, with a locking gate mechanism.
- Certifications and Markings (Black Box in Diagram):
- Common certifications: UIAA (simulates climbing scenarios) and CE (manufacturing quality).
- Additional markings include serial numbers, structural strength ratings, and three load capacities: major axis, minor axis, and gate-open strength.
2. Gate (Blue Box in Diagram):
- The gate (often screw-locking) is the most vulnerable component. While carabiners are theoretically “lifetime” gear, wear and tear can reduce gate elasticity.
- High-quality gates operate smoothly, resist jamming, and include visual reminders (light blue box) to close the gate.
- Auto-locking gates (yellow box) enhance safety but are expensive, heavy, prone to malfunction, and less durable.
- Avoid older hook-shaped gates (pink box), which can snag ropes or gloves. Modern gates use smooth, anti-snag designs.
3. Shapes (Green Box in Diagram):
- O-shaped: Highest strength, ideal for belay devices.
- D-shaped: Larger gate opening, suitable for holding multiple ropes or gear.
- Others: Pear-shaped, asymmetric, etc.
III. Slings
Pre-sewn slings (blue box) are sold in standardized lengths with a 22 kN rating. Common materials:
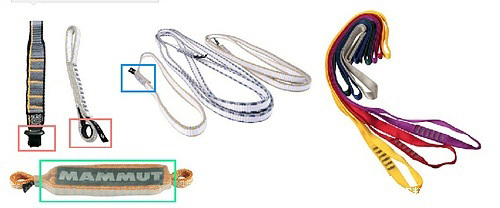
- Nylon:
- Pros: Affordable, high melting point, shock-absorbing, smooth texture (easy to untie).
- Cons: Bulky, absorbs water, prone to freezing.
2. Dyneema:
- Pros: Ultra-strong, lightweight, water-resistant, compact.
- Cons: Expensive, low shock absorption, fibers fray over time, low melting point.
3. Dynex: Similar to Dyneema but blended for specific brands (e.g., Black Diamond).
- Melting Point Considerations: Use nylon slings for rappelling over edges, as friction generates heat.
- Shock Absorption: Nylon slightly reduces impact force on anchors compared to Dyneema.
- Sizes: Dyneema: 8mm/10mm/12mm; Nylon: 16mm/18mm.
- Lifespan: Nylon: 3–5 years; Dyneema: Longer UV and weather resistance.
- Short Slings (10–18 cm): Used for quickdraws. Nylon is bulkier but grippier; Dyneema is lighter and ice-resistant. Dyneema quickdraws include rubber keepers (red box) to prevent slippage but should not be clipped to anchors.
- Long Slings (30–240 cm): Anchor extensions, natural protection (e.g., trees, boulders), or extending quickdraws.
IV. Other Equipment
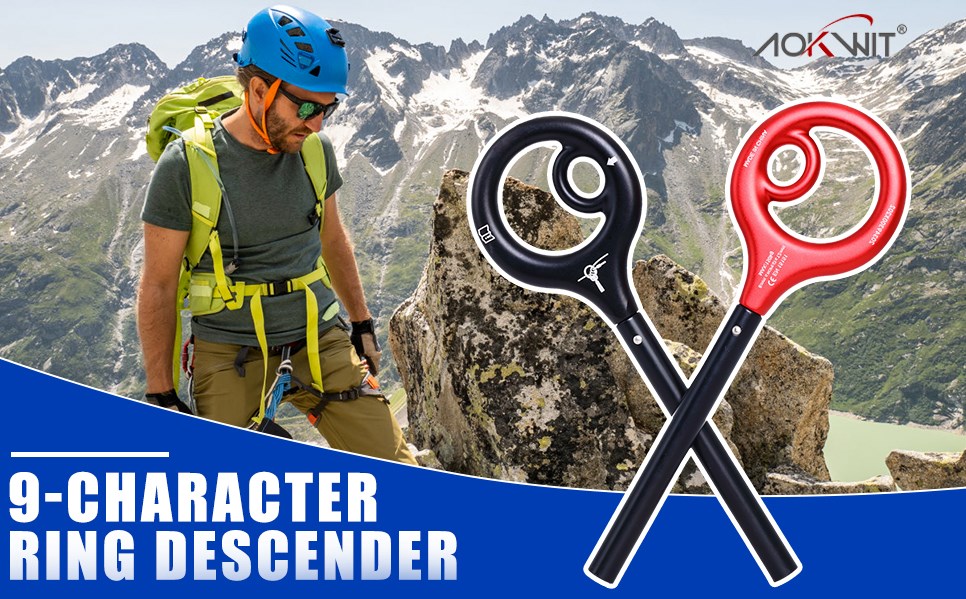
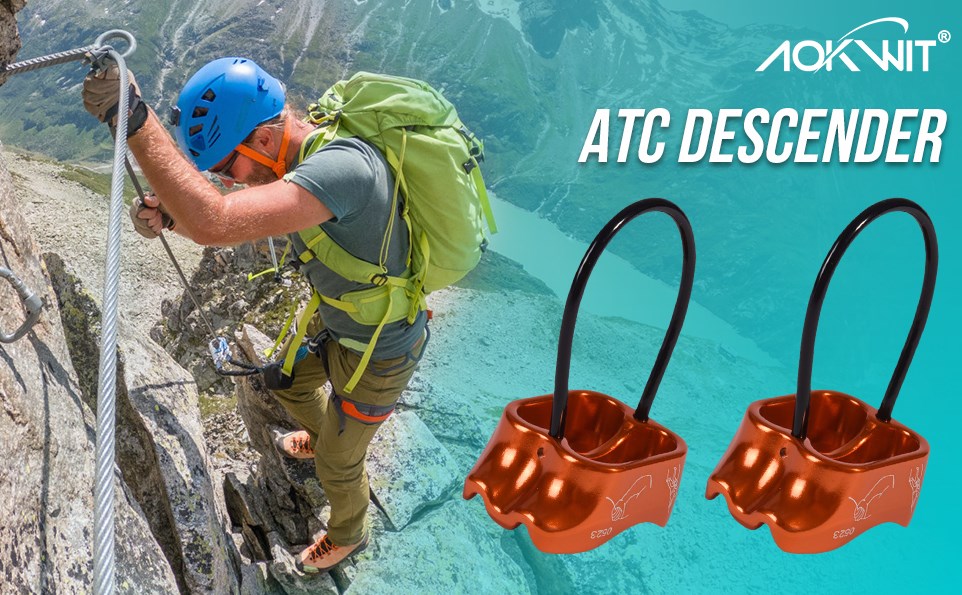
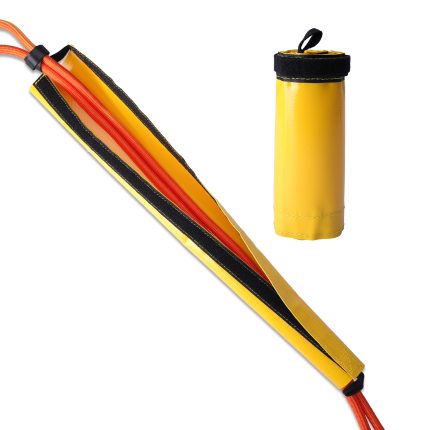
1. Descenders: The figure-8 descender is popular for its simplicity and multi-friction modes. Drawbacks include rope twisting, incompatibility with dual ropes, and difficulty pausing mid-descent.
2. Cordage: Daisy chains or pre-sewn slings (22–24 kN).
3. Helmets: Critical for protecting against falling debris. Use UIAA/CE-certified helmets for climbing, ice climbing, or mountaineering.
4. Climbing Shoes: Tight-fitting, sticky rubber soles for precise footwork. Prioritize toe sensitivity and support.
5. Chalk and Chalk Bags: Use fine-grain chalk (avoid talcum powder).
6. Ropes: Dynamic ropes (9–11 mm diameter).
- 9–9.8mm: Experienced climbers.
- 10–10.5mm: General use.
- 10.5–11mm: Gyms or group activities.
7. Quickdraws & Anchors: Essential for lead climbing.
8. Pitons, Hammers, & Nuts: Traditional protection for cracks.
9. Portaledges: Hanging tents for overnight stays on big walls.
10. Miscellaneous: Backpacks, sleeping gear, cooking tools, etc.
Note: Beginners should consult professionals when selecting and using gear.