


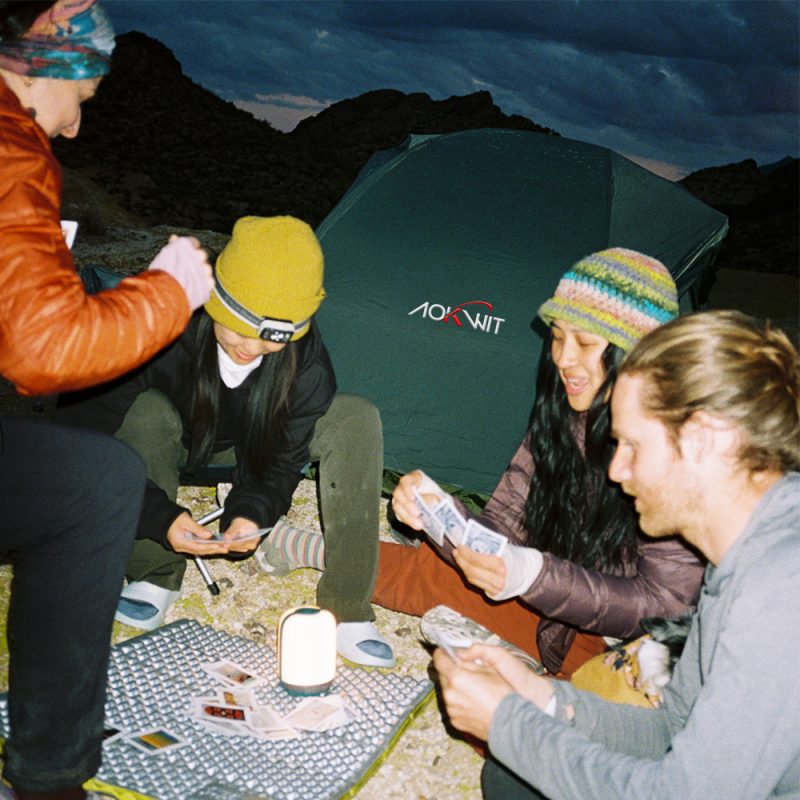


A Brief Discussion on Rock Climbing Photography
I. Characteristics of Rock Climbing Photography
Due to inherent limitations imposed by the shooting environment, lighting, angles, and even photographic support methods, rock climbing photography presents a higher degree of difficulty compared to conventional landscape or portrait photography.
An outstanding rock climbing photograph not only authentically and naturally captures the activity and events but must also convey mood, emphasize compositional aesthetics, and possess both documentary and artistic qualities. Such an image achieves greater visual impact.
Furthermore, given the nature of climbing, effectively portraying the climber’s movement, emotion, and mental state is crucial. A powerful image successfully expresses the climber’s strength and flexibility, along with the tension and exhilaration inherent in the sport.
II. Preparations for Rock Climbing Photography
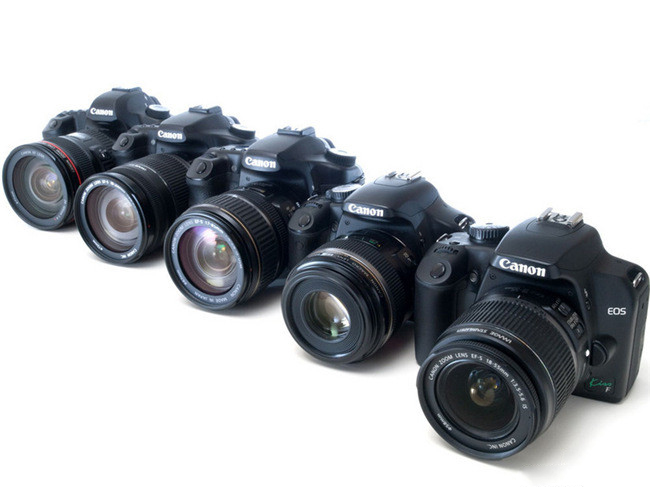
(A) Master Your Camera Thoroughly
- Internalize Camera Functions: Deep familiarity with your camera’s functions is essential to react swiftly in dynamic shooting environments, allowing you to focus entirely on creative composition. You must know how to quickly adjust ISO for changing light, manipulate aperture/shutter speed, and select metering modes. This also means constantly monitoring the exposure meter through the viewfinder. Practice at home, practice in the yard – do not wait until you’re dangling on a rope all day with no choice but to shoot. Settings become more complex when using fill-flash or remote flashes, making confident control paramount.
Note on Auto Mode: While “Auto Mode” eliminates the need to manage these settings, it essentially means relinquishing artistic control over the image. For many cameras, “Auto Mode” also often restricts shooting to JPG format, denying you the creative flexibility of RAW files.
- Creative Control Through Settings: Using a DSLR or advanced compact camera enables creative expression through manual control. Setting aperture and shutter speed grants command over depth of field and the ability to freeze or blur motion, ideally while maintaining correct exposure.
- Example – Aperture: To capture a shot with a climber’s chalk-covered hand in sharp focus as the foreground and a blurred face in the background, adjust the aperture. Large aperture = Shallow Depth of Field = Low f-number (e.g., f/2.8). Small aperture = Deep Depth of Field = High f-number (e.g., f/22).
- Example – Shutter Speed: To emphasize the dynamic movement of a boulderer reaching for a hold, shutter speed is key. Experimentation is the best approach: review each shot and adjust settings until achieving the desired effect.
- Reiteration on Auto Mode: Relying solely on “Auto Mode” sacrifices artistic control and often limits you to JPG format.
- Utilize Burst Mode: If your camera has a “Burst” or “High-Speed Continuous Shooting” mode, use it. This setting is crucial when climbers navigate crux moves, experience falls, or take long whippers. Without it, you might only capture the moment just before or after the peak action. Burst mode acts as insurance, potentially yielding unexpected gems. Use it judiciously, however, as it rapidly increases the number of images requiring review.
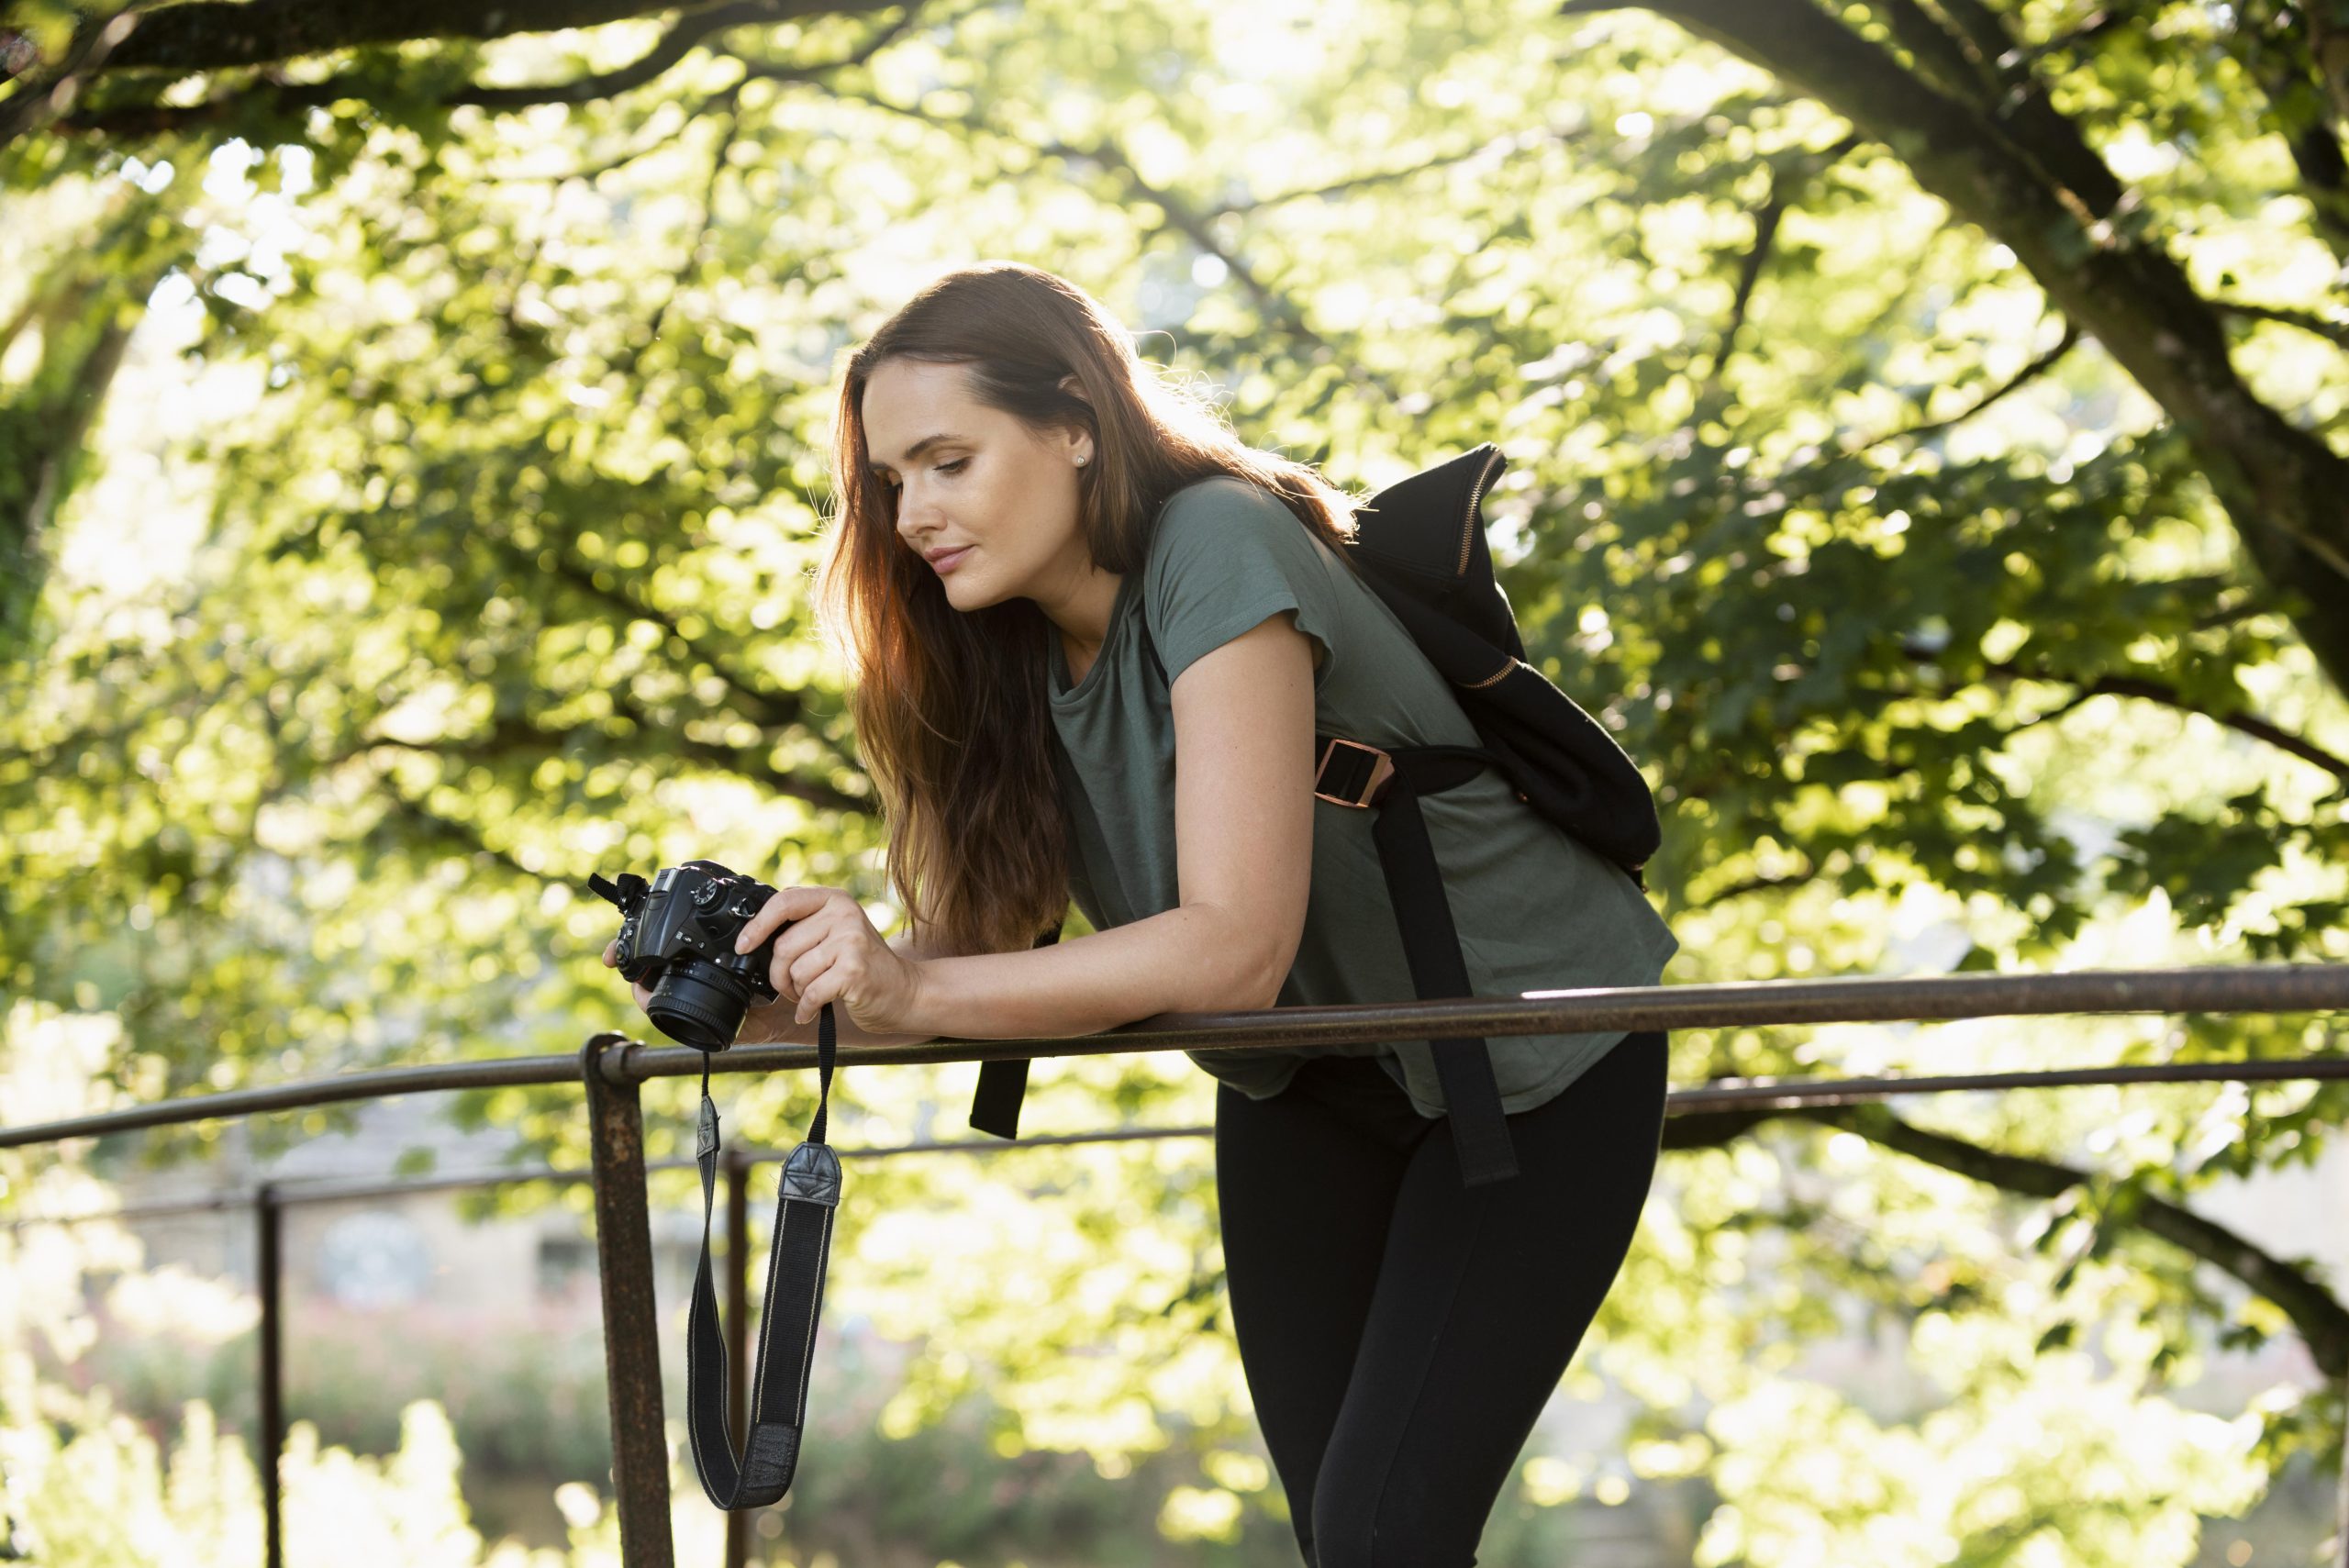
(B) The Photographer Must Understand and Be Able to Climb
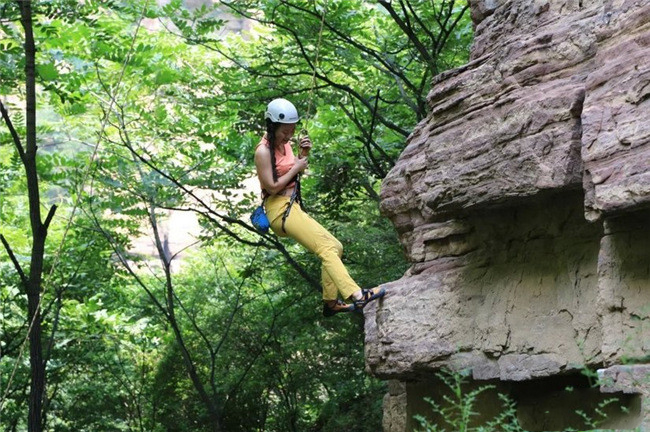
A skilled photographer appreciates the beauty of climbing and must be capable of timing ascents alongside their subjects to meticulously capture their precise expressions and movements. While beautiful photos can be taken from the ground on difficult routes given good environment and light, capturing the true spirit and mood often requires the photographer to be an integrated part of the climb itself.
III. Key Considerations During Rock Climbing Photography
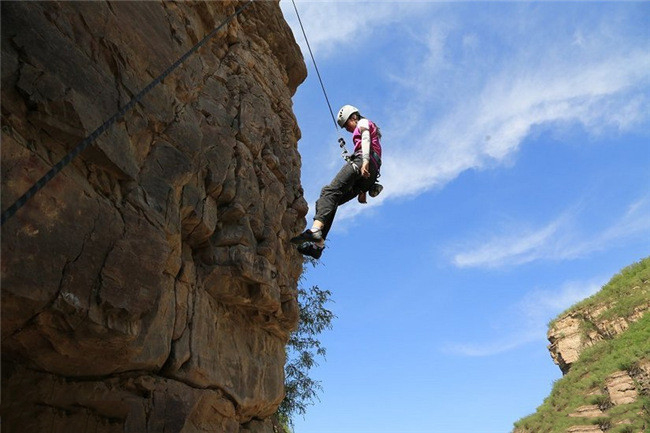
(A) Angles
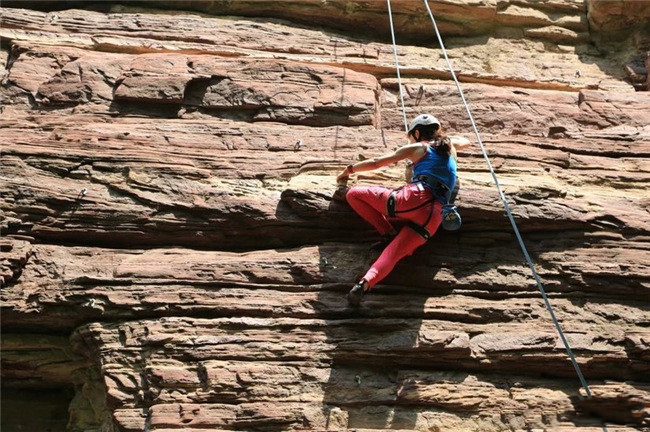
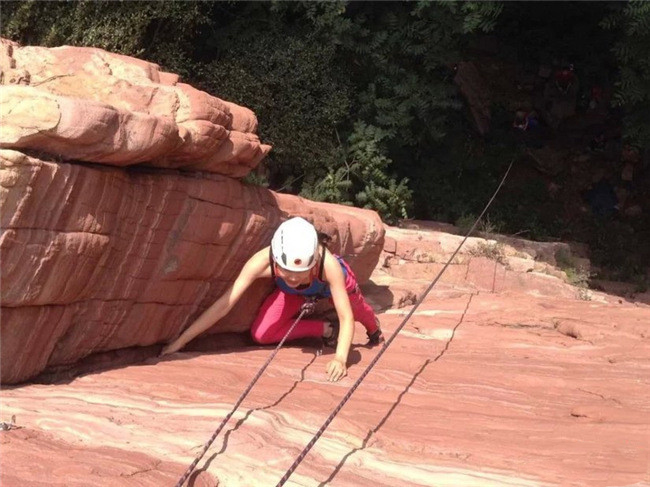
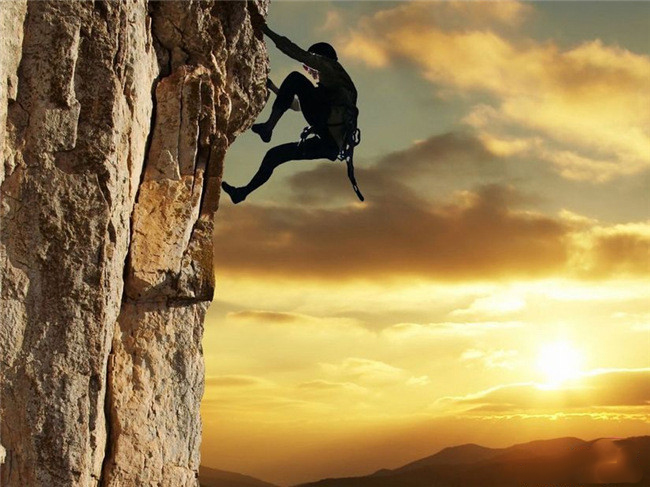
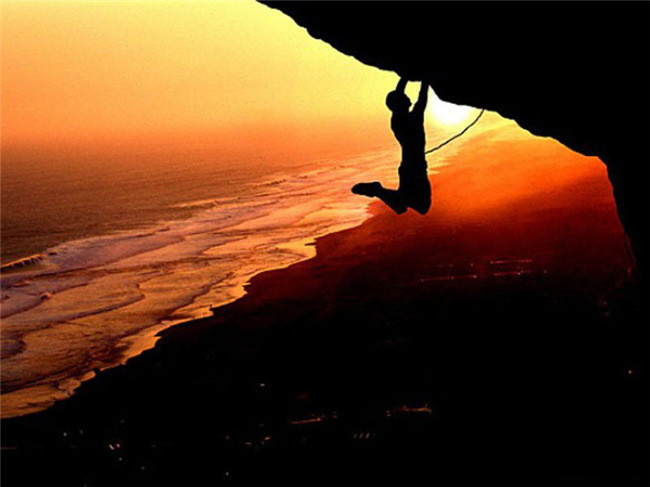
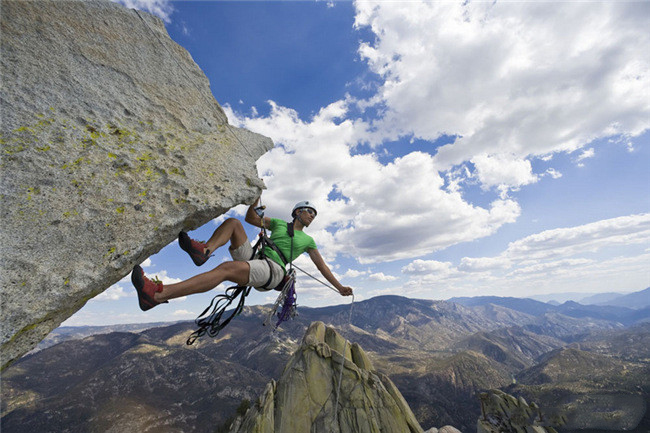
- Seek Superior Vantage Points: This is critical. Prioritize shooting from above or the side, avoiding shots from directly below, as this angle rarely yields compelling or impactful images. Shooting from above and the side aims to showcase perspective and exposure. Climbing is a vertical endeavor; thus, the correct shooting angle makes a profound impression. Perspective is your best weapon – actively seek opportunities to position yourself advantageously. This usually entails ascending to high points, demanding that you can safely operate ropes, know how to rappel, and always prioritize safety first.
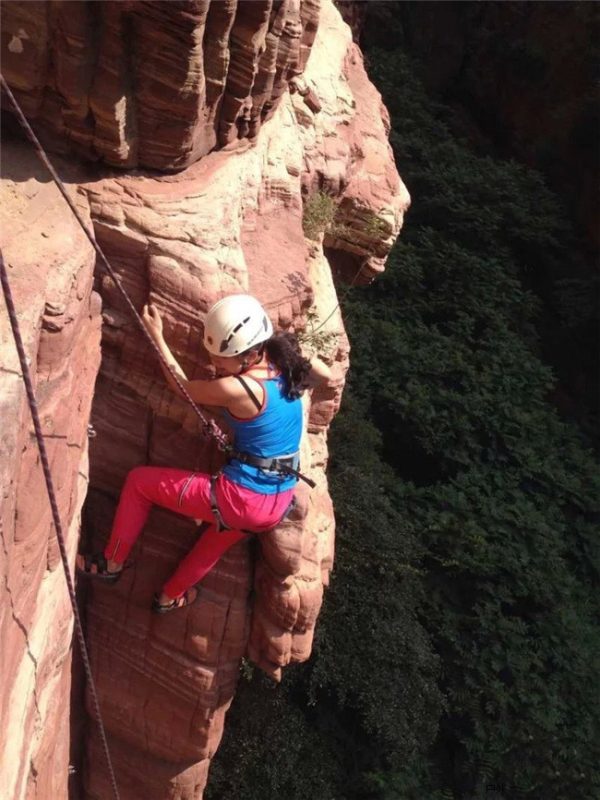
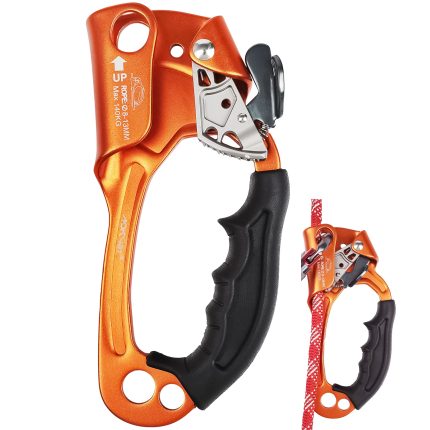
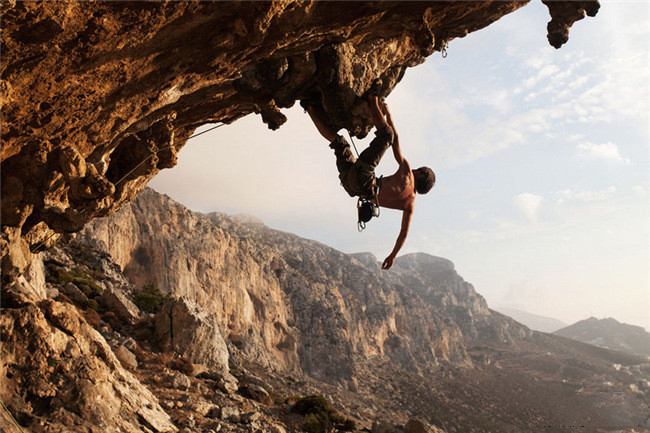
- Position at the Climber’s Level: For close-ups of the climber’s face, expression, or body position, position yourself roughly level with the climber, slightly to the side, or ideally slightly above and to the side. This allows capturing the face, body posture, and some context of the route and environment. Reaching this position often requires rappelling and hanging in place. You may also need to ascend the rope afterward, necessitating proficiency in ascending/descending techniques and the use of appropriate protective gear.
(B) Composition
The term “composition” originates from Latin, meaning structure, arrangement, and connection. Composition is the process of distilling and abstracting the world into points, lines, planes, and shapes. As Marc Riboud said: “Photography is geometry.” Effective composition saves post-processing effort and is the key distinction between a cover-worthy shot and a discarded one.
- Horizon & Level Lines: Tilted horizons are glaringly obvious. Avoid fixing them in post-production through cropping, as this results in pixel loss and image degradation.
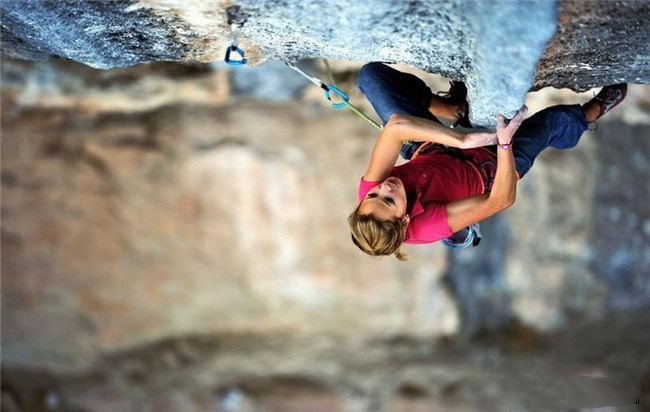
- Gravity & Vertical Lines: Quickdraws, ropes, and gear act as visual anchors. Nothing is more visually interesting than a quickdraw hanging at an angle from a gear loop, seemingly pulled by the rock itself. Correct composition is vital.
- Cropping: Avoid framing the shot too tightly during capture. While some cropping is possible with high-megapixel files, you cannot regain lost pixels. Making this mistake has led to rejections from publishers. Magazines prefer breathing room; covers demand it. Consider the final purpose of the image while shooting.
- Understand Composition Rules: Learn rules like the Rule of Thirds and other classical compositional techniques. Use them, and occasionally, break them effectively.
(C) Utilizing Light
The word “photography” comes from Greek, meaning “drawing with light.” Beyond technical skill, nothing is more critical to a successful photograph than the masterful use of light. As a photographer, you must understand not only how your camera “sees” a scene but also how it processes light. There are typically two approaches: waiting for ideal light (like landscape master Michael Fatali, who might wait hours or days) or adapting creatively to existing conditions. Talk of “good” or “bad” light often refers to its suitability for the subject. The latter approach suits the impatient or time-constrained.
Light Color: Natural light color changes dramatically throughout the day: deep, warm reds at dawn/dusk, harsh gold at noon – nothing alters a scene’s appearance more persistently. Light reflects, tinting the environment. Planning shoots around these qualities is essential.
Twilight (Dawn/Dusk): Excellent nature photography demands sacrificing sleep. With short summer nights, sleep between sunset and pre-dawn departure is minimal. Arriving an hour before sunrise is worthwhile as intense color play begins then. Good weather yields bands of blue and magenta-purple on the horizon. Pre-sunrise and sunset clouds often exhibit intense hues. Waiting for twilight’s magic pays off.
Sunrise/Sunset: The scene transforms dramatically within seconds as the sun breaches the horizon. When light refracts through clouds onto the landscape, a unique ambiance emerges. Without clouds, the spectacle is brief (common in summer when light is harsh by 6 AM). In winter, lower sun angles and crisp air extend the “golden hours” – roughly an hour before sunrise to two hours after – offering prime shooting conditions.
White Balance (WB): WB significantly affects the color rendition of light. Auto WB attempts neutral color. For accurate or desired color mood reproduction, manual WB adjustment is wise.
Frontlighting (Light Behind Photographer): Sunlight coming from behind the photographer casts potentially intrusive shadows into the frame and is generally the least appealing light direction. It flattens dimensionality, often yielding two-dimensional results. However, it excels at rendering subjects’ inherent colors – strong morning/evening light can saturate a scene vibrantly, making it a valid choice then.
Sidelighting: Light striking the subject from the side creates strong shadows, excellently sculpting landscapes and forms, often generating dramatic results.
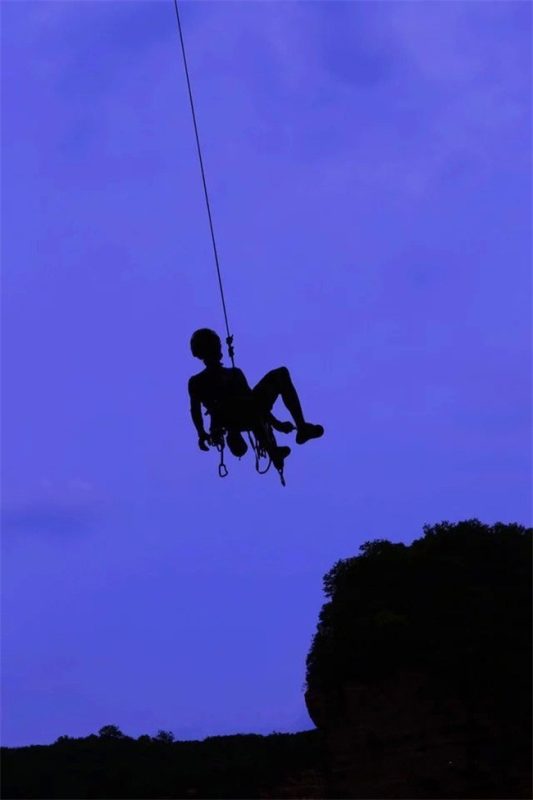
Backlighting: Light emanating from behind the subject, towards the camera. While challenging for exposure (often silhouetting the subject), backlight is the most dramatic and exciting light. It creates rich layering, emphasizes outlines, and produces atmospheric images (silhouettes, rim lighting). Natural light cannot be rearranged; its constant flux demands experience, foresight, and anticipation. Capturing backlight effects, silhouettes, and contours hinges on seizing the moment, choosing angles carefully, and sensitivity to details.
(D) Timing
Candid shooting is common in rock photography, demanding proficient control over settings (shutter speed, exposure) to accurately record fleeting moments. Poor technique hampers capturing expressive instants. Master using available light: Auto ISO boosts efficiency/success but beware of noise limits at high ISOs; wide apertures increase shutter speed but require careful DoF consideration. Experience is key. Audiences want to see movement – capture climbers during impressive moves. Remember, climbing photography is sports photography: Don’t hesitate to shoot when the athlete performs dynamically. Conversely, static shots of climbers resting or contemplating moves hold less interest.
(E) Safety
- Respect the Climber’s Safety: Respect climbers; don’t distract them. Be prepared to assist, but only upon their request. Respect others; don’t have a friend drop a rope down a popular route just so you can shoot climbers on adjacent lines.
- Protect the Photographer: Always wear a helmet to protect against rockfall. When shooting from height, secure yourself with a cow’s tail or rope to prevent a fall. If a good position is elusive, step back dozens of meters and use a telephoto lens. This achieves perspective shots showing the climber against the vast wall while minimizing risk from rockfall to yourself or your gear. Due to the dusty environment, use camera weather-sealing and carry lens cleaning tools.