


10 Tips to Enhance Your Climbing Photography

Spring is almost here, and outdoor climbing enthusiasts must be gearing up for the season. To fuel your upcoming adventures, I’ve translated this concise article packed with practical advice on climbing photography. Hopefully, fellow climbers and photographers will find it useful and capture great shots this year where the climber’s… posterior… isn’t the main focus!
Climbing photography can be considered a particularly challenging niche. While many climbers are also photography enthusiasts, they often end up with a pile of shots dominated by unflattering angles or unclear action. Here are ten tips to help you capture significantly better climbing photos.
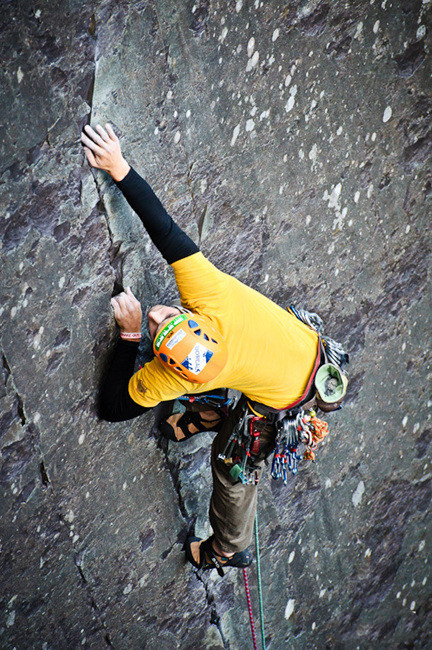
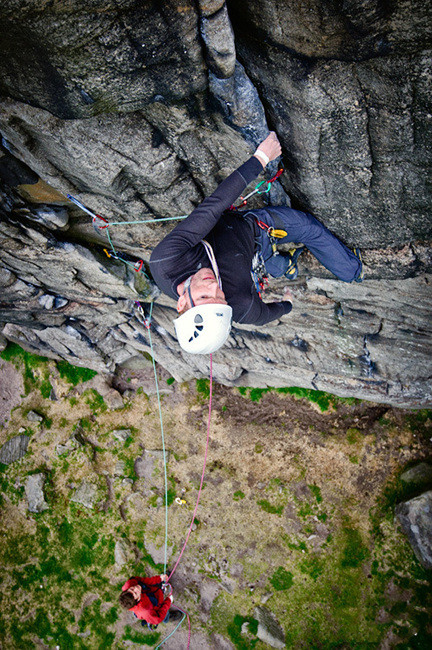
1. Choose a Better Angle

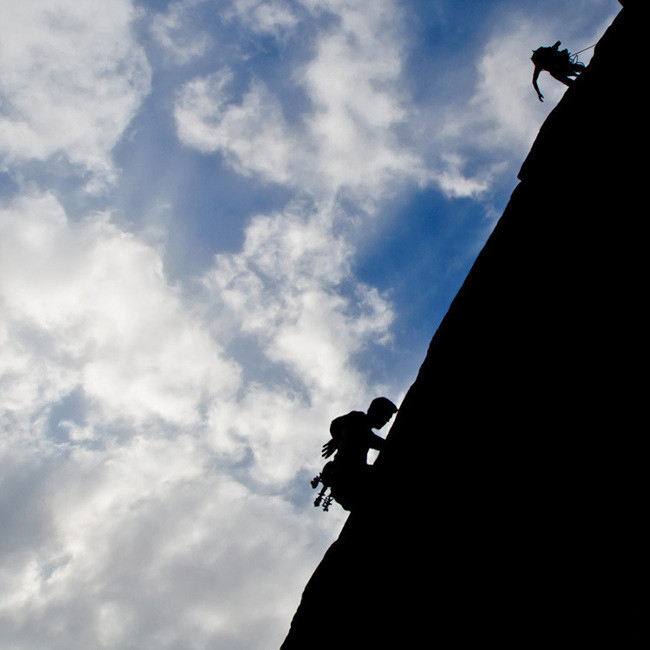
This is crucial and highly effective. Opt for shooting from above or from the side, avoiding shots from directly below, as this angle rarely produces flattering or compelling images. Shooting from above or the side primarily aims to showcase perspective and exposure (unless you specifically want a cropped shot focusing above the climber’s waist). Climbing is a vertical sport; consequently, the right shooting angle can make a photo exceptionally impactful. Perspective is your best weapon – use it to its fullest!
Achieving this angle often means the photographer needs to ascend on fixed ropes, though sometimes you might access a good position by climbing (ensure you can safely operate ropes and know how to descend). Always prioritize safety first, as it’s easy to forget when captivated by a stunning view.
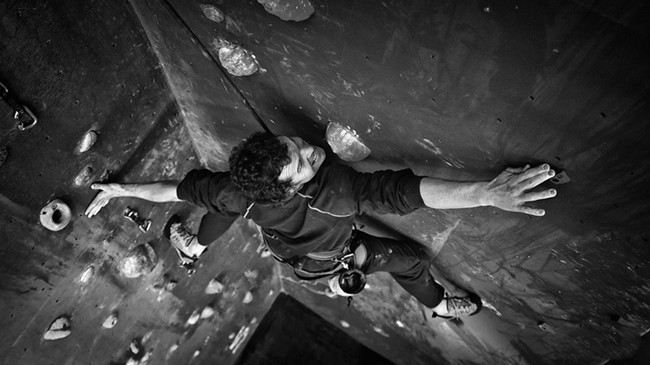
2. Show the Face
A natural consequence of the previous point is that shooting from above or the side allows you to capture the climber’s face. This creates a human connection between the photo and the viewer, helping them engage with the subject. That strained grimace perfectly conveys “Fucking hard!”
3. Wait for the Perfect Pose
Viewers want to see dynamic movement, so be ready to capture the climber during impressive or challenging moves. Remember, climbing photography is action photography: don’t hesitate to press the shutter when the athlete executes a beautiful sequence! Conversely, static shots of a climber resting or contemplating the next move are generally less engaging.
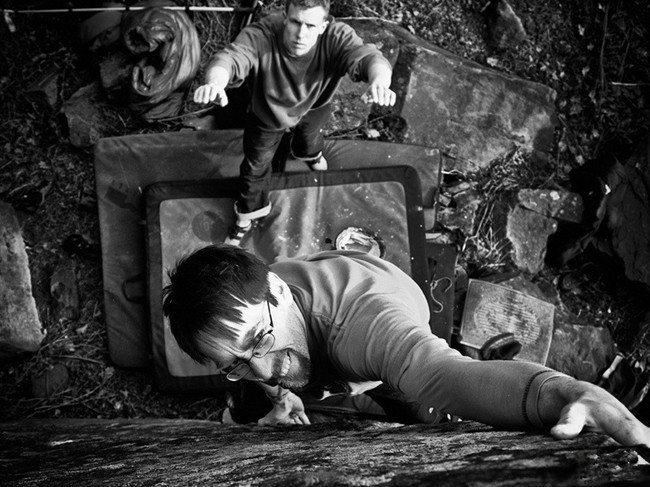
4. Show the Feet
There’s a world of difference between seeing a climber standing securely on a large ledge versus balanced precariously on the very edge of a tiny foothold. If the feet aren’t visible, viewers naturally assume the climber is on a good hold. Clearly showing feet perched on minuscule holds dramatically increases the image’s intensity and sense of drama.
5. Shoot Lead Climbing Only
Even non-climbers understand the implications of a fall – if the climber is far above their last protection point, the fall becomes significantly more consequential and dangerous, inherently creating drama and telling a story of courage. Top-roping, conversely, often appears comparatively mundane.
6. Focus on Details
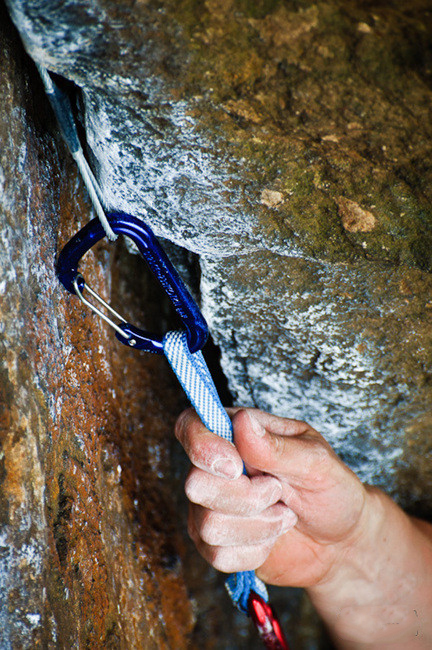
It’s common to overlook capturing details – close-ups of the face, hands, feet, gear, or even the rock texture. Sometimes, a detail shot can be far more evocative and suggestive than a wide-angle view.
7. Utilize Light
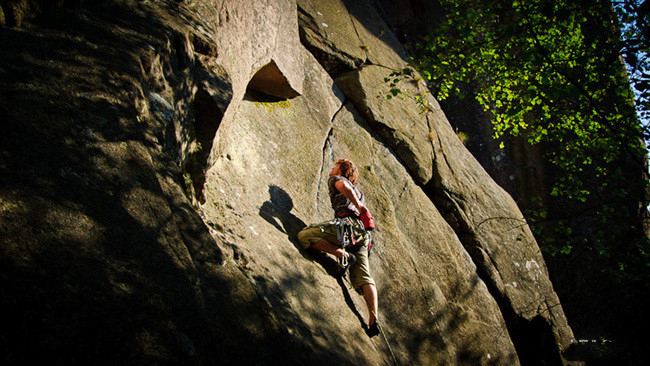
As with all photography, light is paramount. The warm glow of the golden hour makes everything look beautiful (including the climber!), while the harsh light of midday is notoriously difficult to work with. Also, be mindful of shadows; they can be extremely destructive to an image’s composition.
8. Experience the Route Yourself
Of course, if you’re photographing Chris Sharma on a first ascent, this suggestion might not apply! However, actually climbing the route (or parts of it) is often the best way to understand its flow. This helps the photographer anticipate movement and identify the best spots and moments for capturing compelling shots.
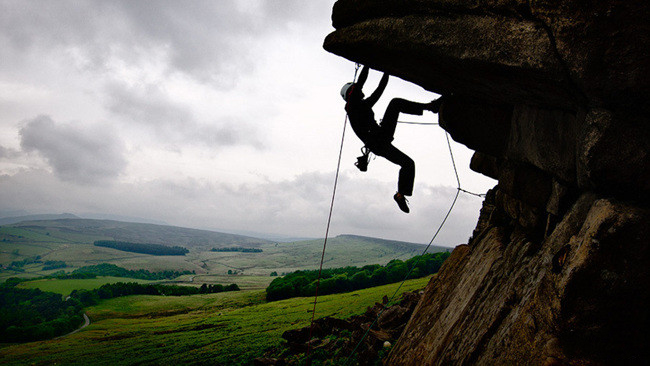
9. Step Back

Whether you can’t find a good close vantage point or simply want something different, try moving back dozens of meters and using a telephoto lens. This perspective emphasizes the climber’s relative insignificance on a vast wall (unless you’re shooting bouldering, of course) and creates a more interesting, natural-looking composition than the more common close-up angles viewers are used to seeing.
10. Keep Shooting
Finally, don’t expect overnight success: capturing great shots requires dedication, persistent practice, and a bit of luck. Commit to shooting consistently, day after day. Even when the results aren’t great, or you don’t feel like it, persistence is key. You will see improvement over time.