


AOKWIT Outdoor Knowledge Lecture Series – Equipment Safety Inspection
In the previous blog, we summarized a “Cross Equipment Mnemonic” for beginner climbers to remember the most common basic climbing equipment.
Today, AOKWIT will teach you How to Conduct Safety Inspections on Climbing Gear before Climbing.
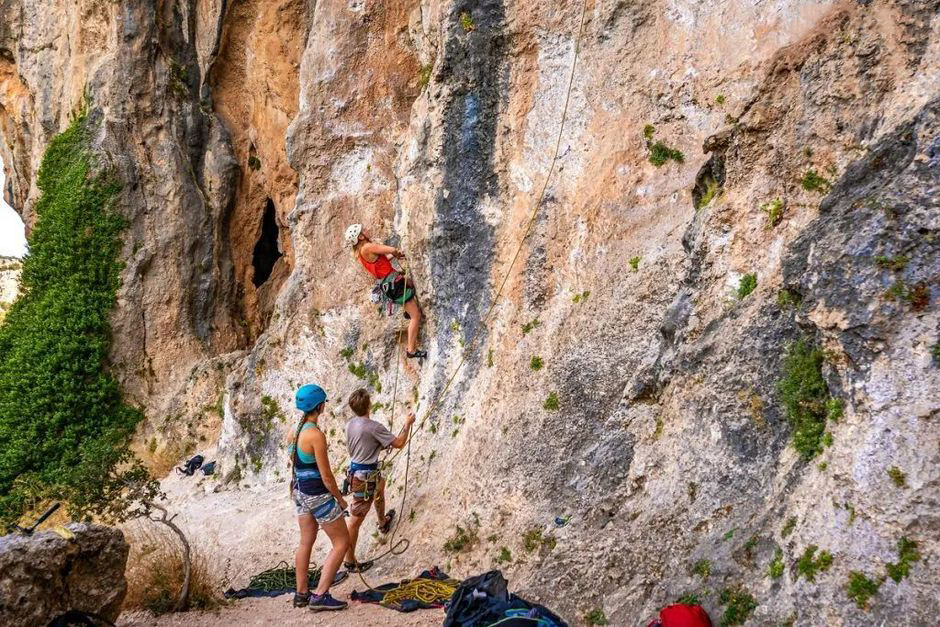
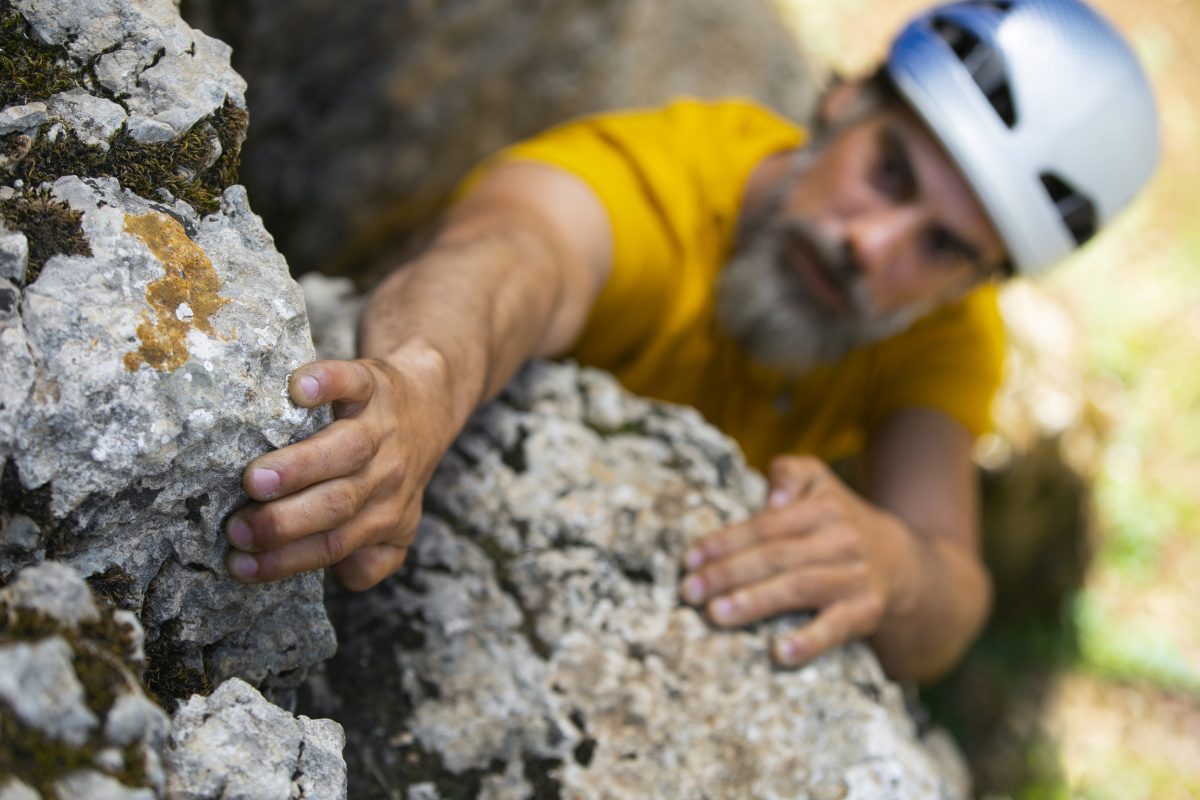
I. Helmet Inspection
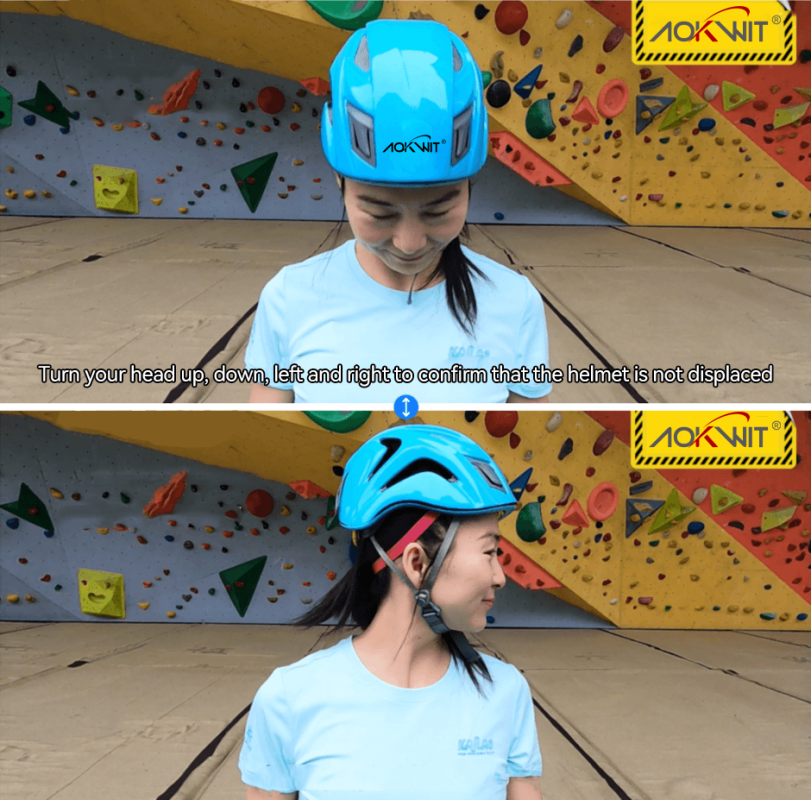
Ensure the front edge of the helmet is approximately two finger-widths above the eyebrows and fits snugly.

Turn the head forward, backward, left, and right to check that the helmet does not shift from its original position. If it shifts noticeably, adjust the head circumference strap and chin strap length, then fasten them until the helmet stays stable.
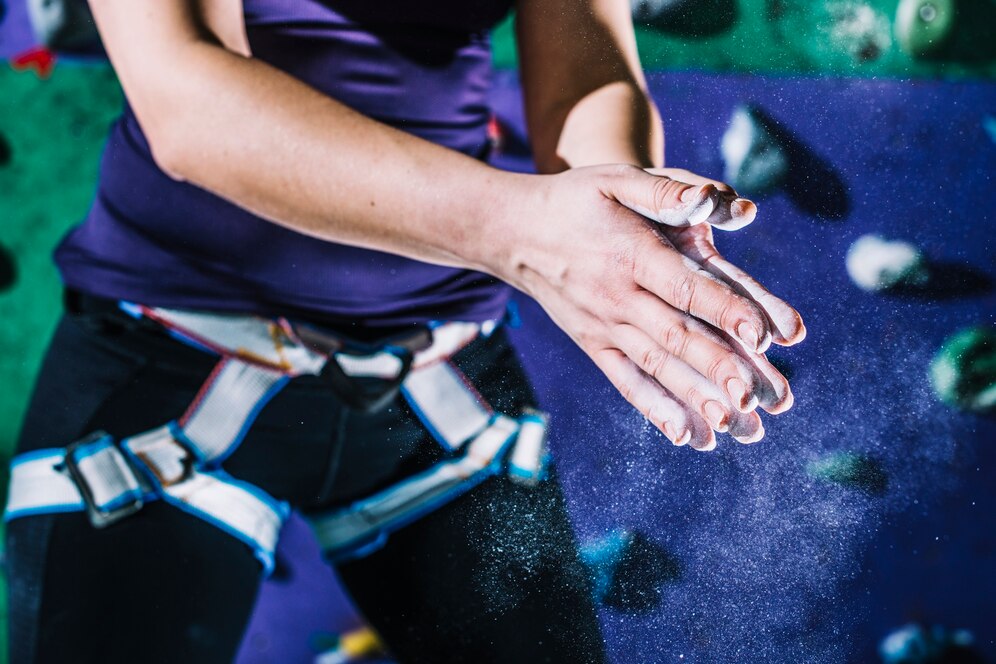
II. Chalk Bag & Harness Inspection
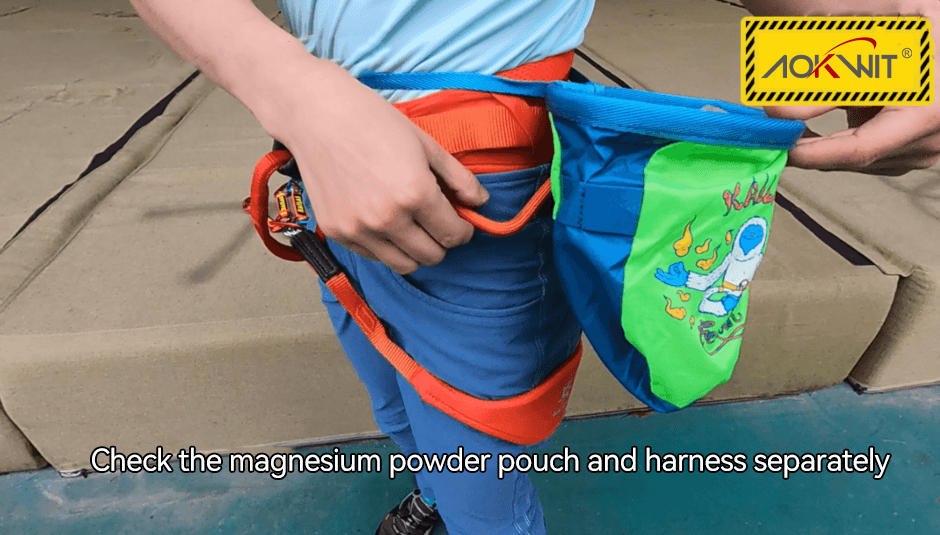
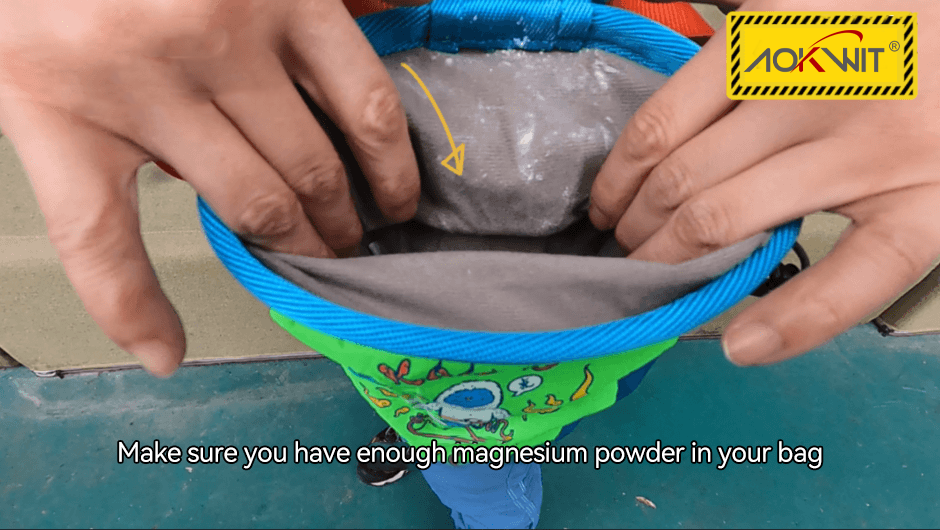
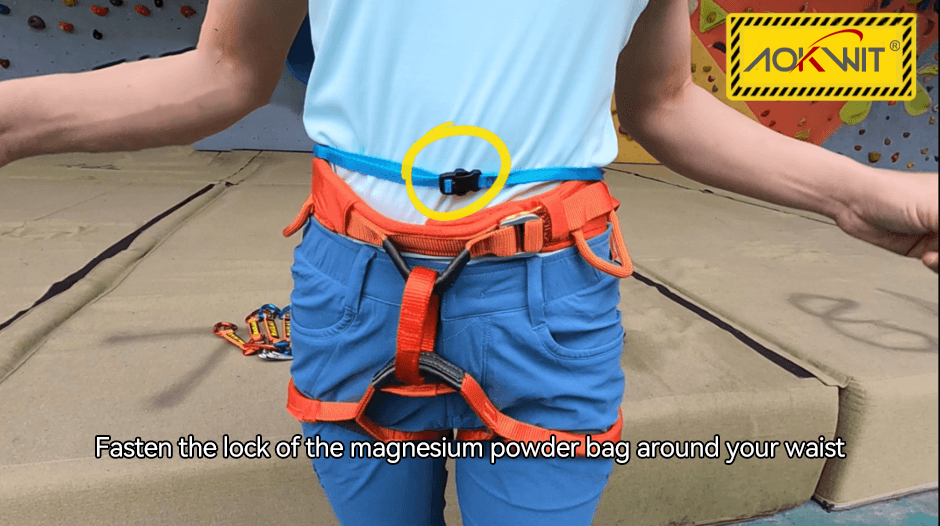
- Chalk Bag Inspection:
Open the chalk bag to confirm it contains chalk.
Fasten the chalk bag securely to the waist.
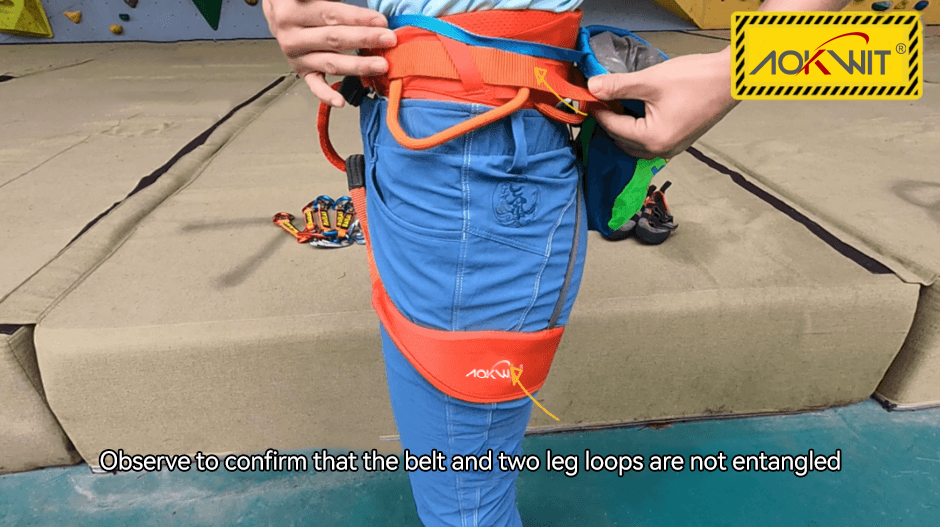
2. Harness Inspection:
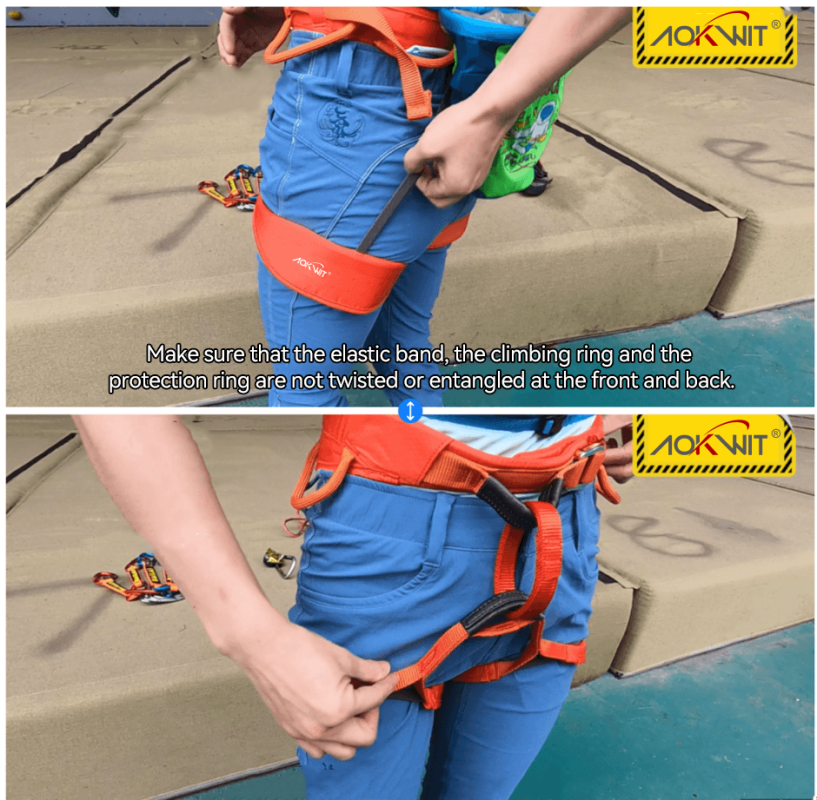
Position the climbing loop/protection loop facing forward and ensure the waist loop and leg loops are not tangled.
Check the webbing, climbing loop, and protection loop for any twists or tangles in all directions.
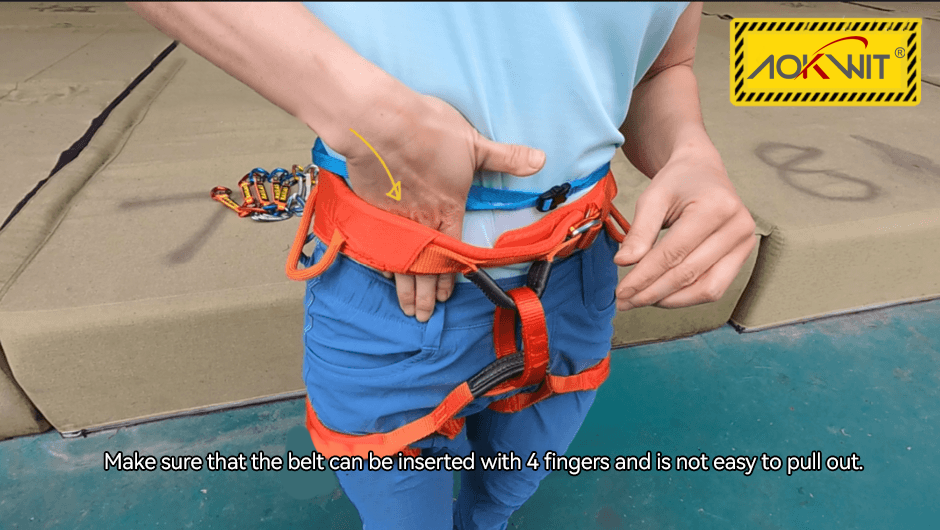
Check the waist loop tightness: four fingers should fit between the waist and the loop, but not be easily pulled out.
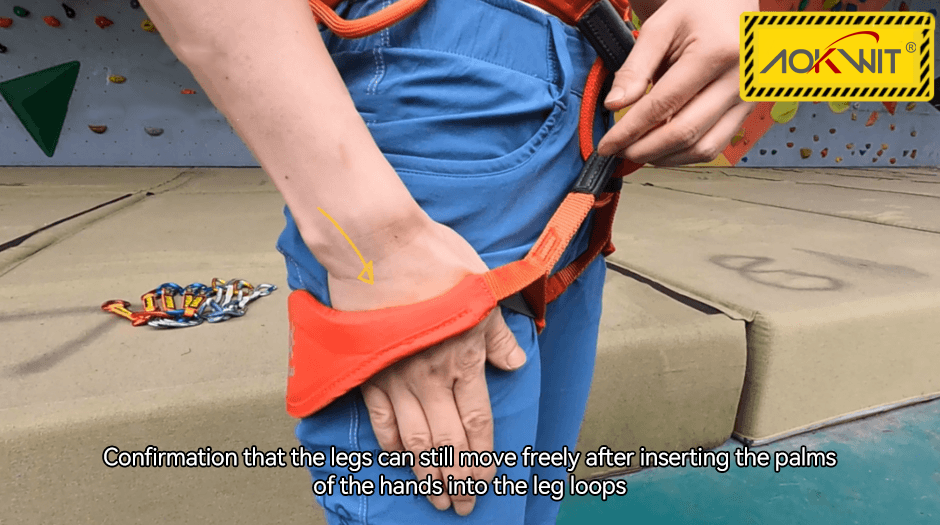
Check the leg loop tightness: the entire palm should fit into the leg loop at the thigh root, allowing free leg movement after insertion.
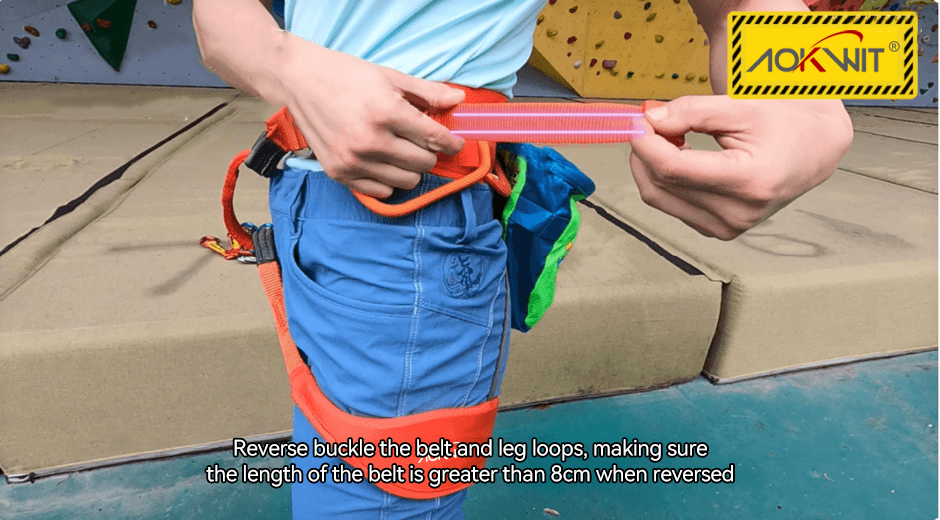
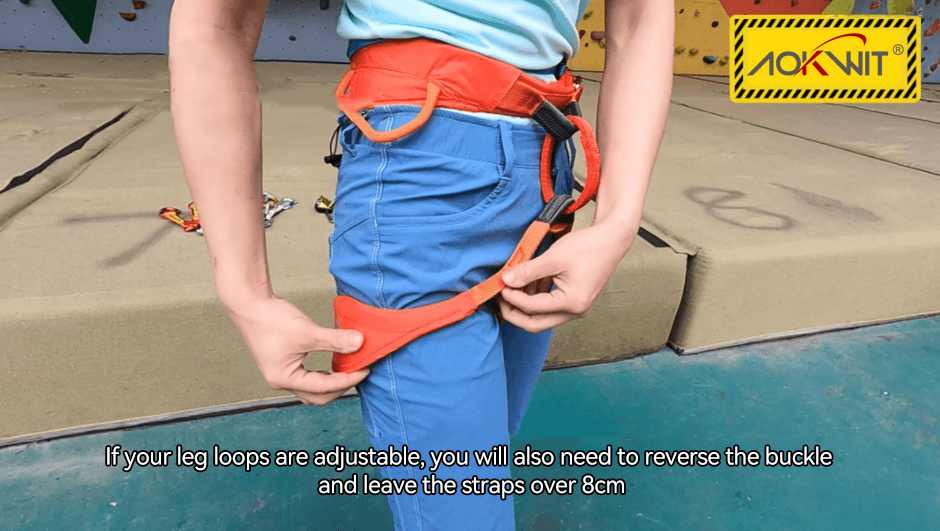
After adjusting the waist and leg loops, fold back the webbing and ensure the remaining length after folding is over 8 cm. If the leg loops are non-adjustable, no folding is needed; if adjustable, always fold the webbing with a remaining length of over 8 cm.
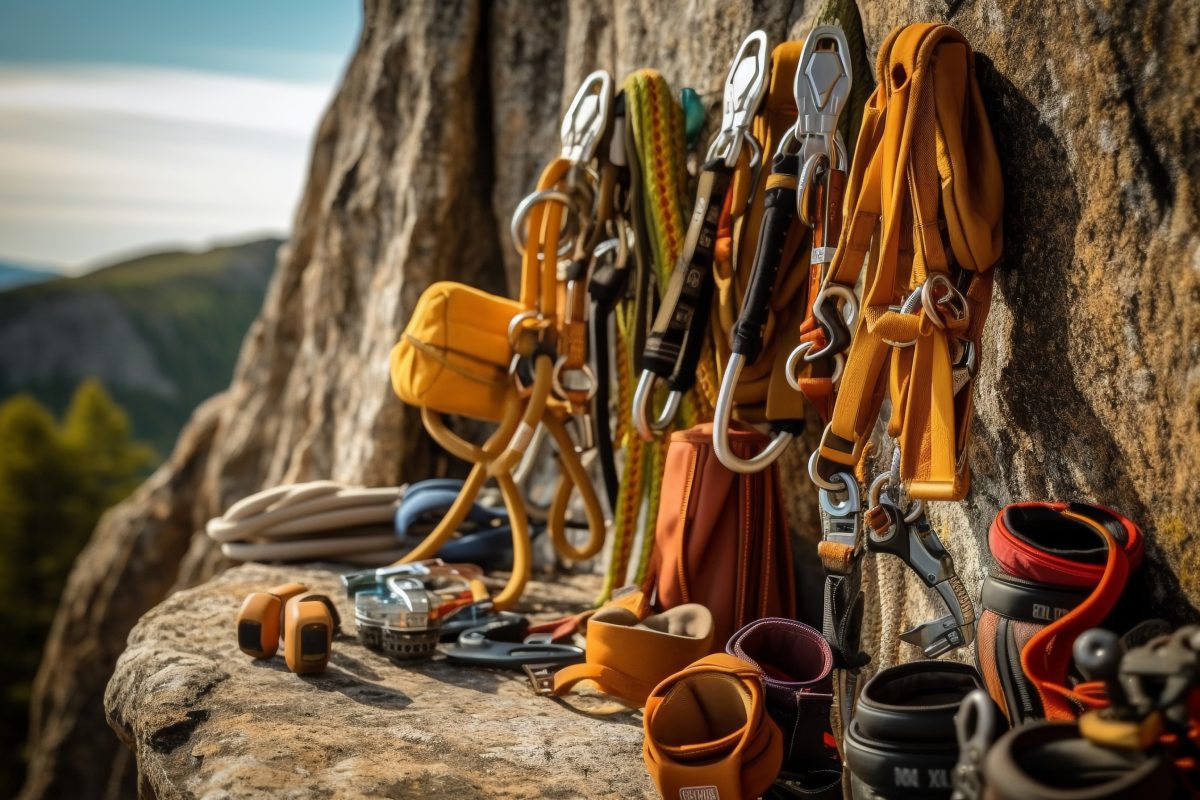
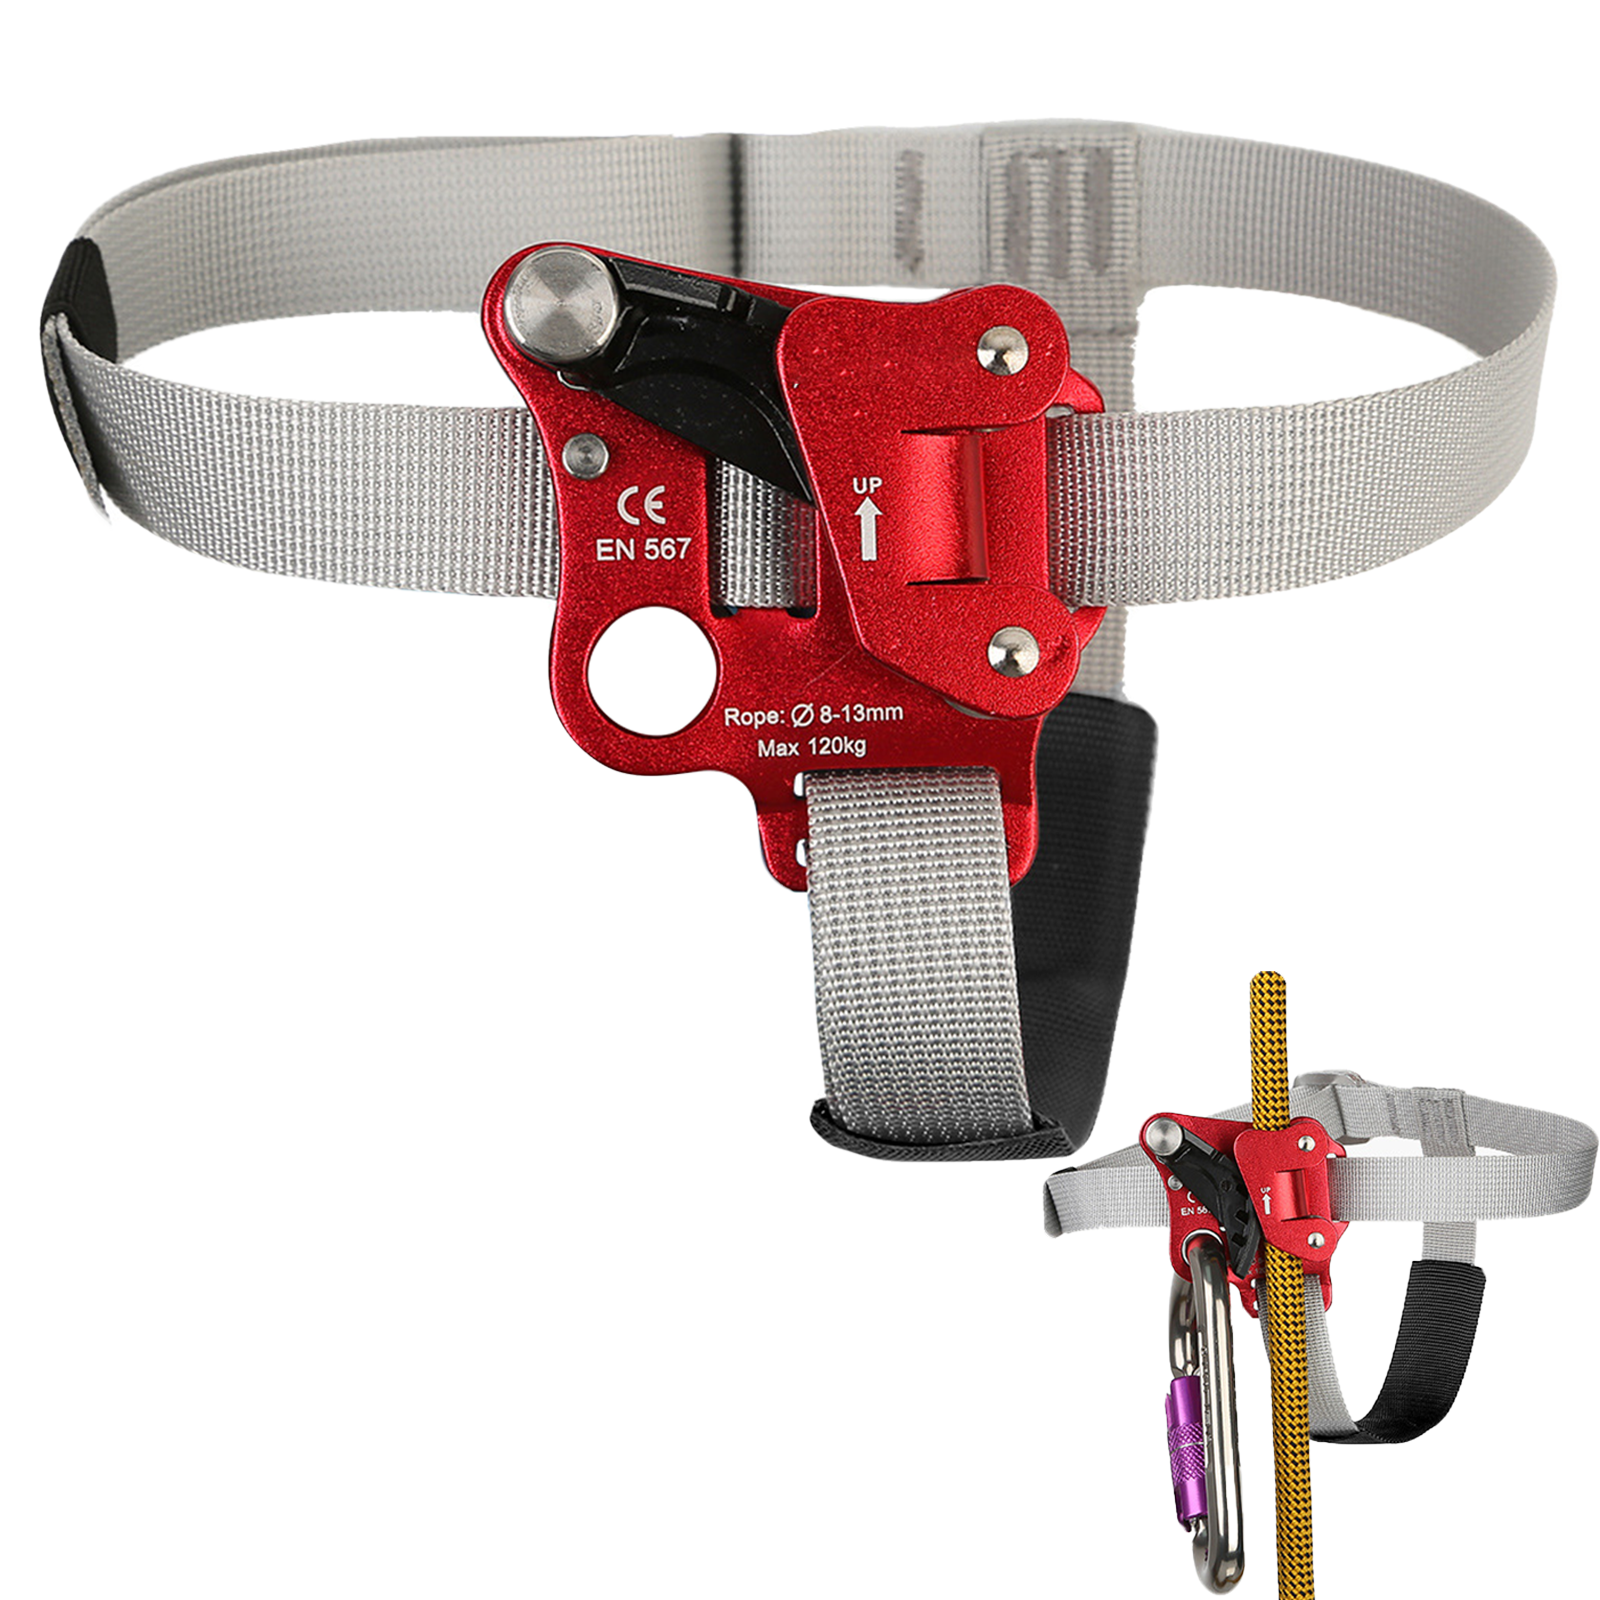
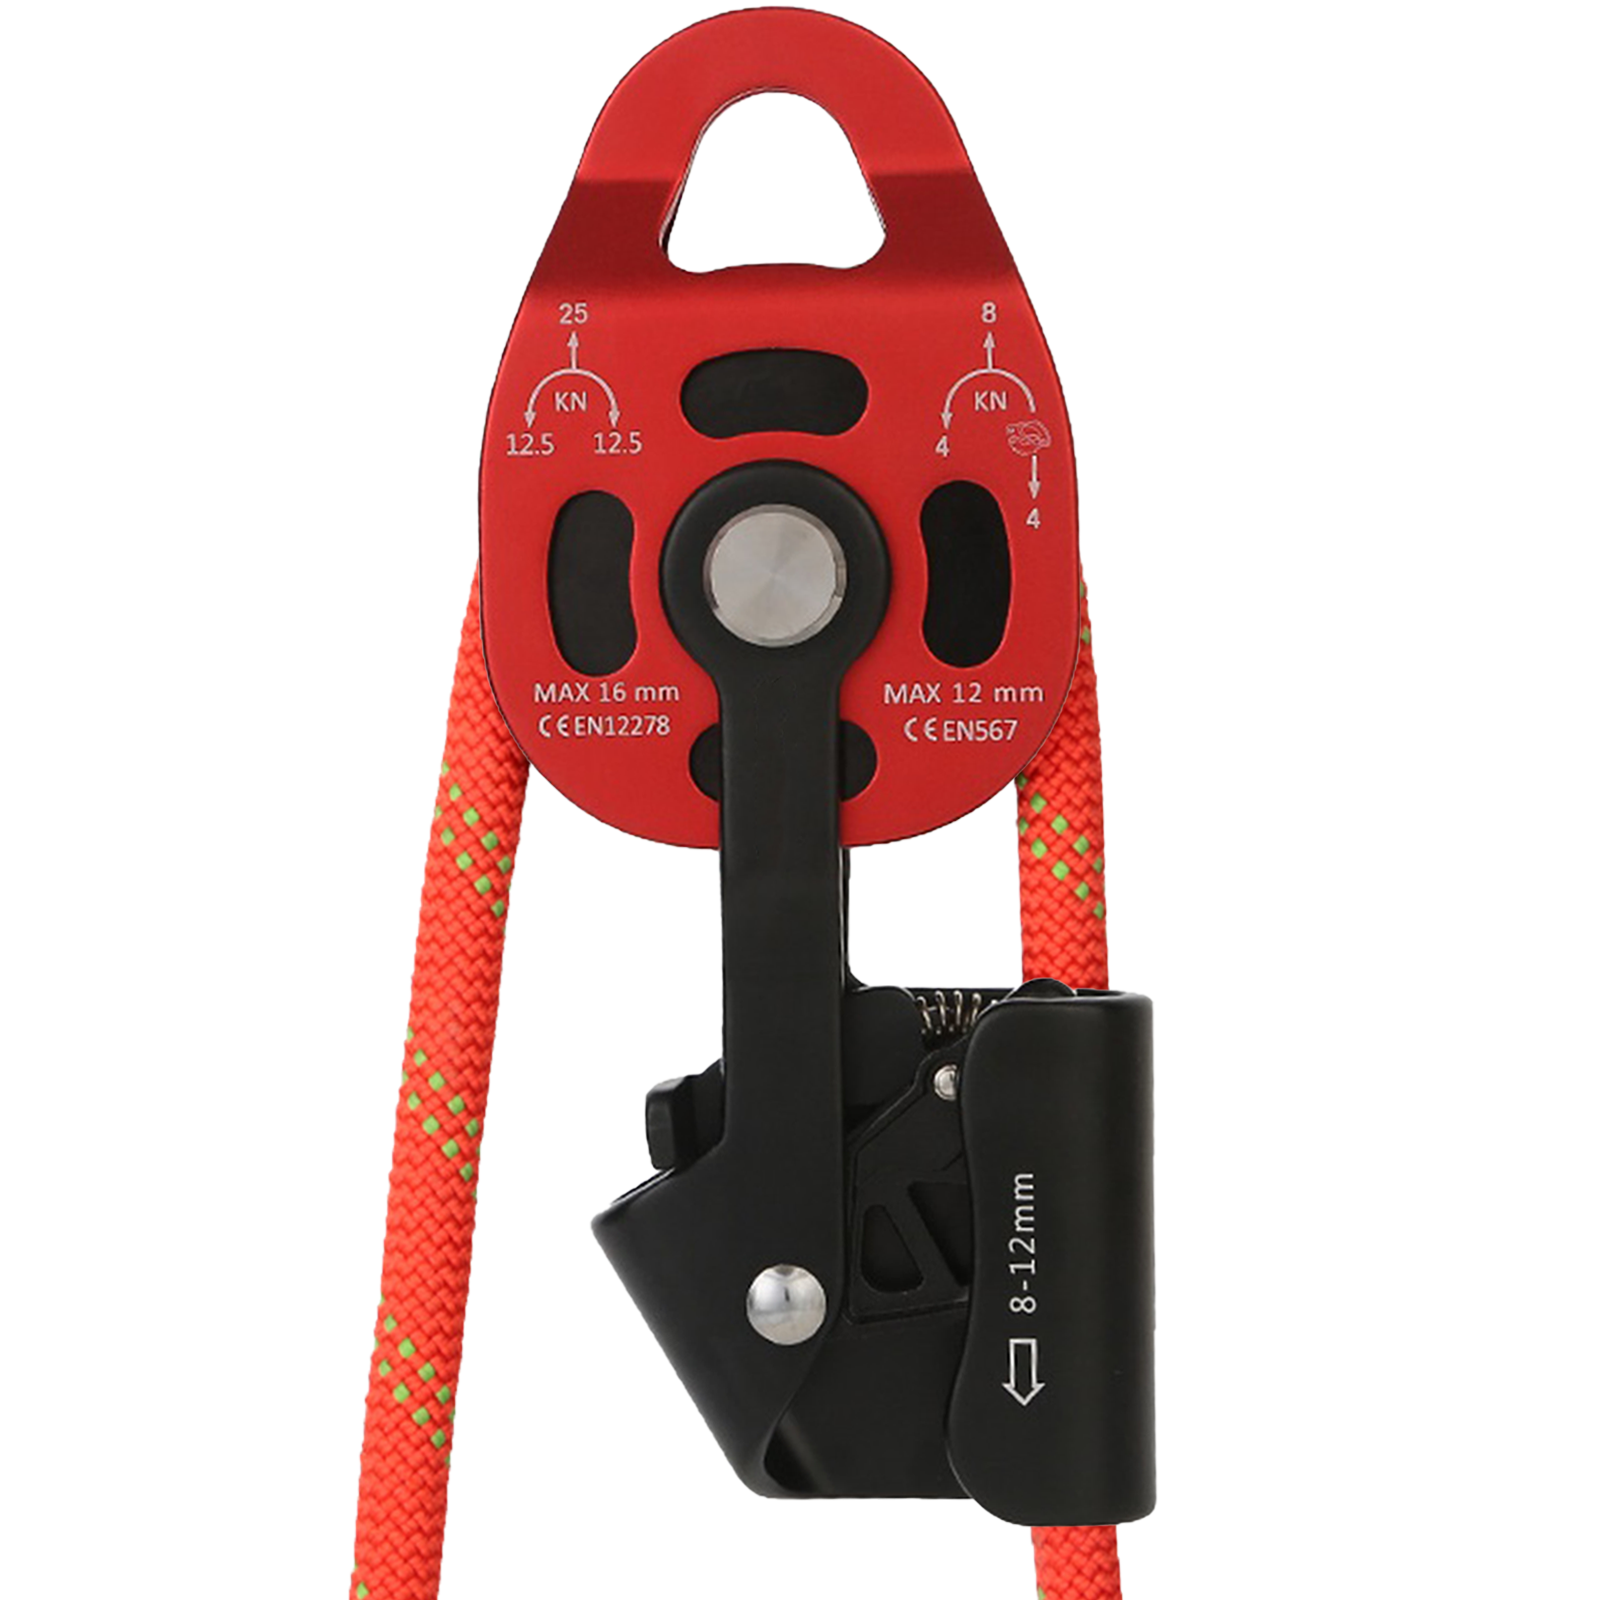
III. Inspection of Connection (Climbing Rope, Quickdraws & Belay Device)
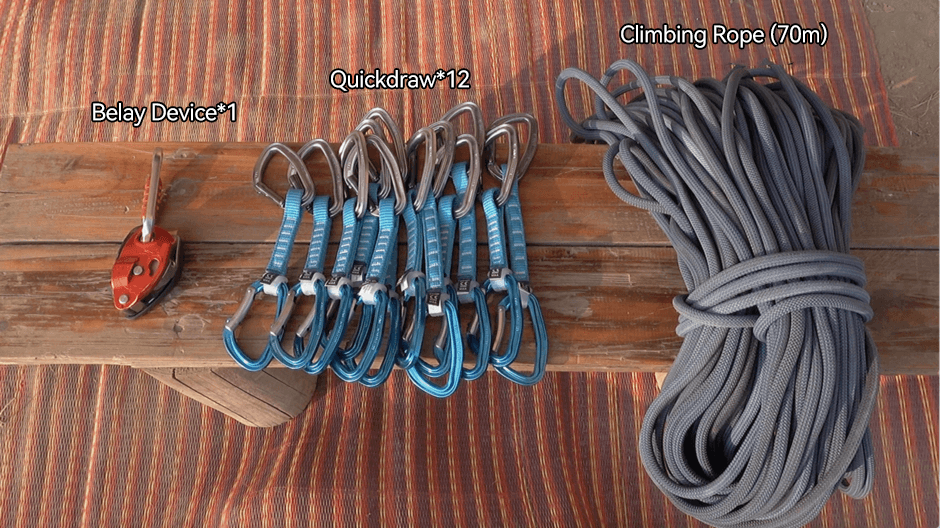
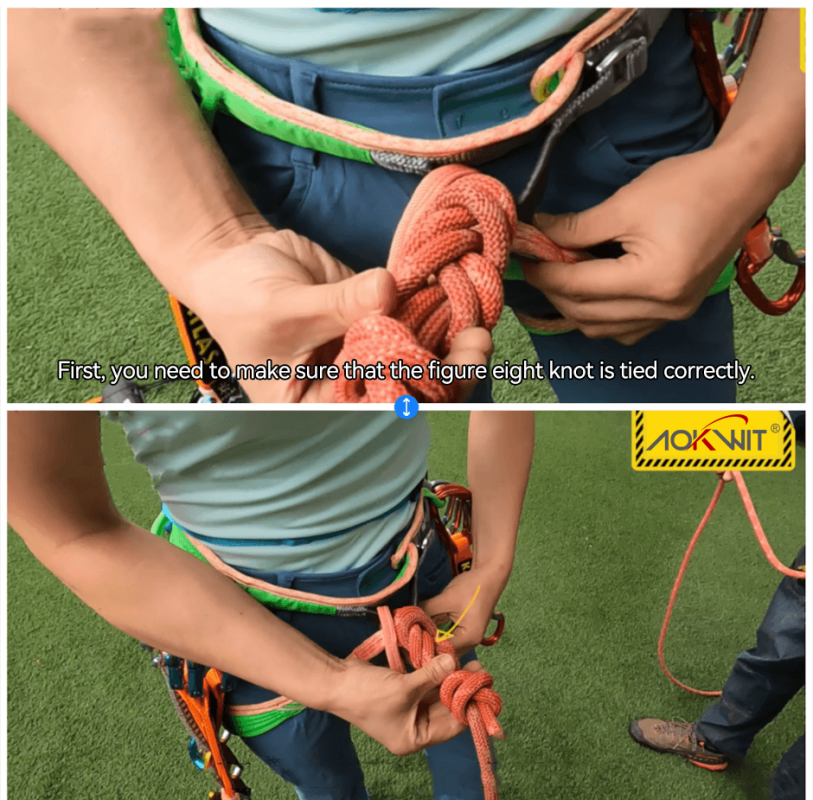
- Climbing Rope Inspection:
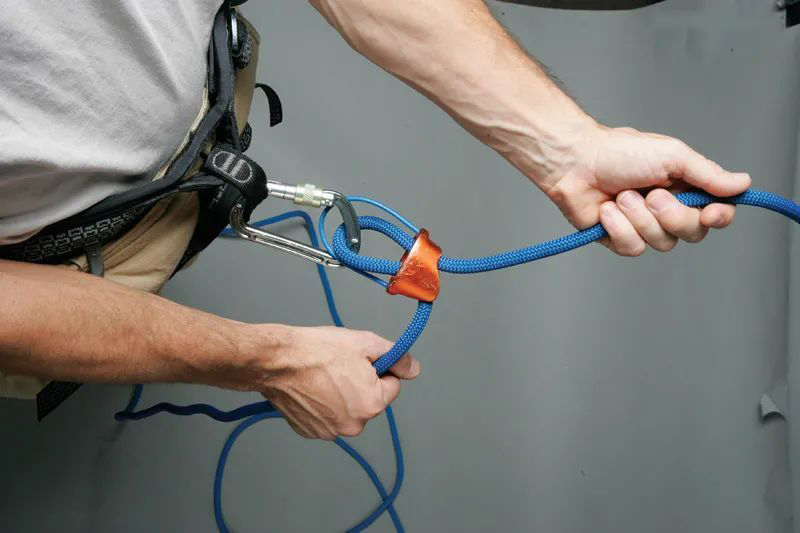
First, check the correctness of the figure-8 knot.
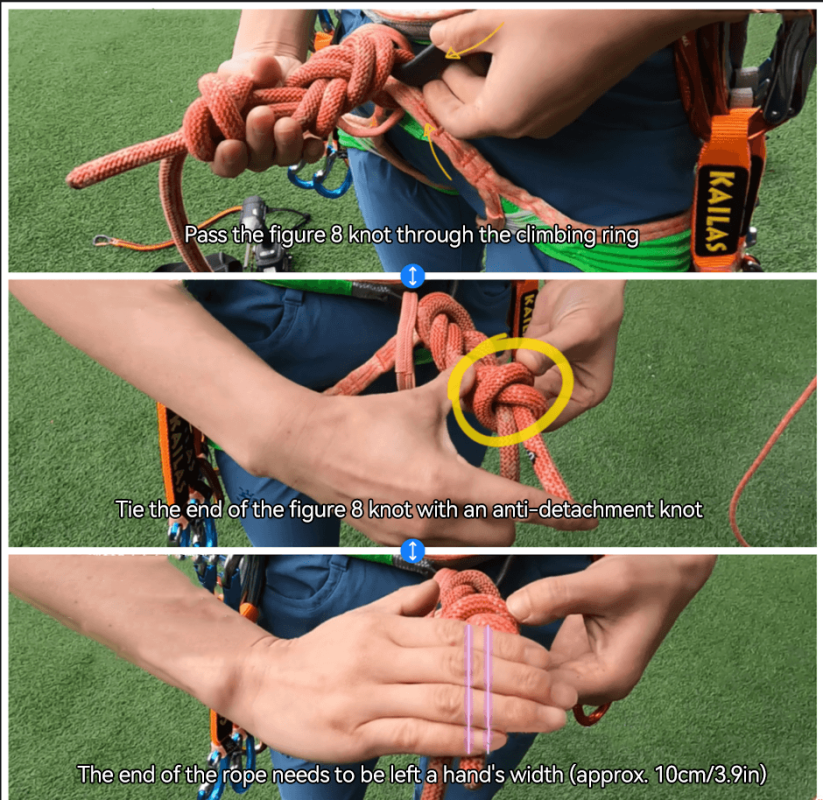
Ensure the figure-8 knot passes through the climbing loop, with an overhand safety knot tied at the tail, leaving a palm-width (approximately 10 cm) tail.
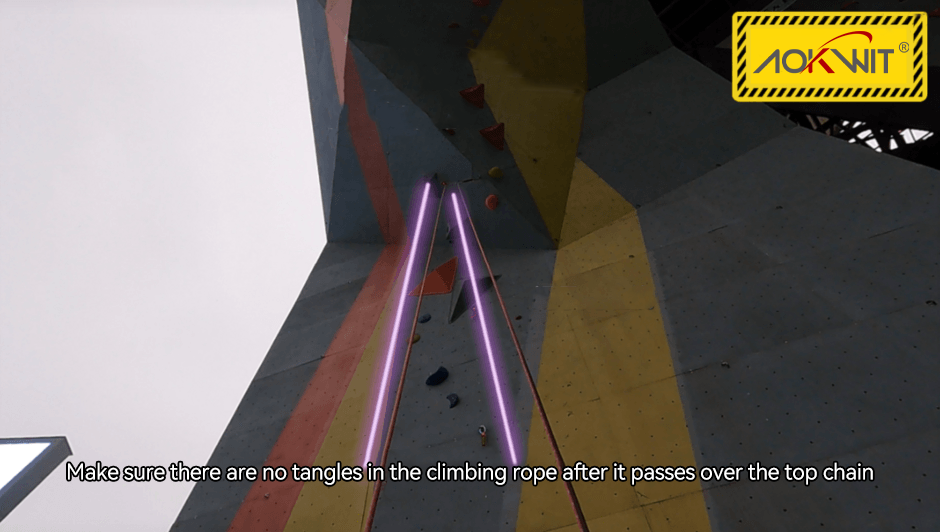
For top-rope climbing, confirm the rope is not tangled when passing through the top chain (it is best to ask the climber who set up the top chain about its safety).
Always tie a tail knot to prevent the rope from slipping out of the belay device if the route is longer than the rope.
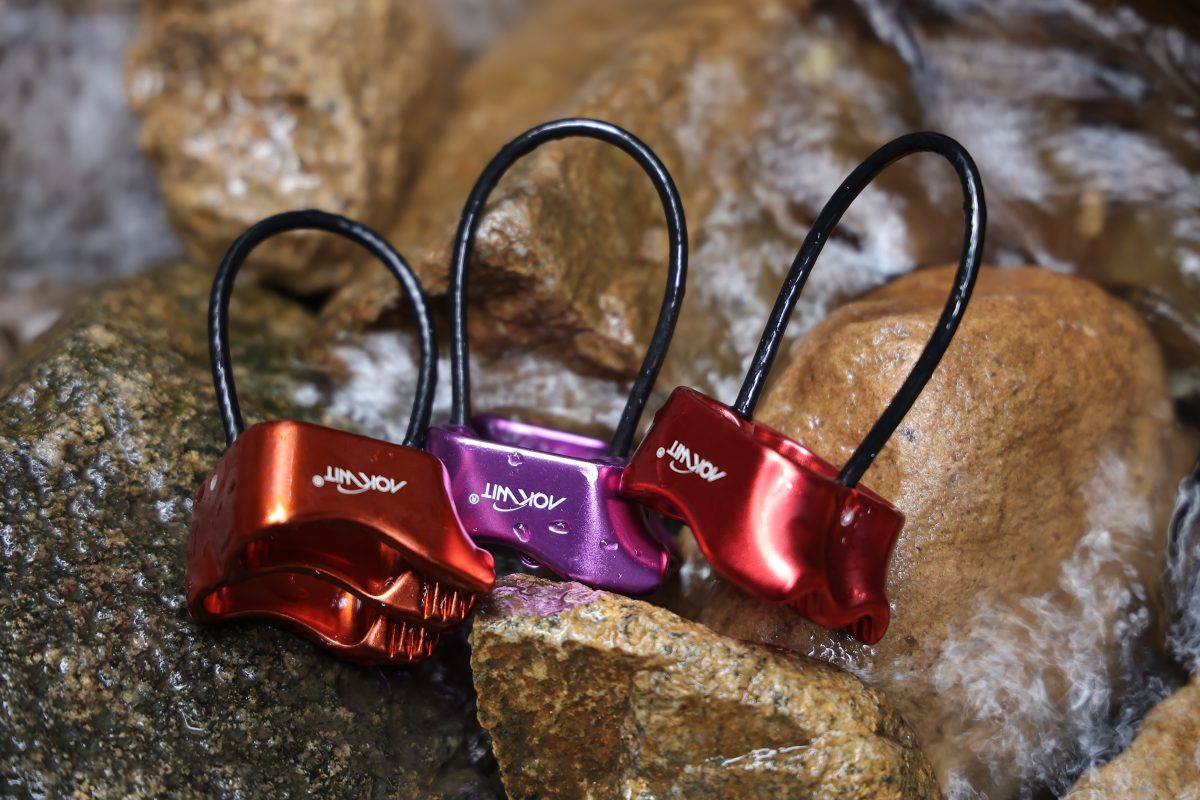
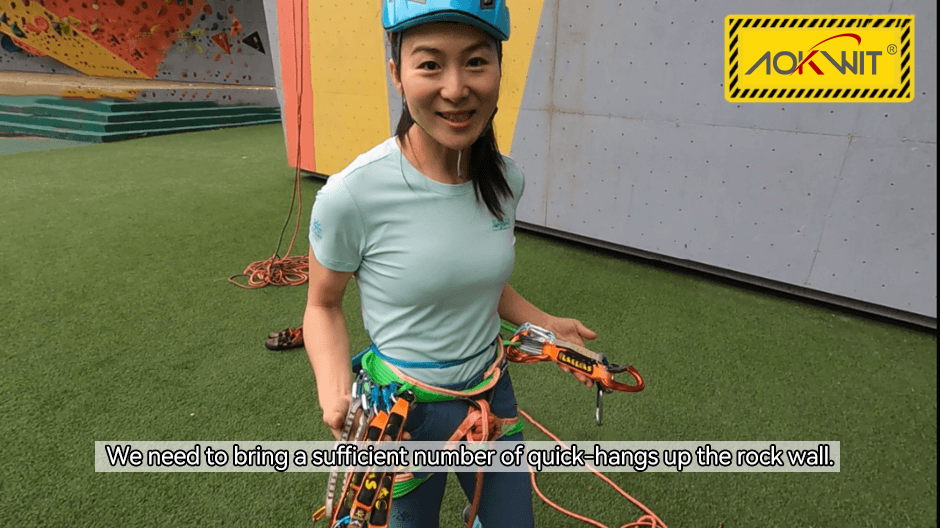
2. Quickdraw Inspection:
Carry enough quickdraws for the route.
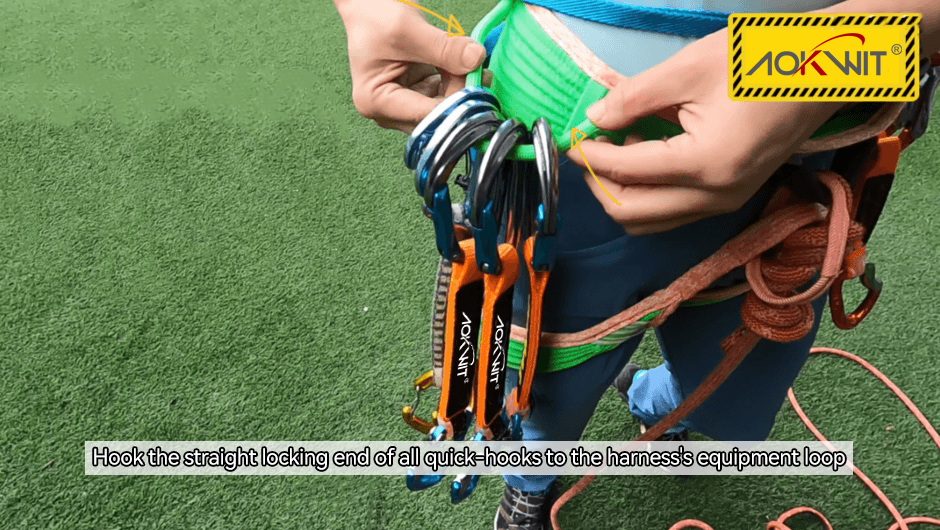
Check the orientation of quickdraws (straight gate for attaching to bolts, curved gate for rope insertion).

Before climbing, ensure the straight gates of all quickdraws are clipped to the gear loops on the harness.
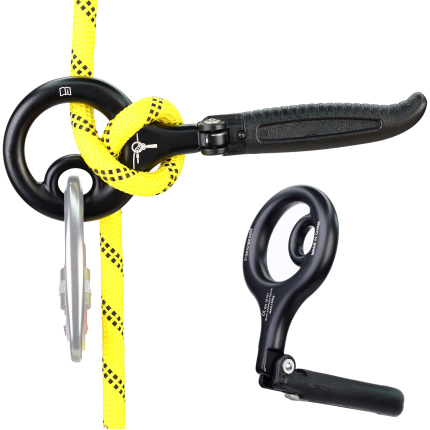
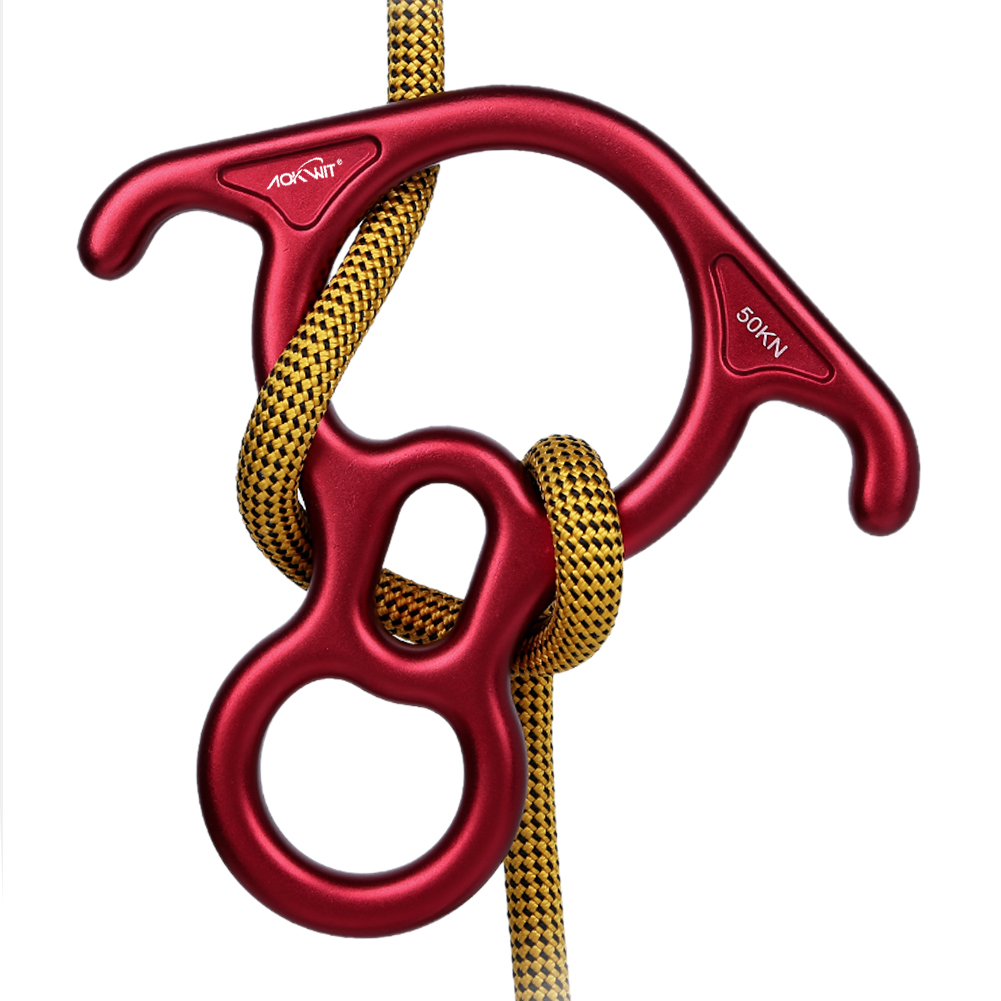
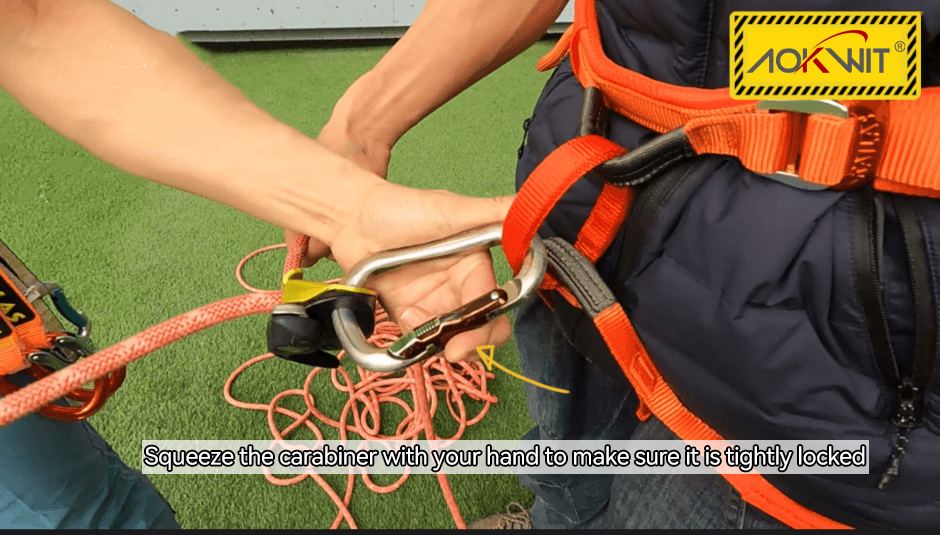
3. Belay Device Inspection:
Identify the climbing end and the braking end of the belay device.
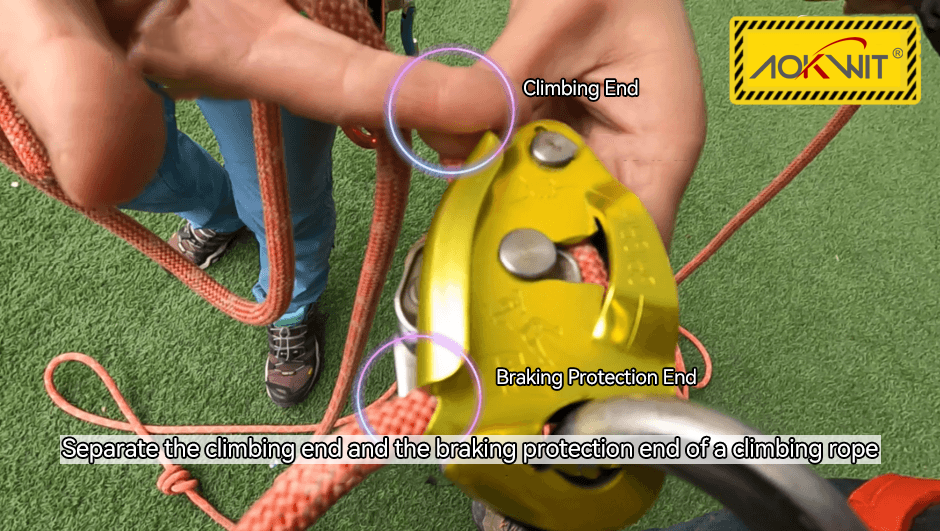
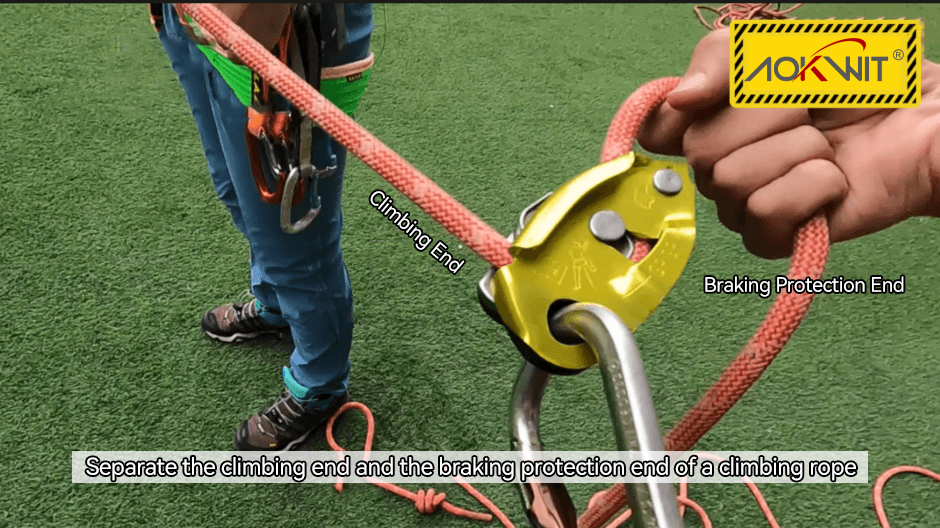
Check that the carabiner is clipped into both the protection loop and the belay device.

Manually verify that the carabiner gate connecting the belay device and protection loop is locked, then test rope feeding and braking to confirm proper functionality.
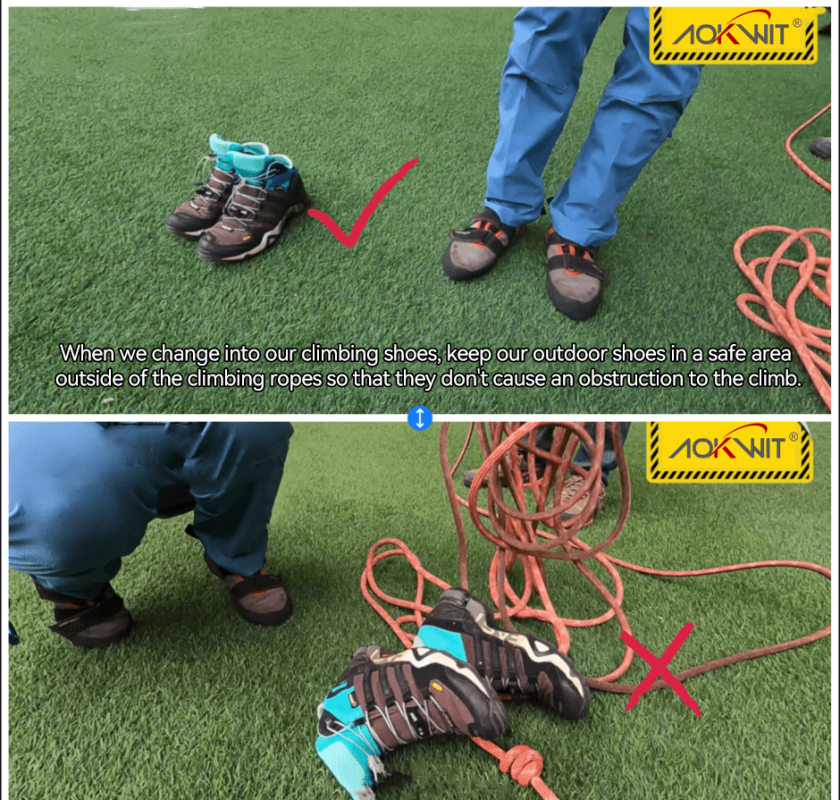
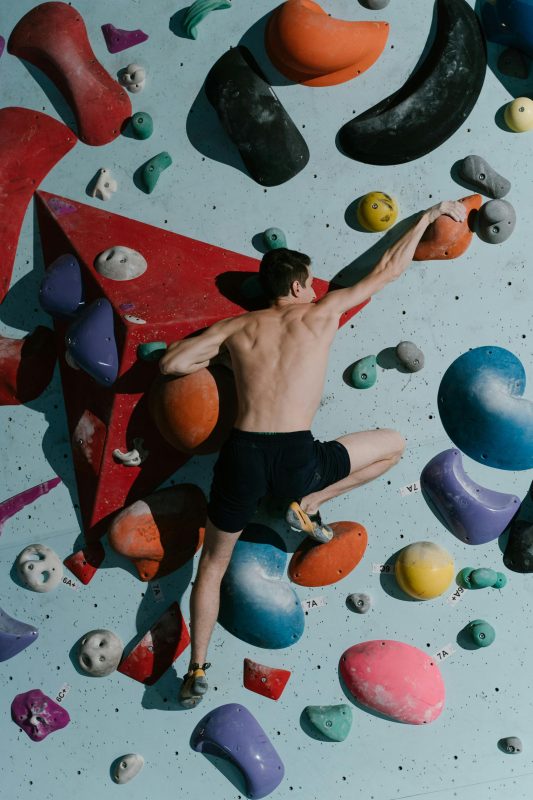
IV. Climbing Shoes Inspection
After putting on climbing shoes, place outdoor shoes in a safe area outside the climbing rope’s path to avoid obstructing the protection setup.