


AOKWIT Outdoor Knowledge Course – Outdoor First Aid Knowledge (Part 1)
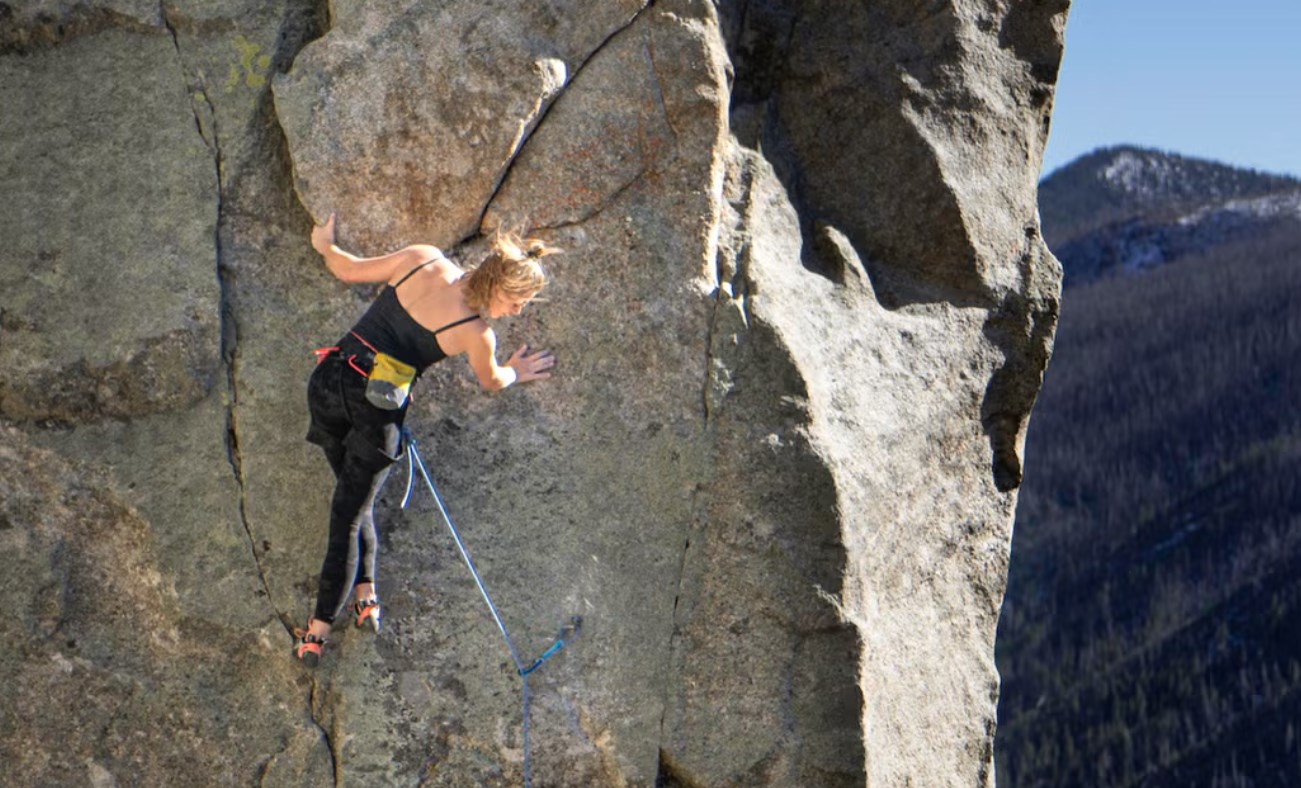
When we pack our bags and set out on an outdoor journey to embrace the grandeur of mountains and rivers and feel the charm of nature, the wonders of the outdoors always captivate us. Whether climbing steep peaks, traversing dense jungles, or camping in serene wilderness, every outdoor adventure is an intimate dialogue with nature, filled with unknowns and challenges.
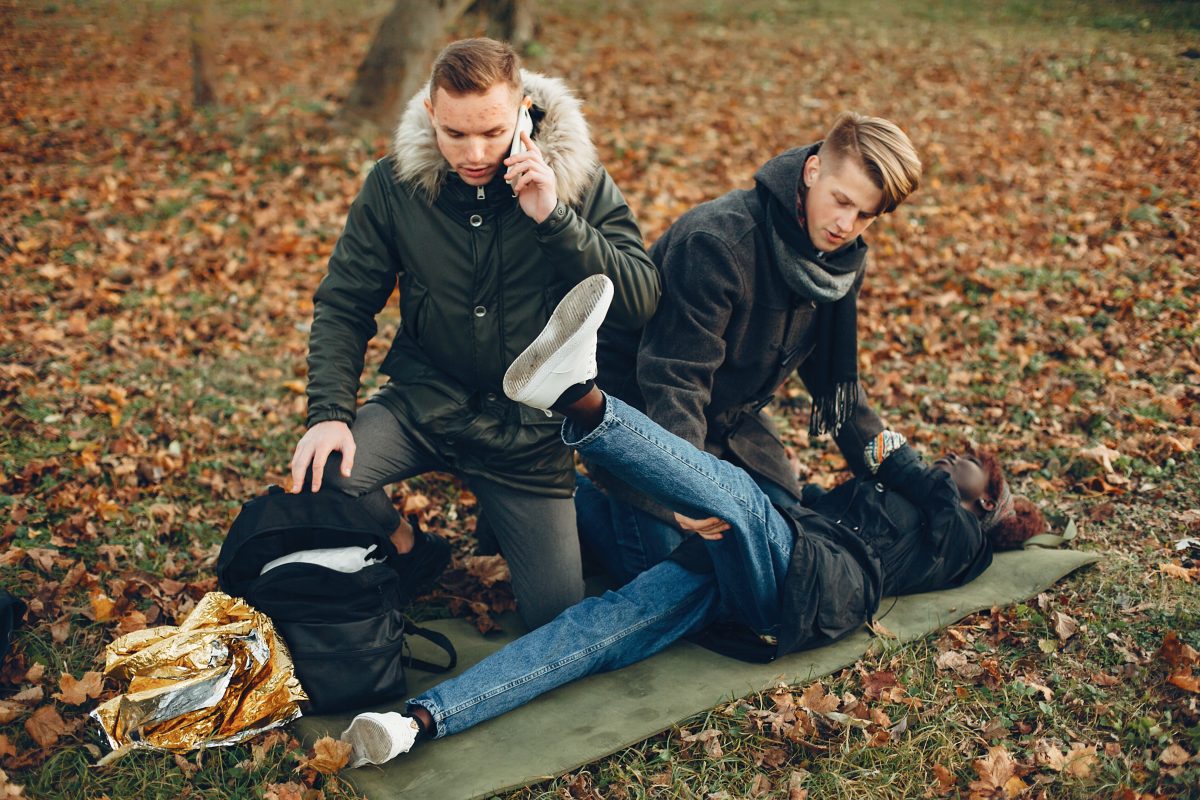
However, risks often accompany us in the outdoor world. Sudden weather changes, complex terrain, or even minor accidents can threaten our safety. For example, a slip may cause a fracture, a mosquito bite may trigger an allergic reaction, and prolonged activity in high temperatures may lead to heatstroke… When such accidents occur, whether we can use available resources to take correct first-aid measures before professional medical help arrives is often a matter of life and death.
Outdoor first-aid knowledge serves as our “safety guard” in outdoor environments.
AOKWIT will introduce several common outdoor injuries and corresponding first-aid measures in this article, hoping to help outdoor enthusiasts enhance their knowledge and skills.
I. How to Administer First Aid for Traumatic Bleeding?
Massive bleeding caused by trauma can seriously endanger health and even life if not stopped and bandaged promptly.
Traumatic bleeding is classified by blood vessel type into arterial bleeding, venous bleeding, and capillary bleeding. By location, it is categorized as:
- External bleeding: Blood flows out from a wound on the body surface.
- Internal bleeding: Blood accumulates in body cavities due to organ or tissue damage (e.g., liver rupture, hemothorax from chest injuries), invisible externally.
- Subcutaneous bleeding: Blood accumulates in subcutaneous soft tissues without skin rupture (e.g., contusions, ecchymoses).
Clinical Manifestations:
1.Arterial bleeding: Characterized by pulsatile, spurting blood (bright red) due to high vascular pressure, potentially causing life-threatening blood loss rapidly.
2.Venous bleeding: Blood flows steadily and slowly (dark red), with flow rate influenced by breathing (slower during inhalation, faster during exhalation for large veins).
3.Capillary bleeding: Blood oozes in droplets and usually clots spontaneously.
First-Aid Methods:
Finger Pressure Hemostasis: Press firmly on the proximal side (near the heart) of the wound to compress the pulsating blood vessel. This is an emergency temporary measure; prepare materials for other hemostasis methods simultaneously. Rescuers must know pressure points for different body areas:
- Face: Compress the facial artery between the mandibular angle and chin tubercle.
- Front head: Press the temporal artery above the mandibular joint in front of the ear.
- Back head: Compress the posterior auricular artery slightly 外侧 (lateral) to the bony protrusion behind the ear.
- Armpit/shoulder: Press the subclavian artery in the supraclavicular fossa, posterior to the sternocleidomastoid muscle, against the first rib.
- Forearm: Compress the brachial artery against the humerus in the medial groove of the biceps.
- Palm/dorsum of hand: Press the radial artery at the wrist (pulse point).
- Finger: Squeeze the base of the injured finger with the opposite hand.
- Thigh: Bend the thigh to relax muscles; press the femoral artery at the midpoint of the inguinal ligament (groin), with overlapping thumbs for increased pressure.
- Foot: Compress the dorsalis pedis artery at the pulsating point below the ankle.
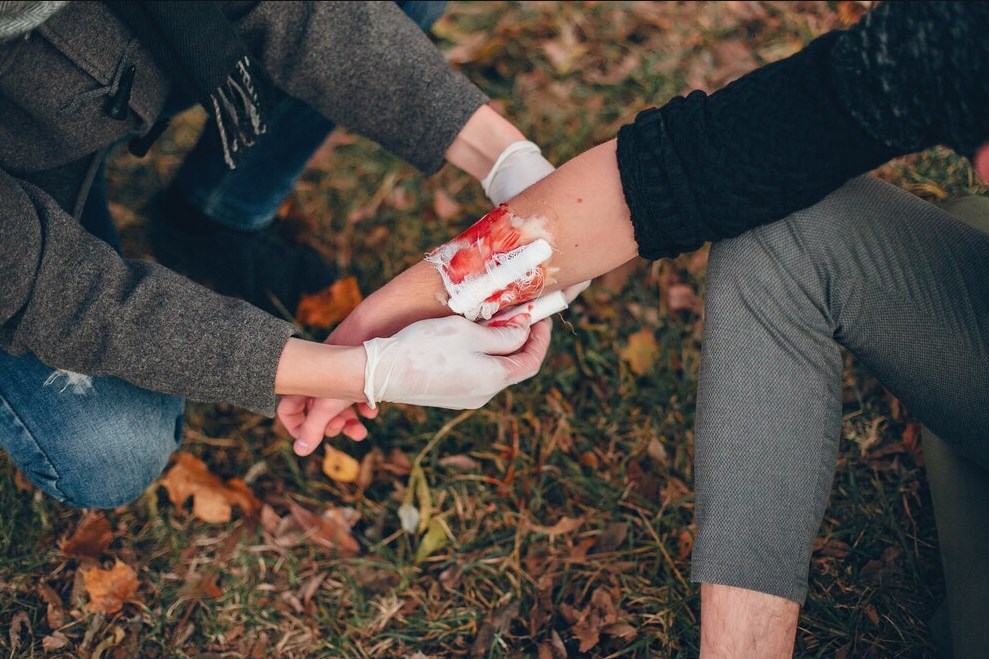
Pressure Bandaging Hemostasis: Place a sterile gauze or cotton pad over the wound and wrap tightly to apply pressure. This is a universal and effective method.
II. How to Perform First-Aid Bandaging?
Wounds are portals for bacterial invasion, potentially leading to infections (e.g., sepsis, gas gangrene, tetanus). Even without debridement conditions, prompt bandaging is crucial to control bleeding, reduce infection, protect the wound, alleviate pain, and fix dressings/splints.
Bandaging Principles:
- Act gently, quickly, and accurately; ensure the wound is fully covered, secure, and the bandage is neither too tight (causing swelling) nor too loose (risk of slipping).
- Use soft bandages (e.g., adhesive tape, roller bandages) in first aid. Roller bandages are the most versatile, available as single-headed or double-headed rolls.
Techniques:
- Face the victim and position appropriately.
- Always place sterile gauze over the wound before bandaging.
- Hold the bandage end in the left hand and the roll in the right, with the outer surface against the wound.
- Wrap from below the wound upward, generally from left to right and bottom to top.
- Keep limbs in functional positions: bend the arm, keep the leg straight when bandaging.
III. How to Use Tourniquets and Bandages for Hemostasis?
Invented in 1886 by Esmarch, a tourniquet (rubber tube) is used for severe arterial bleeding unresponsive to other methods.
Tourniquet Use:
- Apply proximal to the wound on limbs, after elevating the limb for minutes. Pad with a towel to prevent tissue damage.
- Limit application time to avoid tissue necrosis: release every 30 minutes for 30–60 seconds. Mark the application time clearly for transfer.
- Substitutes (wide cloth, towel, bandage) can be used, but avoid tissue laceration.
Bandaging with Soft Bandages:
- Adhesive tape for small wounds; triangular bandages for larger wounds.
- Roller bandages (5m length, variable width): Follow the same principles as above—cover with sterile gauze, wrap from lower to upper, maintain functional limb positions, and adjust tightness.
IV. How to Perform Initial Wound Care?
Proper wound management promotes healing; improper care may lead to infections or life-threatening complications (e.g., sepsis, tetanus).
Principles:
1.Hemostasis: Use appropriate methods promptly.
2.Bandaging: Achieve speed, accuracy, gentleness, and security to minimize bleeding, infection, and pain.
Steps:
1.Disinfect around the wound with iodine followed by alcohol, wiping from inside to outside—avoid applying antiseptics directly into the wound. Remove obvious foreign objects; leave deep/small ones to prevent further injury.
2.For small wounds, apply mercurochrome or gentian violet (avoid on large wounds to facilitate subsequent treatment). Cover with sterile gauze/dressing and bandage. For protruding organs/tissues (e.g., intestines), use a clean bowl or gauze ring to protect before bandaging.
3.For major wounds, check for underlying injuries:
- Head wounds: Assess consciousness and pupil symmetry (abnormal pupils indicate cranial trauma).
- Chest wounds: Monitor breathing difficulty (suggests pleural/lung injury).
- Abdominal wounds: Check for abdominal rigidity/pain (signs of organ damage).
- Limb wounds: Assess mobility and abnormal bone movement (indicative of fractures).
Amputated Limbs/Fingers:
- Wrap the amputated part in sterile (or clean) gauze, place in a sealed plastic bag, and surround with ice for cold storage.
- Never apply disinfectants (e.g., alcohol) or immerse in solutions (hypertonic/hypotonic), as this damages cells and reduces reimplantation chances. Transport promptly with cold preservation.
V. What Initial Checks Should Be Done for a Casualty?
In field first aid, prioritize assessing life-threatening conditions without exhaustive examinations.
Key Vital Signs:
1.Heartbeat: Normal 60–100 bpm. A rapid, weak pulse (>120 bpm) indicates early shock; absence of pulse signifies cardiac arrest.
2.Breathing: Normal 16–20 breaths/min. Deterioration shows as rapid, shallow, or irregular breathing; use a feather/light paper near the nose to detect faint breaths.
3.Pupils: Normal pupils are equal, round, and react to light (constrict quickly). Unequal pupils or delayed reaction indicate severe injury.