


Rock Climbing Knots Tutorials (Part 5)
5.1 Clove Hitch
- First, form a loop.

- Form another loop, resembling a rabbit’s ear.

- Stack the two loops together, with the first loop placed on top of the second loop. Ensure this is done correctly.

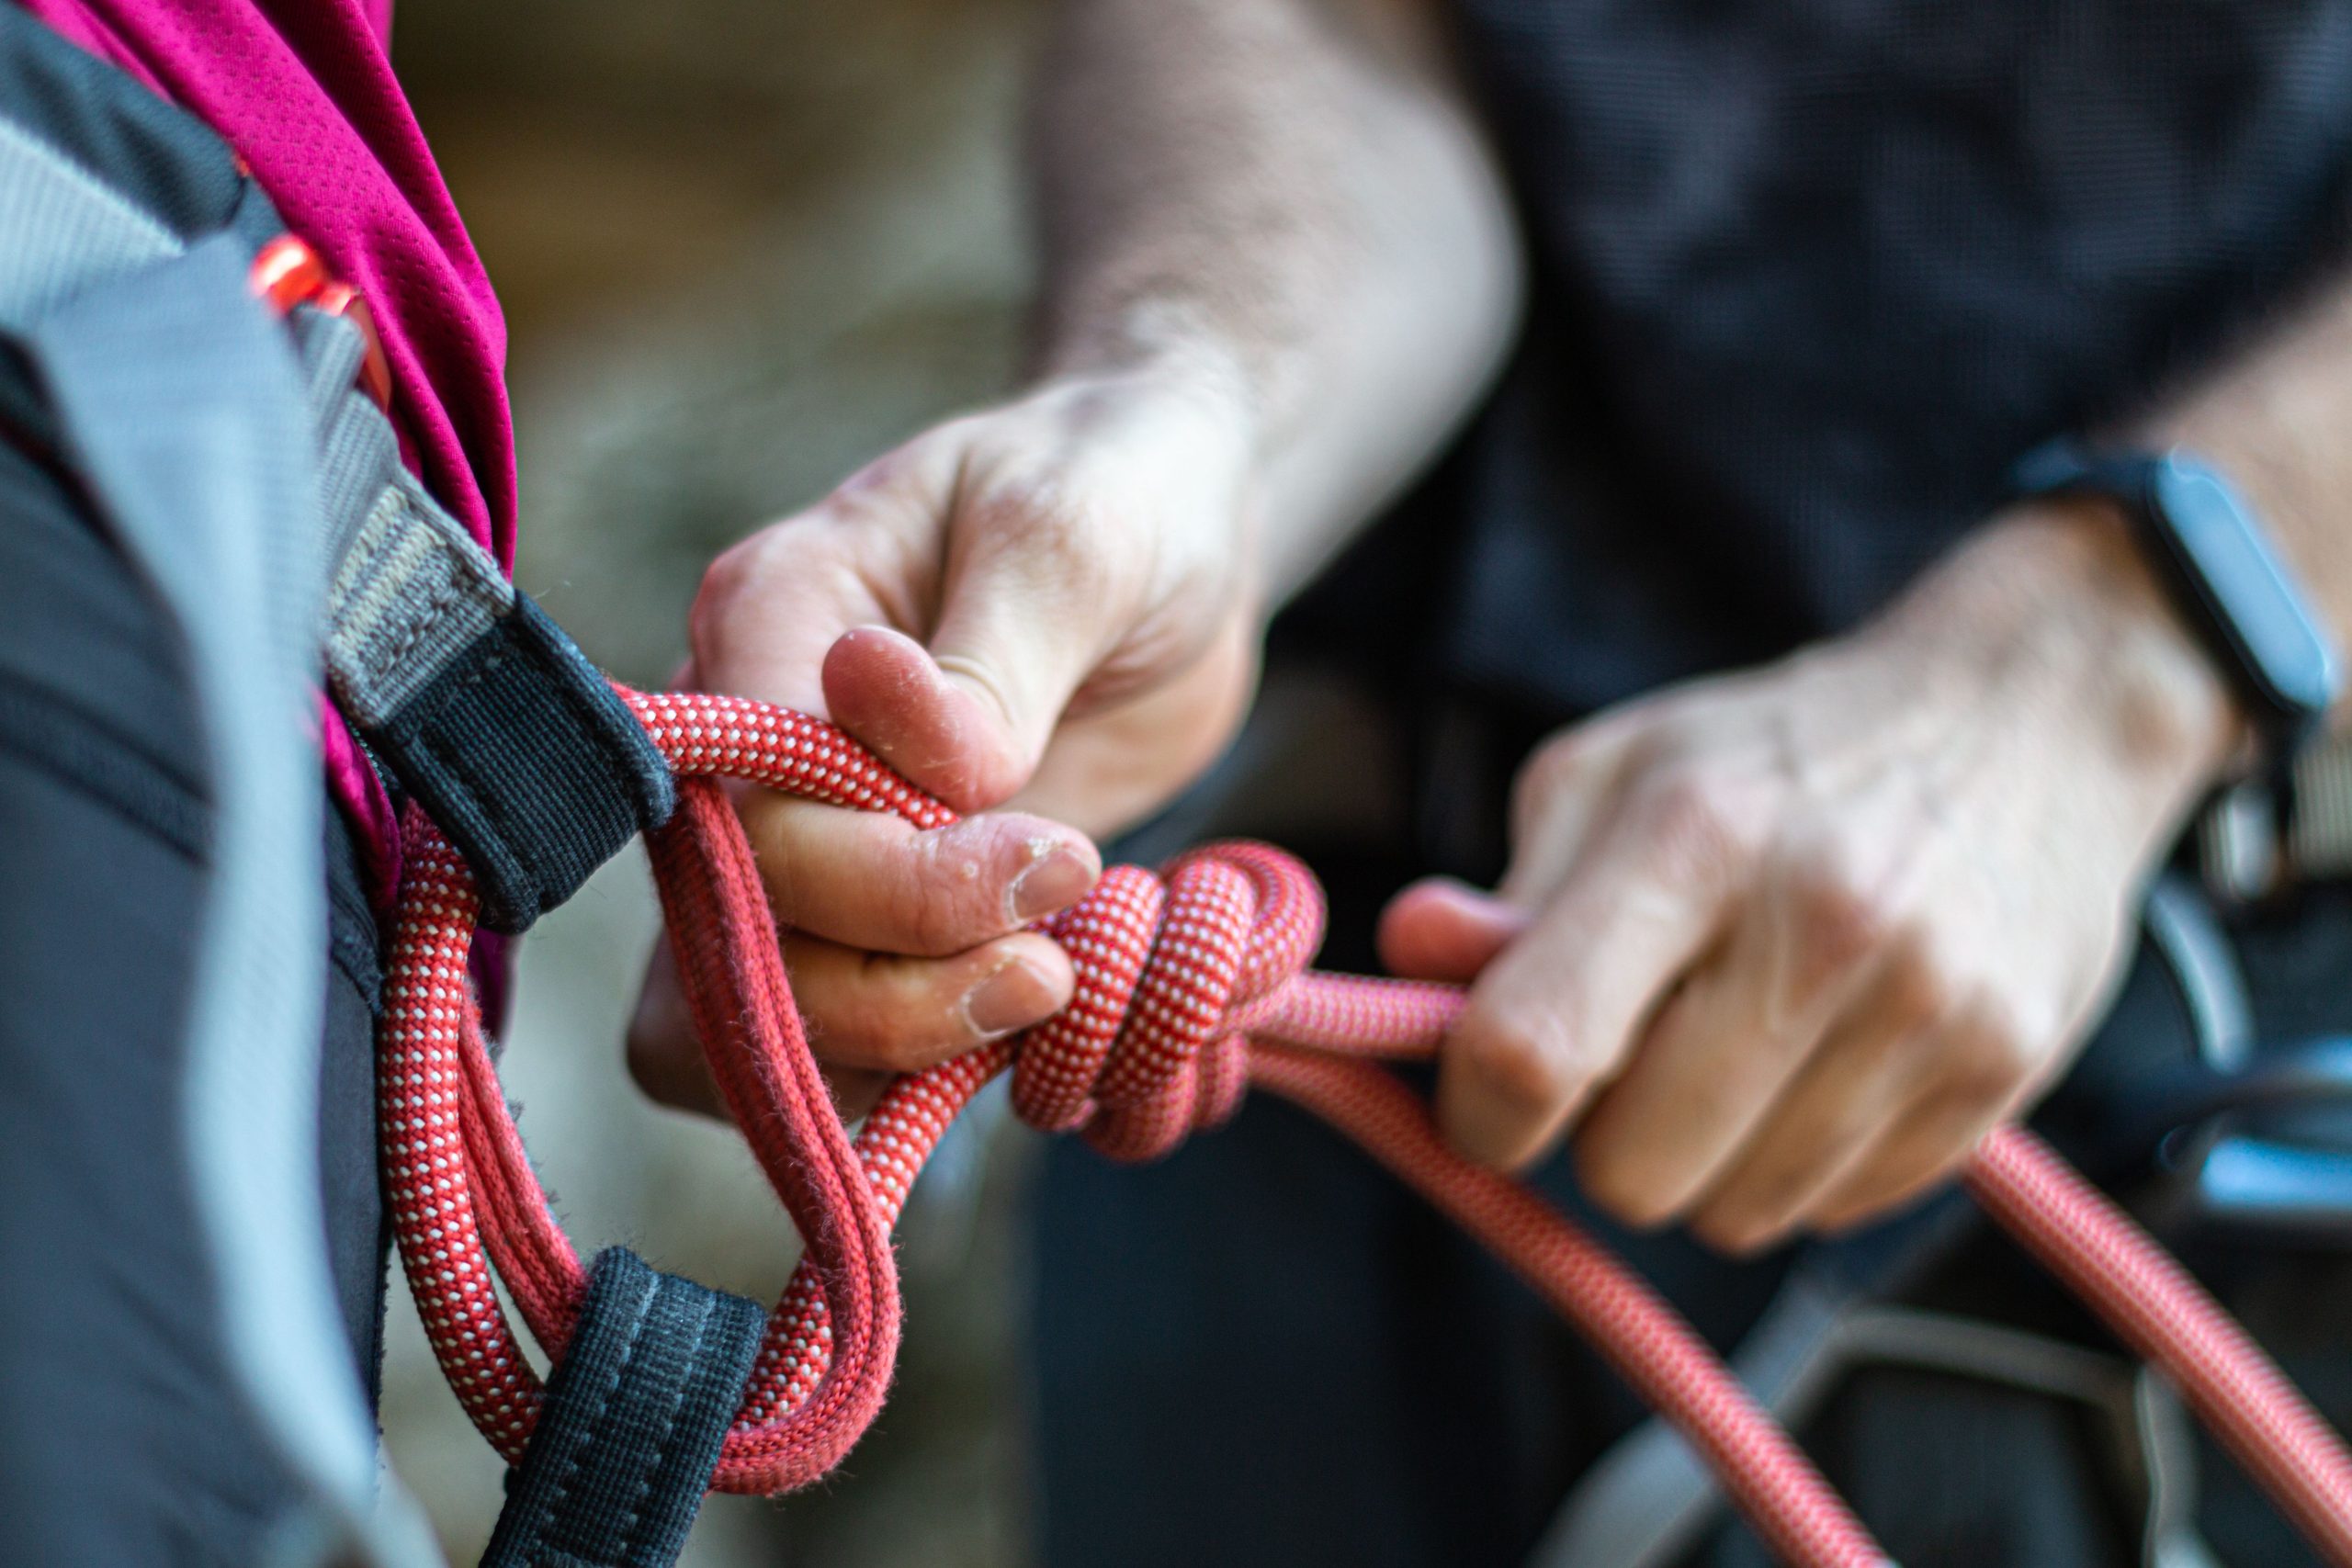
- Clip the resulting hitch into the carabiner. This forms the Clove Hitch.
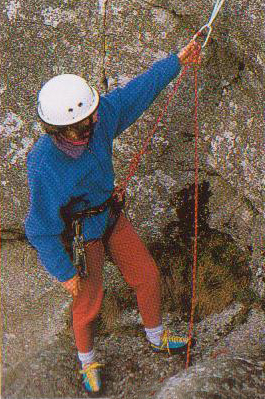
Function of the Clove Hitch: It is used to attach a rope to a carabiner. Because it allows for length adjustment, it is a frequently used knot. Whether you are the lead climber or the follower, upon reaching the anchor point, one of the first actions is often to secure yourself using a Clove Hitch.
Using the Clove Hitch allows you to easily adjust the rope length according to your operating range.

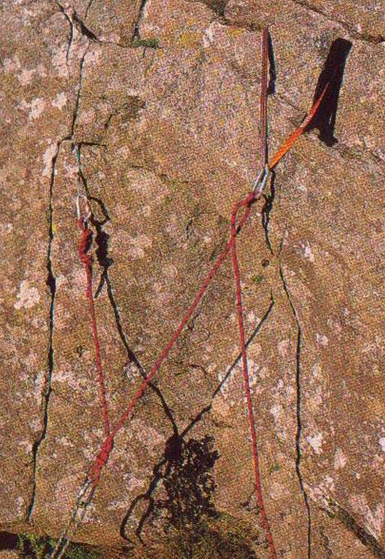
Another practical application is using the rope to construct an anchor point.
In the diagram: On the left, the rope end is tied with a Figure-8 Loop. On the right, a Clove Hitch is used. Below, a carabiner connects to another rope strand also tied with a Figure-8 Loop.
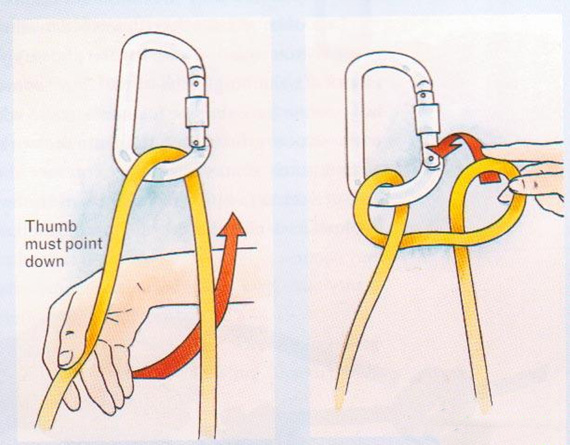
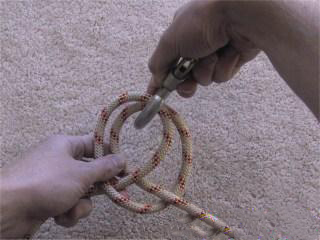
5.2 Tying a Clove Hitch One-Handed
If you can only free up one hand while on the rock face, you can also tie this knot one-handed – in fact, it can be faster than using two hands.
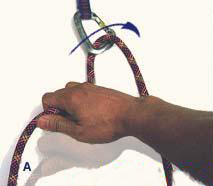
- Hang the rope into the carabiner.
- Using one hand, grip the standing end (rope going back) with your thumb pointing downwards.
- Bring the rope around behind the carabiner.
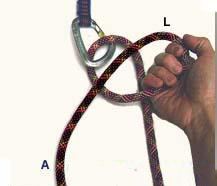
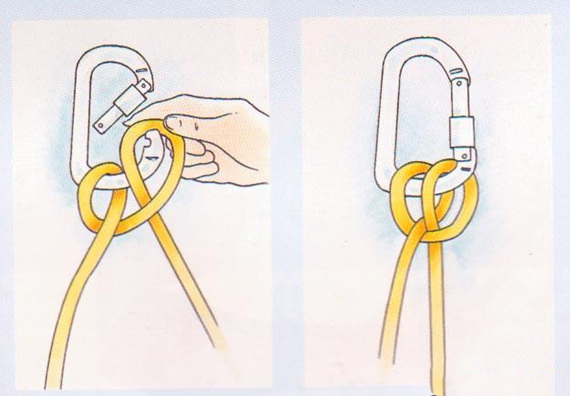
- Simultaneously, wrap it backwards to form a loop.
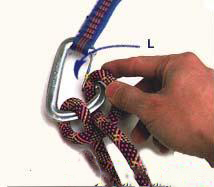
- Clip this loop into the carabiner. The knot is now complete.
After reading these steps, you might be able to tie it in under a second.
If you make a mistake, reviewing the principle in section 6.1 should clarify the correct method.
Alternatively, refer to the diagram below.
Note: The diagram shows the perspective from opposite the person tying the knot, i.e., looking at the back of the carabiner.