


Rock Climbing Knots Tutorials (Part 6)
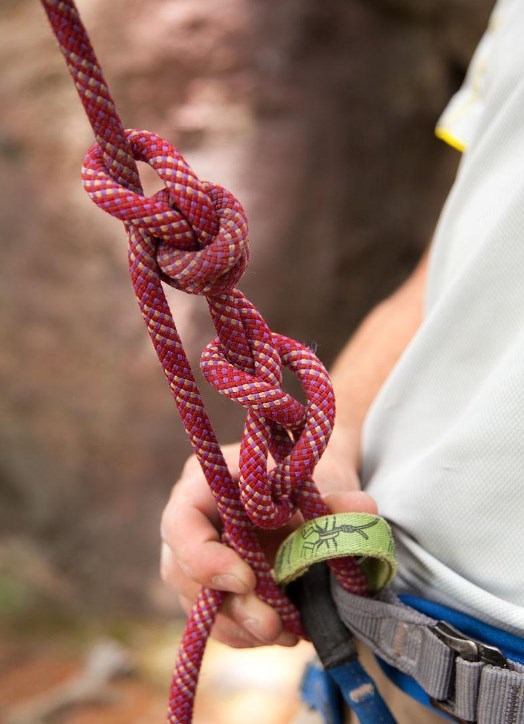
6.1 Alpine Butterfly Knot (also known as Butterfly Knot)
A beautifully named knot. Used during roped travel to create a secure mid-rope attachment point for a middle climber to clip directly into their harness with a carabiner.
Also used to connect the middle of a rope to an anchor when setting up a fixed line.
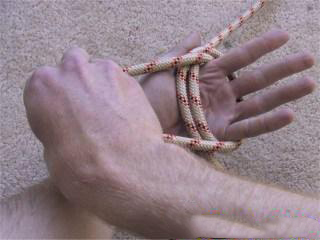
- Place the rope across your palm.
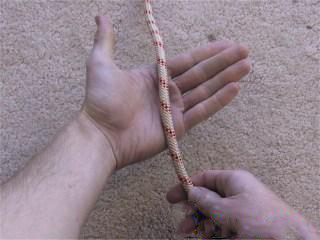
- Form three loops.
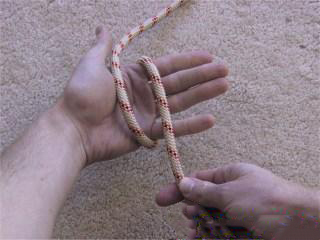
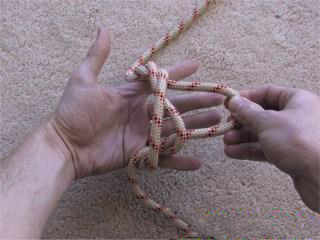
- Pull the center loop through the third loop.
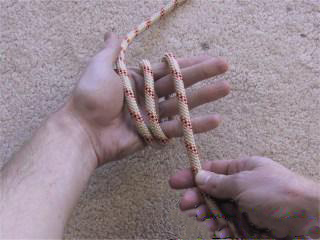
- Flip/Rotate the knot to the left.
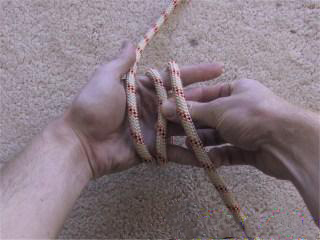
- Then pull this loop through the first and third loops to the right.
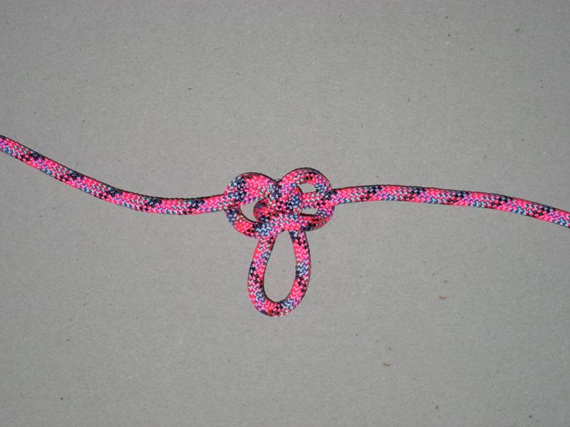
- Tighten the knot to form the Butterfly Knot.
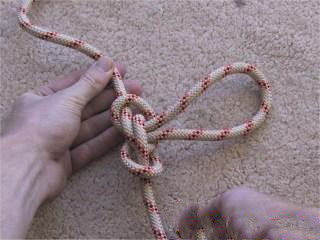
- Flip the knot over – see if it resembles a butterfly with spread wings.
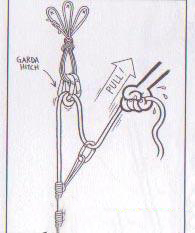
6.2 Alpine Clutch (also known as Garda Hitch)
This is a one-way progress capture hitch. I first encountered this knot during my initial mountain guide training, introduced by a French instructor – I’m sure Lao Ma and Teacher Sun would remember it.
This hitch can be used in rescue pulley systems to replace a Prusik hitch. Its drawback is that it can sometimes be very difficult to release.
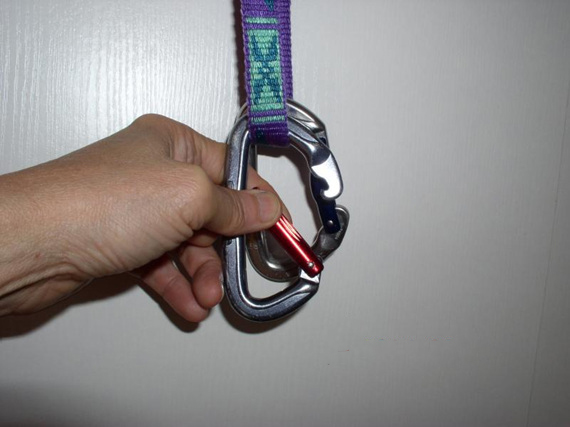
Attach two carabiners with their gates facing the same direction but with opposing gate openings (one up, one down).
Oval carabiners are used in principle, though they are less common now. Pear-shaped carabiners are absolutely unsuitable.
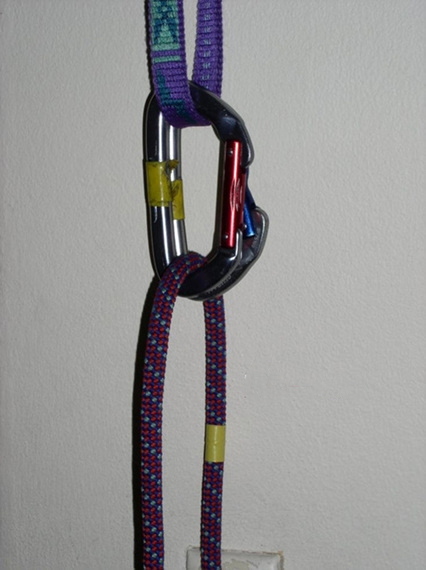
- Insert the rope into both carabiners, with the loaded strand passing behind them.
- Take the brake strand and wrap it around behind the carabiners.
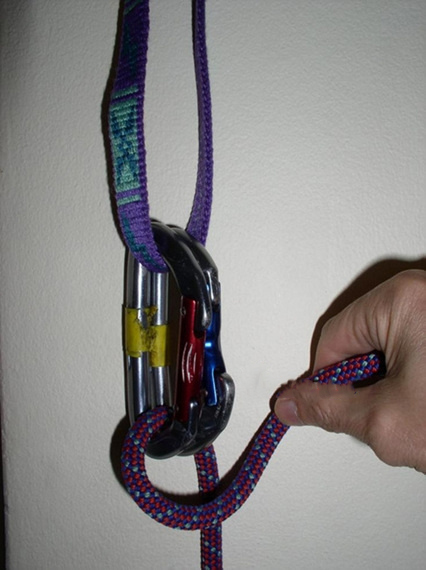
- Clip it into the rear carabiner.
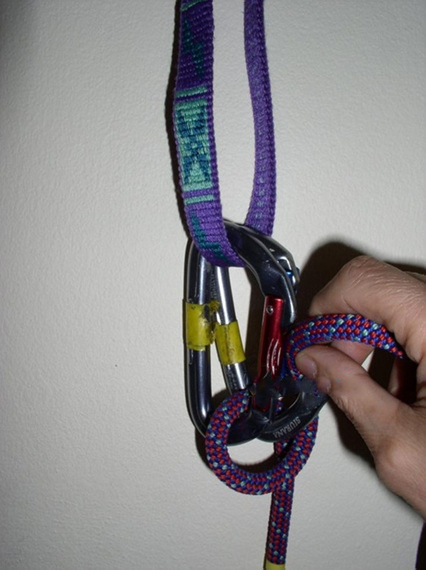
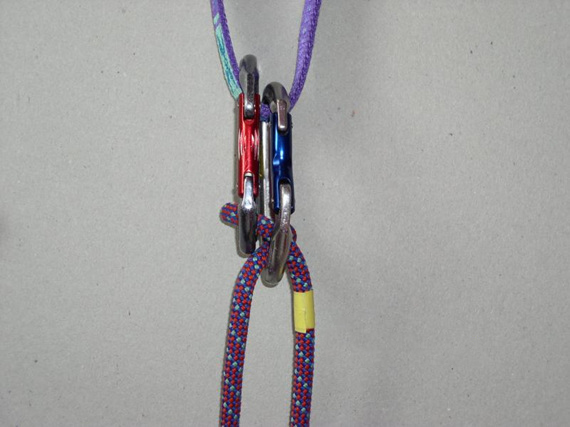
- Pinch the brake strand between the two carabiners (the view from behind may be clearer).
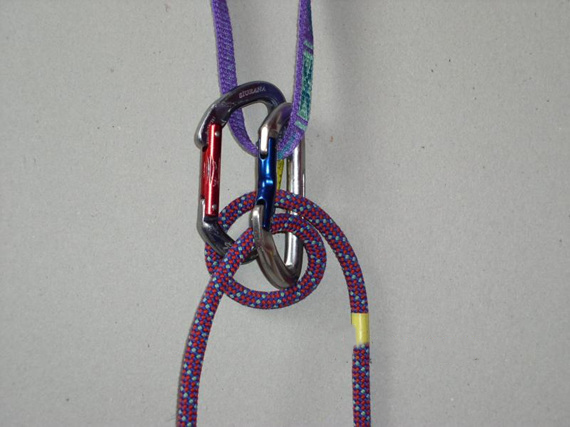
- Pulling the brake strand will raise the loaded strand. Releasing the brake hand allows the hitch to automatically lock/capture. The diagram below shows the hitch under tension.
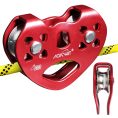
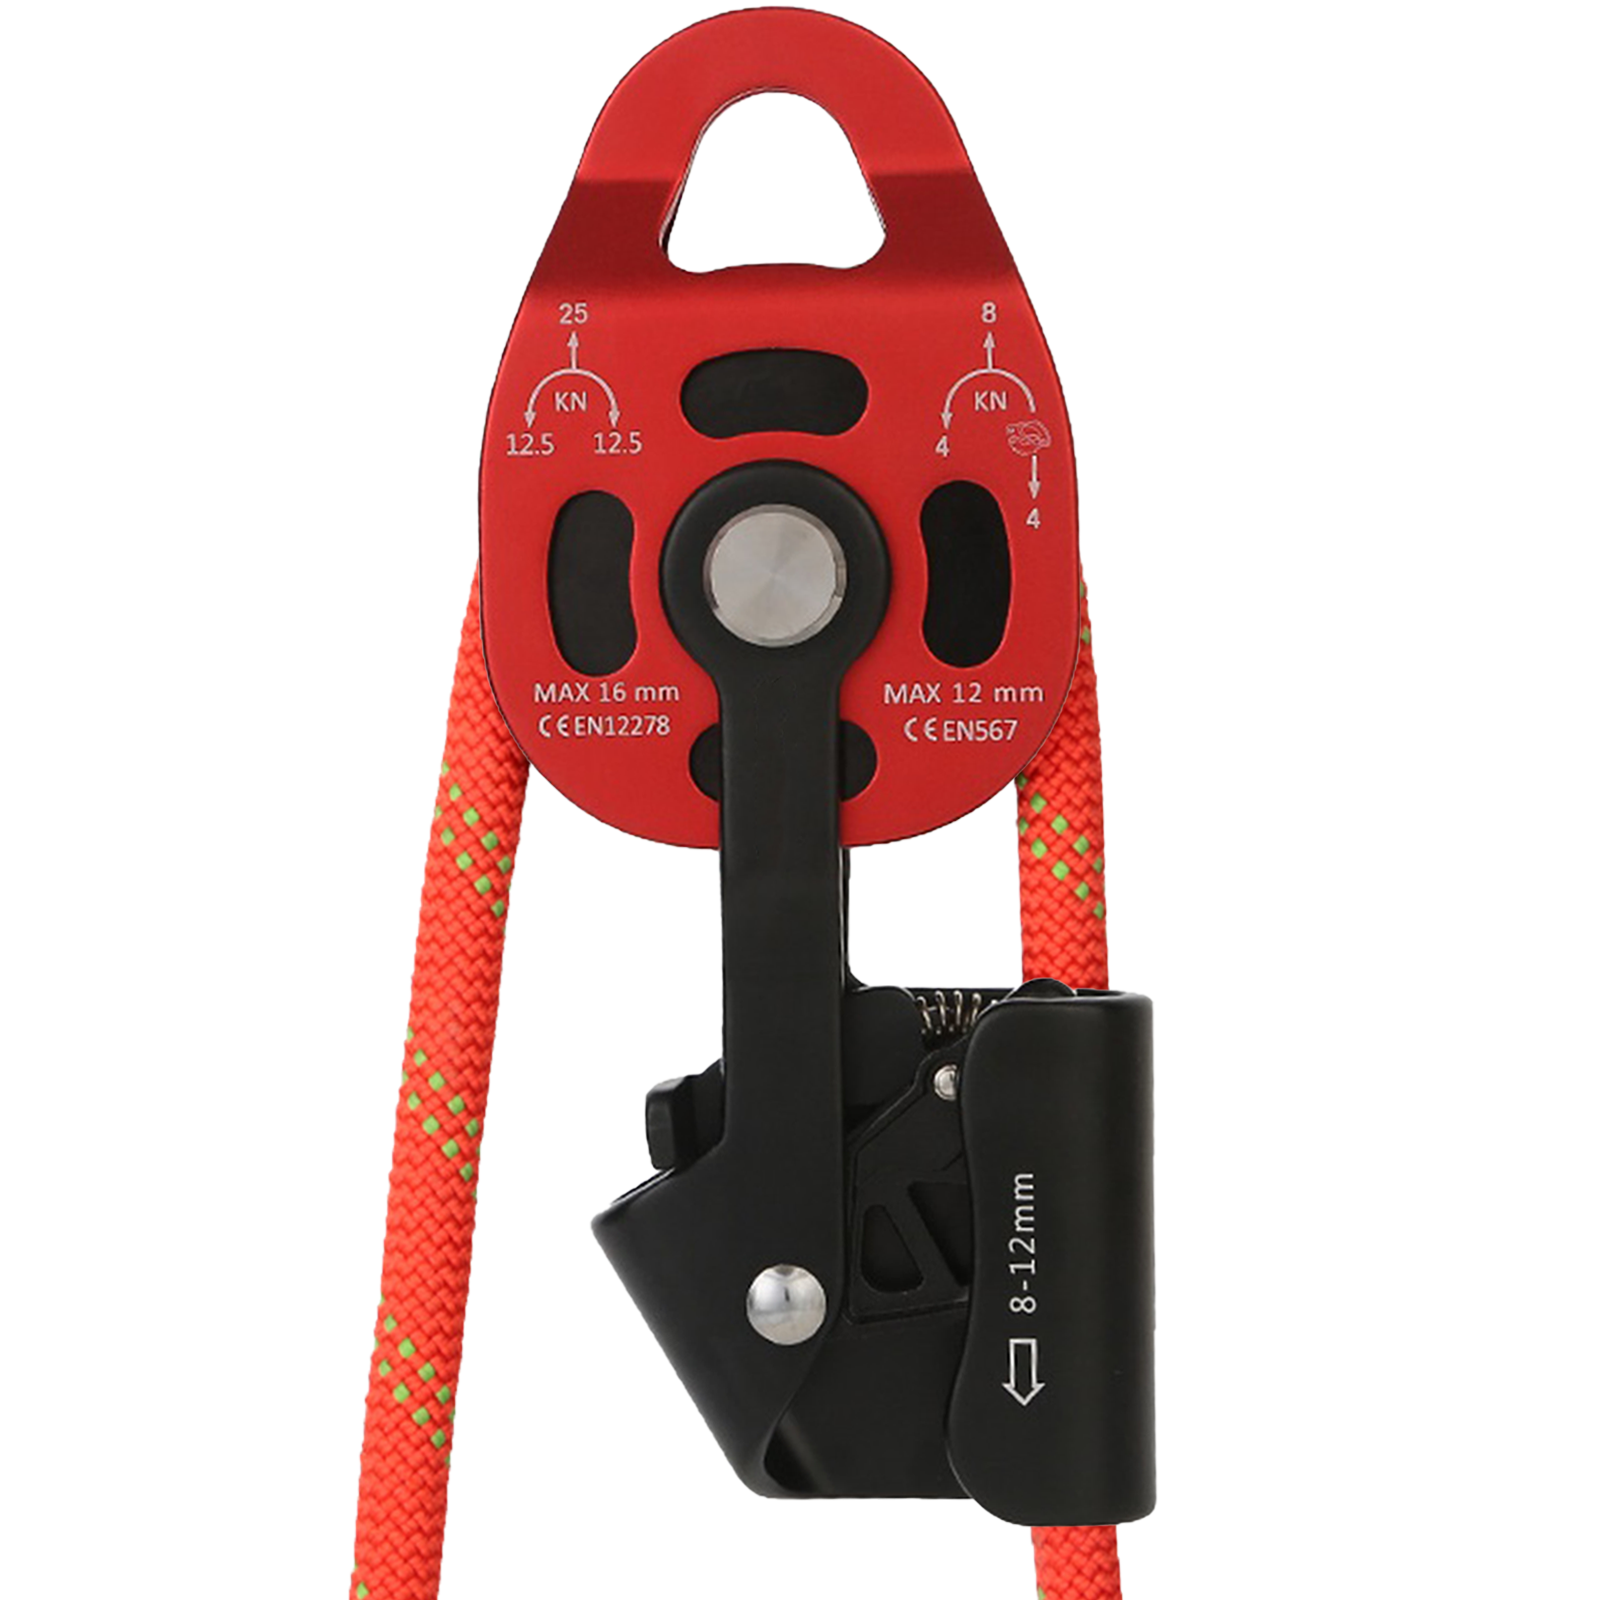
Example of a 3:1 Pulley System in Use
This setup uses one Garda Hitch and one Klemheist (K) hitch. Note the direction of loading on the Klemheist hitch. Climbers may note the Garda Hitch functions slightly better in a vertical orientation.