


How Are Rock Climbing Routes Developed?
The work of designing and developing climbing routes on natural rock faces is known as “bolting a route” or “route development.”
Bolting is an endeavor that demands immense imagination and creativity, coupled with extreme physical exertion. Facing an unfamiliar rock wall, identifying a suitable climbing line, and determining where to place protection points to ensure climbers can focus on the ascent safely is no simple task.
Developing a beautiful, safe, and challenging climbing route requires extensive climbing experience, a deep understanding of rock formations, physical strength, and excellent climbing ability.
Furthermore, route development is an obligation and responsibility climbers undertake. The routes created are not just for personal use; crucially, they are shared with the entire climbing community. This work falls solely to climbers themselves and, in the vast majority of cases, is done without financial compensation.
Countless climbing routes exist worldwide, but they weren’t developed by investors or companies seeking profit. Climbing routes are freely accessible to climbers and yield no direct financial return; this is not a commercial enterprise.
Driven by their passion for the pursuit and the enjoyment of the climbing lifestyle, climbers tirelessly seek out rock walls and develop routes, creating and accumulating a shared wealth for the climbing community itself.
1. Pre-Development Survey:
1) Finding and Discovering Rock Walls:
The first step is locating a suitable, attractive rock wall for climbing. Natural rock walls are typically remote from urban areas. A holistic perspective is needed, prioritizing walls with reasonable accessibility – the hiking distance from transportation should not be excessive.
2) Assessing the Rock Wall:
Evaluate potential impacts on local communities and the environment.
Conduct a thorough analysis of the wall’s features and rock quality: Is it climbable? Is it suitable for bolting? Limestone and granite are generally the most suitable rock types.
Key questions must be addressed: What type of routes (single-pitch or multi-pitch) are feasible? What will the general difficulty range be? What are the surrounding climbing conditions like? What safety issues need consideration during development and climbing?
Comprehensive consideration is vital. Once developed, the wall should appeal to the majority of climbers. If other climbers are unwilling to use the routes, the development effort loses its core purpose.
3) Planning the Wall:
Once a wall is selected, plan its development. Divide the wall into sectors based on its morphology and features. Design the type of routes for each sector according to its characteristics.
This planning phase is critical. Proper planning prevents haphazard work, saving time and effort while avoiding unnecessary damage to the rock.
4) The Development Phase: Imagination Meets Experience:
Significant climbing and bolting experience is highly beneficial. This stage requires imagination and creativity. While the rock’s features are natural, the route developer designs the line’s trajectory, height, and which specific sections of the wall will be climbed.
A beautiful, high-quality climbing route should possess the following characteristics:
Clean, solid rock; Reasonably spaced, safe protection points.
Consistent climbing difficulty; Diverse and engaging movement.
Appropriate route length.
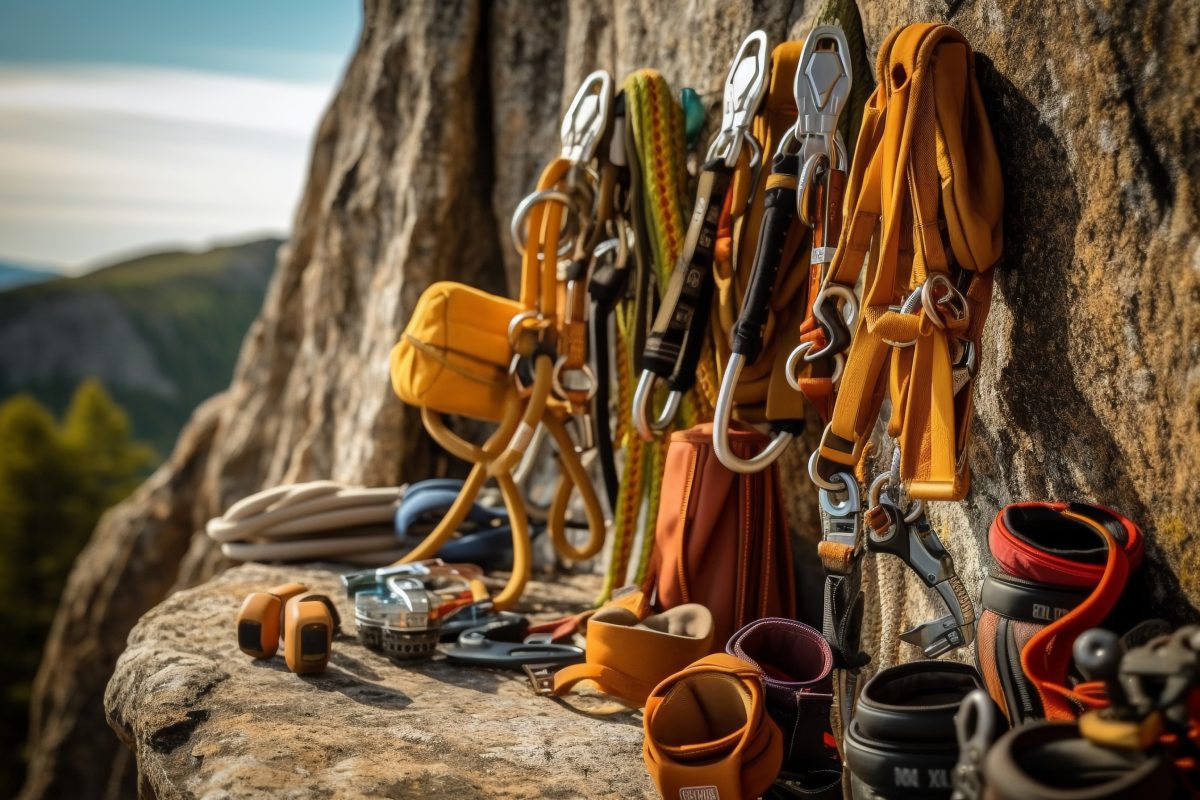
2. Development Equipment Inventory
After planning, gather the necessary equipment. Essential bolting gear typically includes:
- Drilling Tools: Cordless drill, drill bits.
- Protection Hardware: Stainless steel expansion bolts, hangers, or stainless steel glue-in bolts + epoxy resin (selected based on rock type, quality, and environment); Maillon Rapide (quick links) or chains for anchors.
- Installation Tools: Rock hammer, wrench/spanner, blow tube (for clearing drill holes).
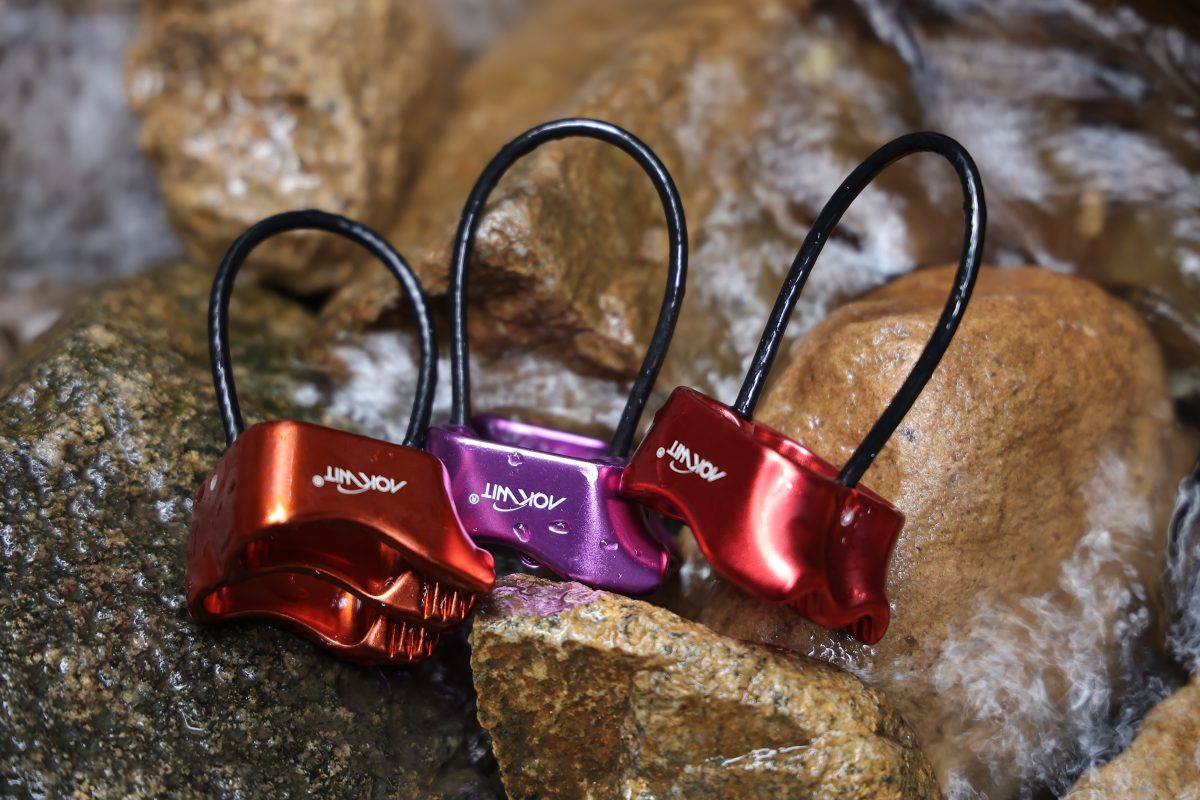
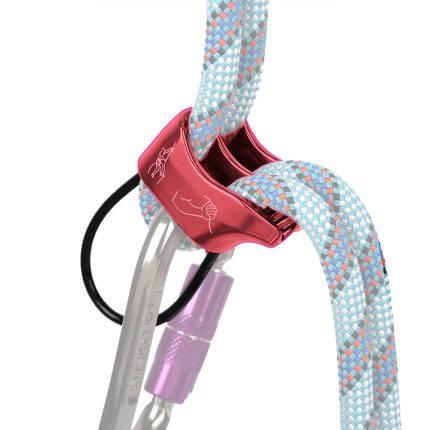
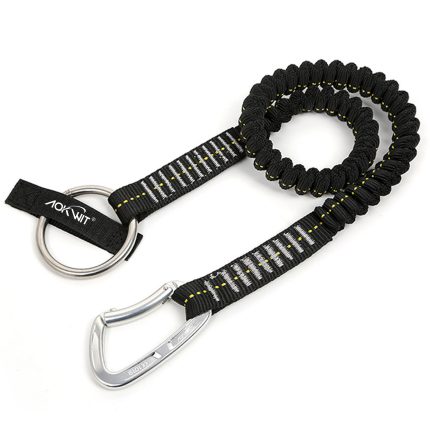
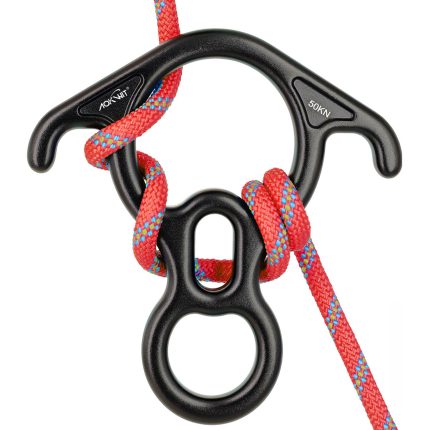
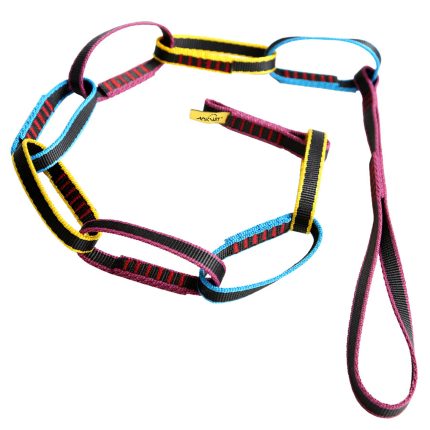
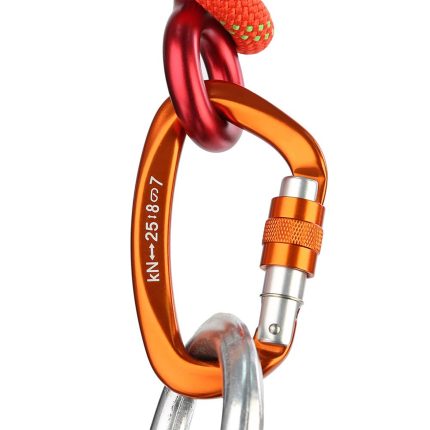
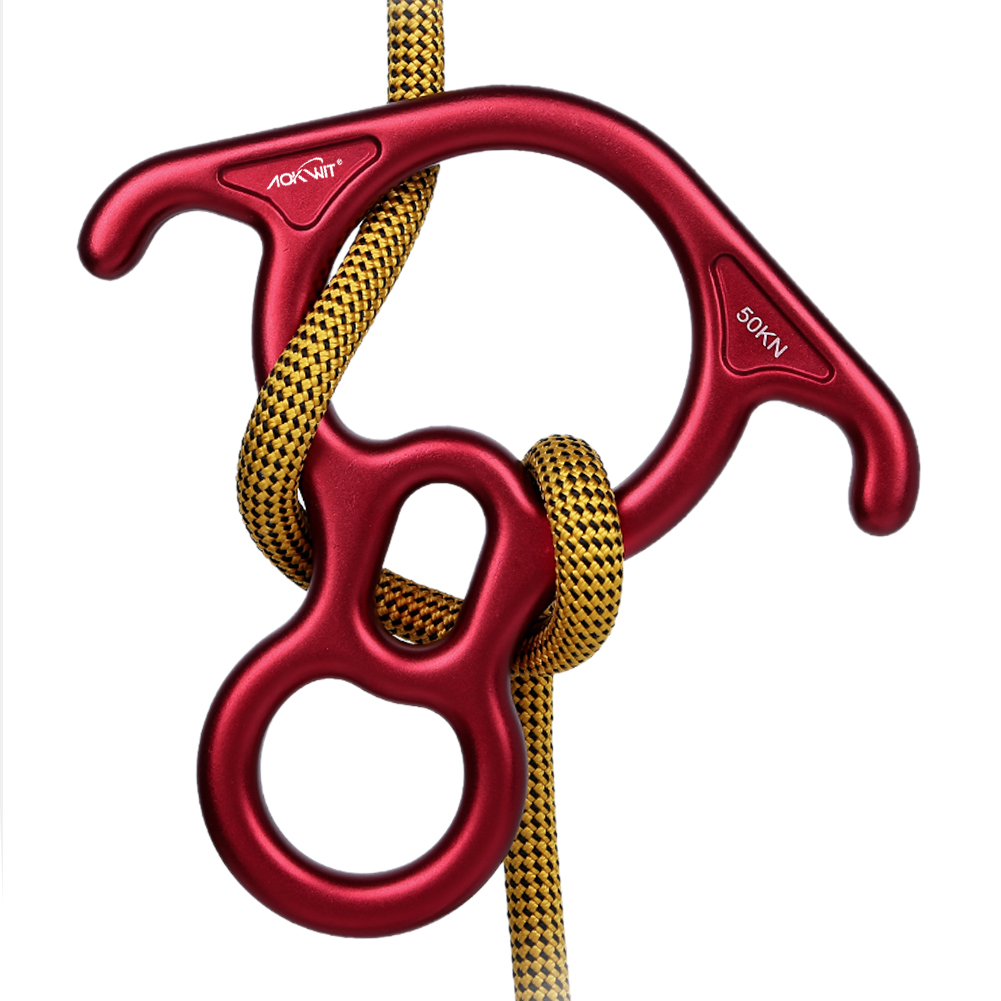
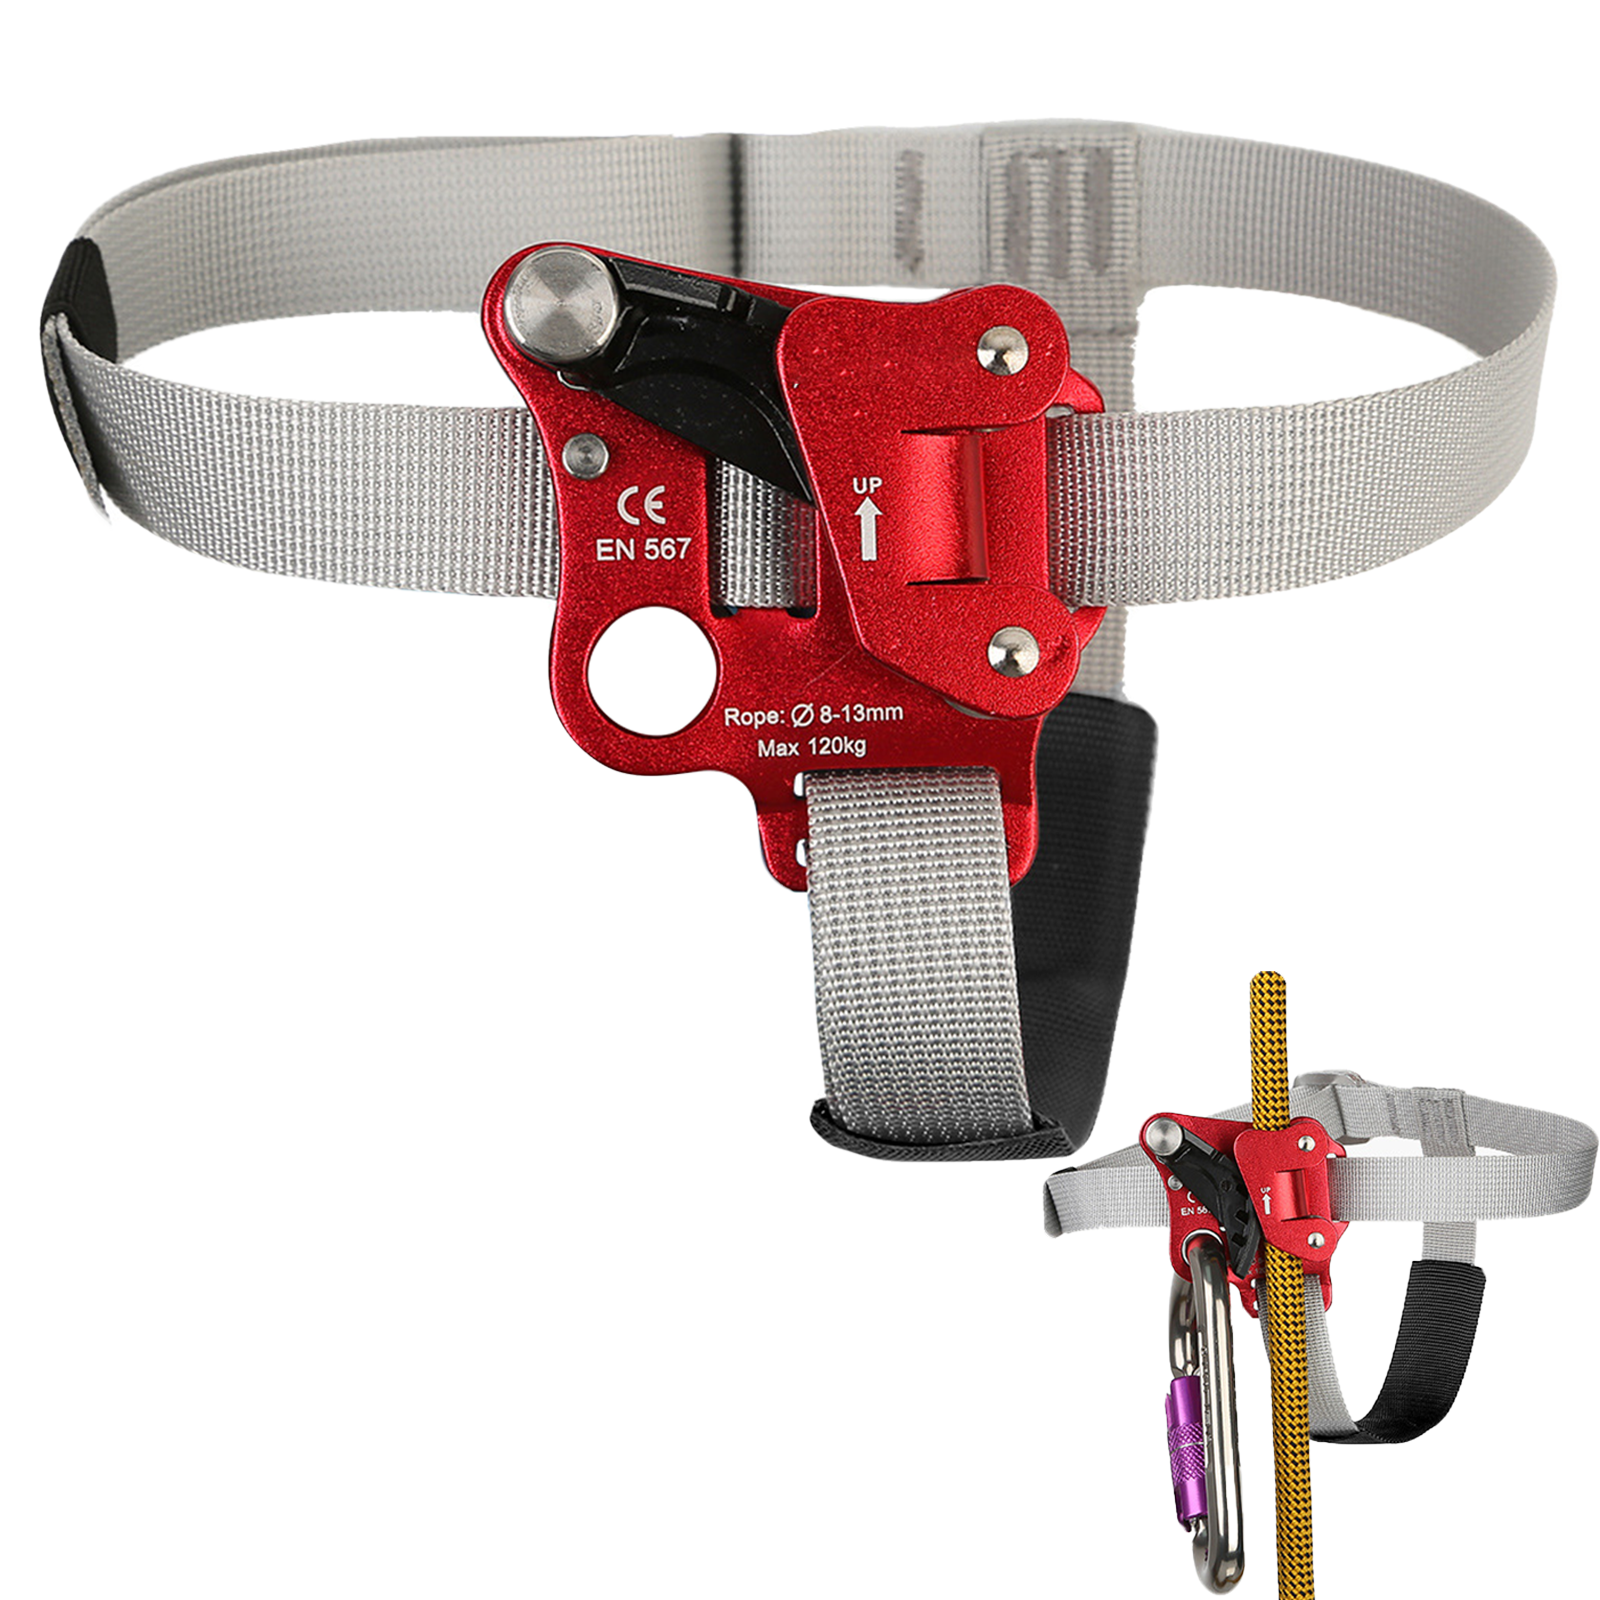
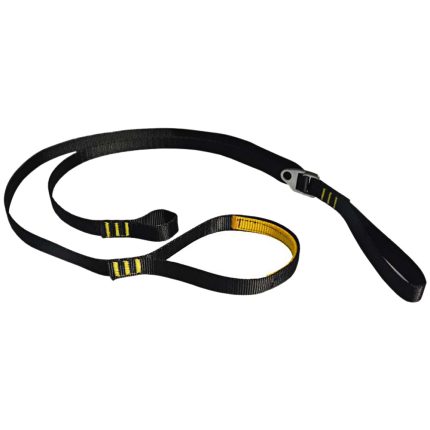
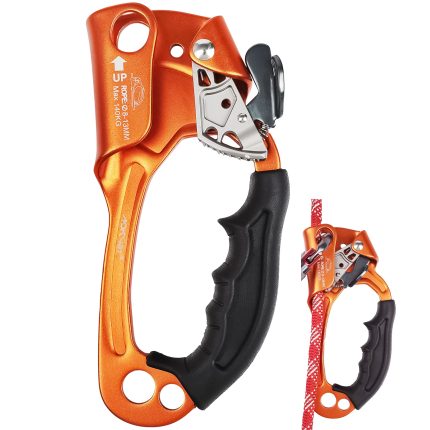
- Climbing Gear: Dynamic rope, static rope, carabiners, quickdraws, slings/webbing, accessory cord, ascenders, GriGri (assisted-braking belay device), belay device, traditional climbing gear (nuts, cams), aid climbing gear (hooks, etriers), personal protective equipment (helmet, harness, climbing shoes, chalk bag).
- Cleaning Tools: Crowbar/pry bar, saw, brush cutter/sickle, wire brush, stiff-bristled brush.
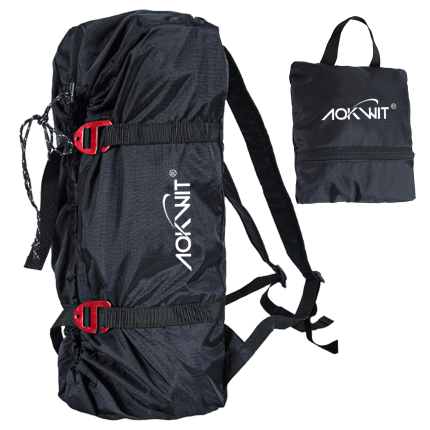
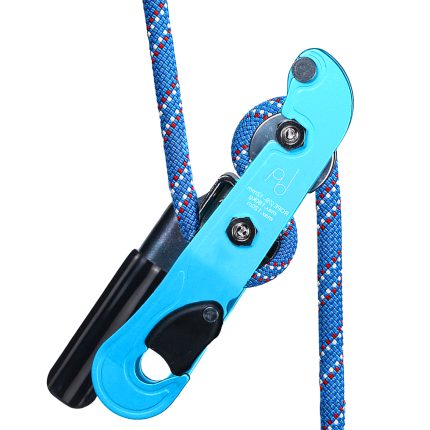
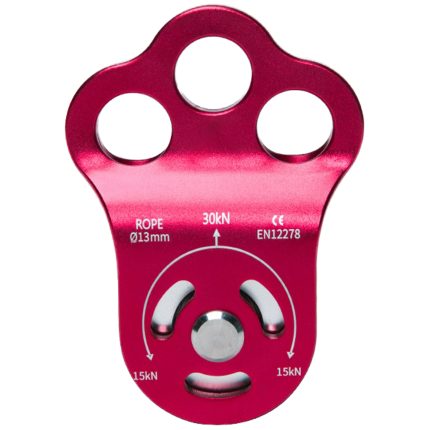
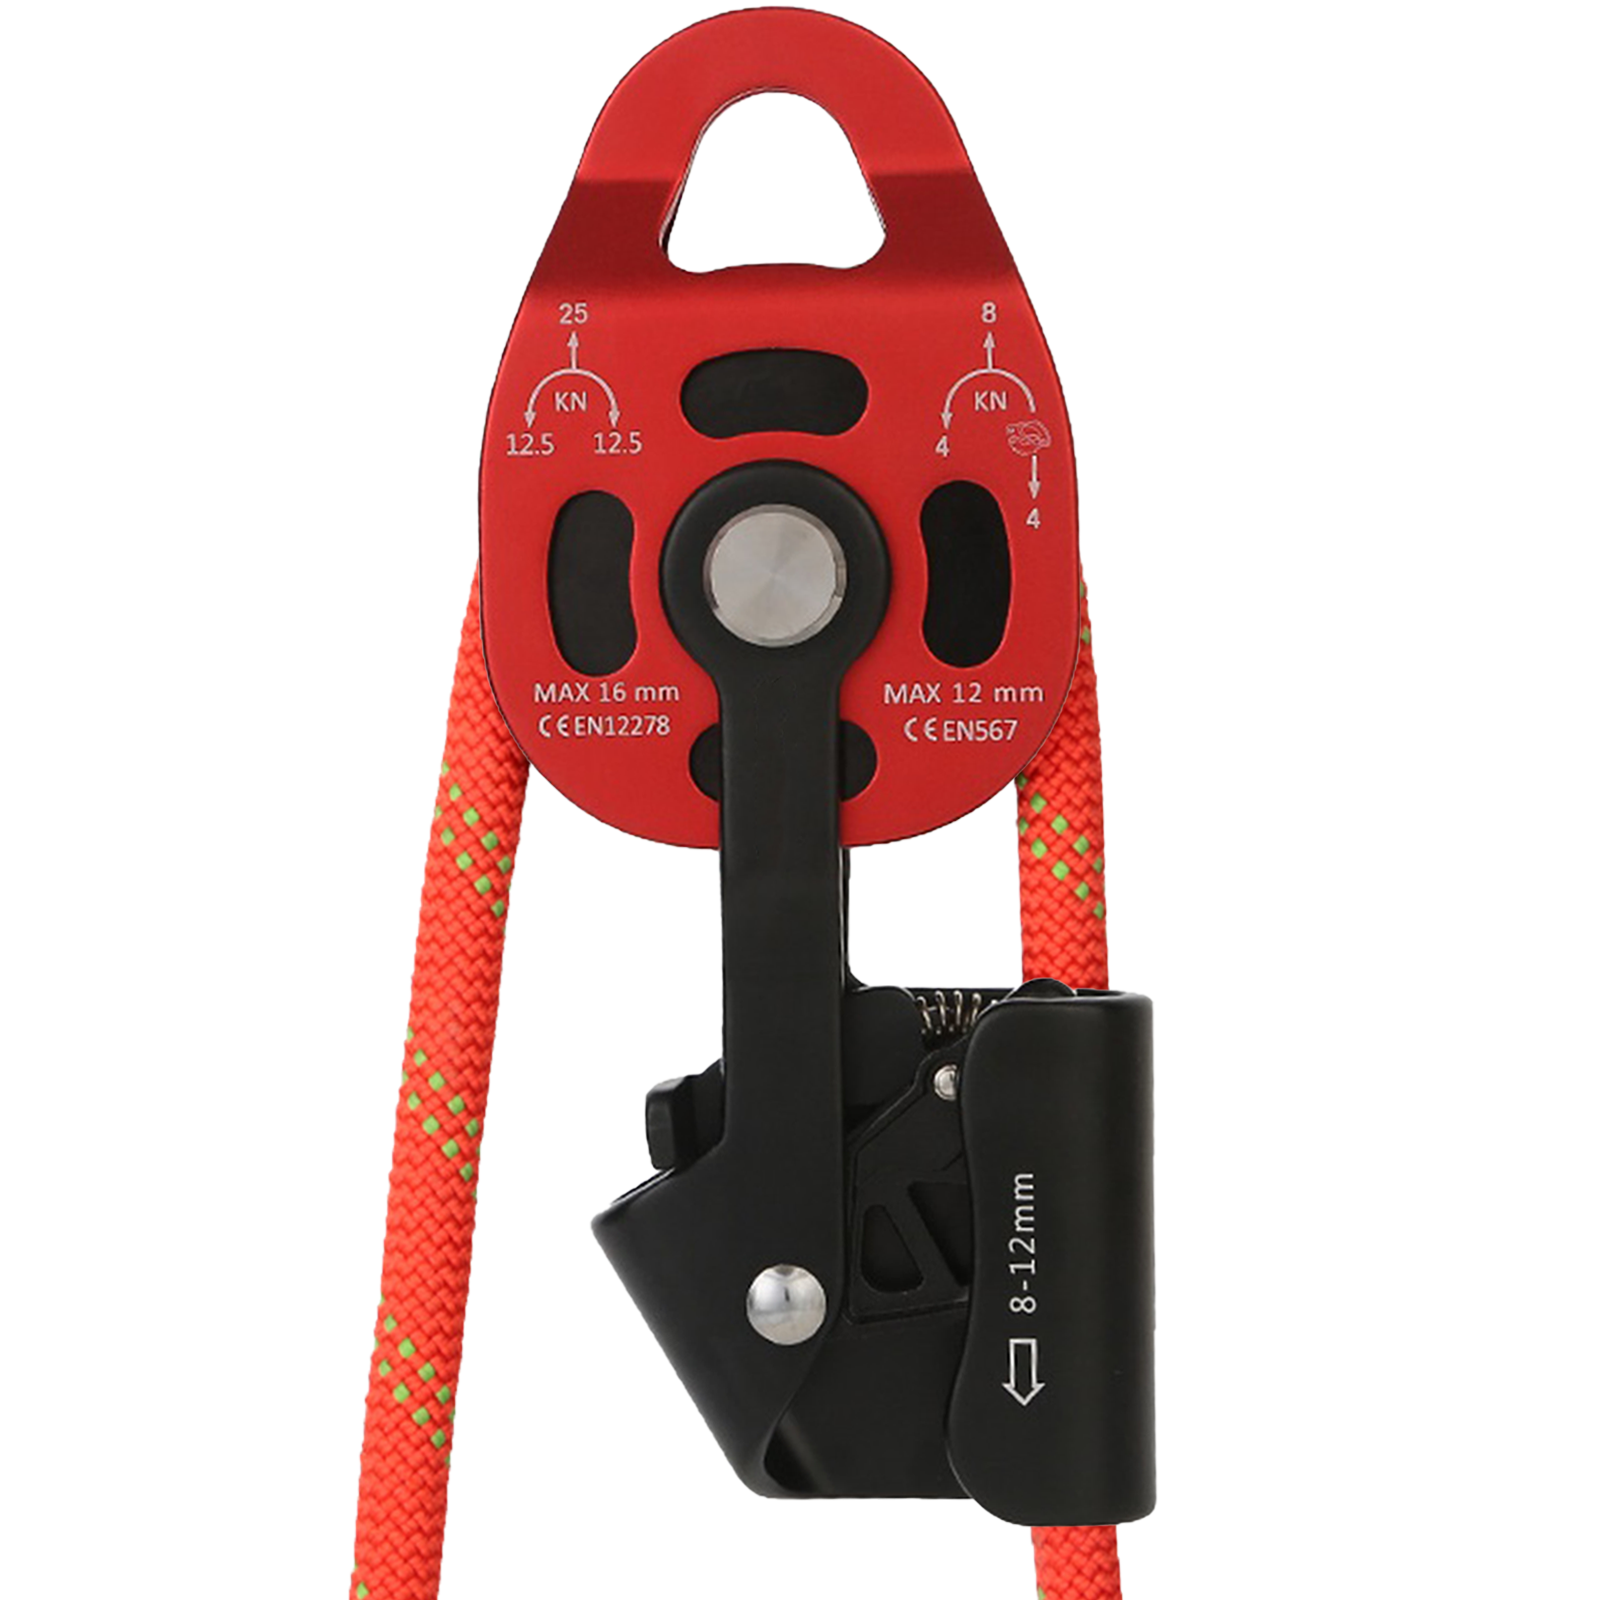
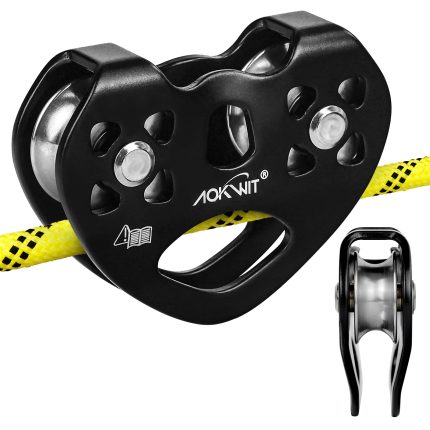
- Other Support Tools: Haul line, pulley, rope knife/cutter, headlamp, haul bag, thin accessory cord.
3. Bolting Methods
Generally, there are two primary bolting methods: Top-Down and Bottom-Up.
1) Top-Down Method:
Generally considered easier and more efficient; most routes are developed this way.
- Step 1: Find the safest and easiest access to the top of the wall. This may involve hiking/scrambling around via easier terrain or climbing the easiest possible line using traditional (trad) climbing techniques. Reaching the top is the objective.
- Step 2: Establish an anchor at the top of the planned route. Rig a top rope.
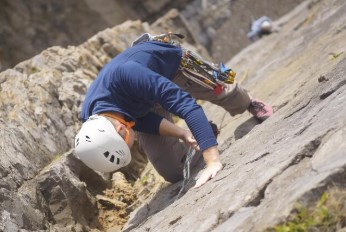
- Step 3: Top-rope the planned line to “scrub” and inspect it. During this process, determine the exact line and the placement for each bolt hanger. This is the crucial step defining the final route. The developer must anticipate various scenarios: potential falls, overcoming cruxes, safe clipping distances, suitability for quickdraw placement, etc., to ensure optimal bolt placement. Extensive bolting experience is invaluable here.
- Step 4: Drill holes and install bolt hangers. While a hands-on task, numerous details require attention: rock quality at the drill point, minor adjustments to hanger position, drill hole direction/depth/angle relative to the rock surface, proper bolt depth, correct nut torque, hanger orientation.
- Step 5: Clean the route. Thorough cleaning is vital: remove loose or unstable rock, vegetation (weeds, bushes), dirt, and moss. This enhances safety and climbing flow. Clean the base approach and surrounding area.
2) Bottom-Up Method:
Used when safe top access isn’t possible or the wall isn’t suited for top-down development. This demands more from the developer:
Requires deeper initial observation to estimate the line, difficulty, and gear needs. Significantly greater bolting and aid climbing experience, along with advanced rock assessment skills, are essential.
The developer must lead climb the line (often using aid techniques initially), carrying the drill and tools. They determine bolt placements while climbing, install each bolt, clip into it for protection, then continue upward, repeating the process until the route is complete.
Even while aiding, the developer must attempt free moves to accurately determine the natural line and optimal bolt placement for free climbers.
This method offers no top-rope rehearsal opportunity. Carrying heavy equipment makes it physically demanding. The developer needs exceptional climbing strength, and the resulting route difficulty usually falls within their personal climbing ability.
Route cleaning remains essential after bolting.
4. Post-Development Work
After cleaning, the core development work is done, but final tasks remain: creating a route report for the wall/crag.
- Name the route, list the developer(s), and the development date.
- Test climb the route and revise any poorly placed bolts. Establish the route’s difficulty grade, length, and number of bolts/hangers.
- Describe the route’s key features and any specific considerations (e.g., runouts, specific gear, rock quality issues).
- Provide information about the crag and detailed access instructions.
Only then is the development process essentially complete.
Bolting is arduous, complex work, significantly more demanding than recreational climbing. It requires extensive equipment, involves long hours on the wall, and consumes substantial physical energy. Consequently, it places high demands on the developer, not just in climbing proficiency. Without immense passion for the sport and a strong sense of responsibility, the task is daunting.
A high-quality climbing route attracts numerous climbers to attempt and conquer its challenges, dancing their “vertical ballet” upon it. When such a route becomes a classic, it brings immense satisfaction and honor to the developer. All the hard work proves worthwhile, embodying the true significance of route development.