


Correct Use of SRT (Single Rope Technique)
SRT is the abbreviation of English “Single Rope Technique”, a technology that enables free ascent and descent on a single rope. Its emergence has allowed humans to delve deeper into the unknown underground world, becoming a must – master content for cave exploration. Explorers take pride in reaching a vertical underground depth of 1000 meters.
Now, the 1000 – meter record has been broken, but the challenge to vertical depth has not stopped and will not stop.
SRT technology is serious and standardized. Various non – standardized operations may bring fatal consequences. Therefore, I suggest that enthusiasts who learn and use SRT technology should establish the ideology of safety and collaboration from the beginning, so that they can truly experience the excitement and fun it brings.
Below, we will introduce the components of SRT technology.
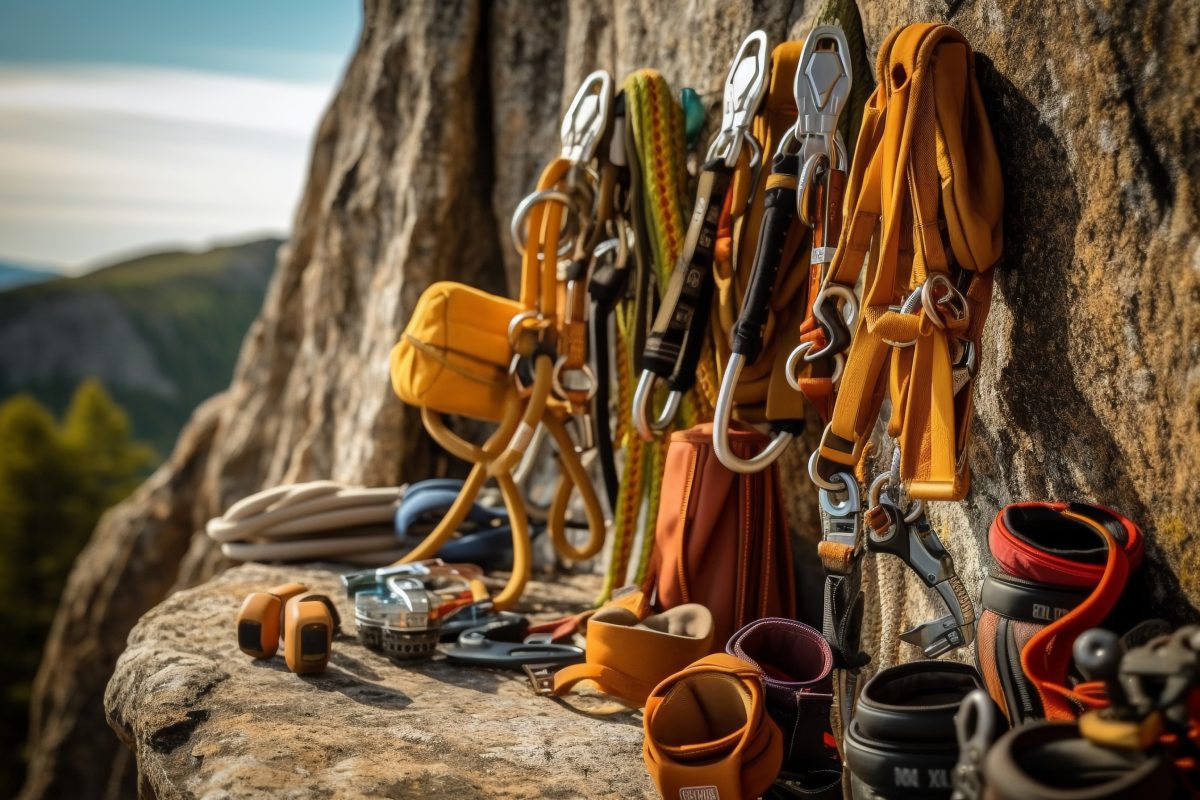
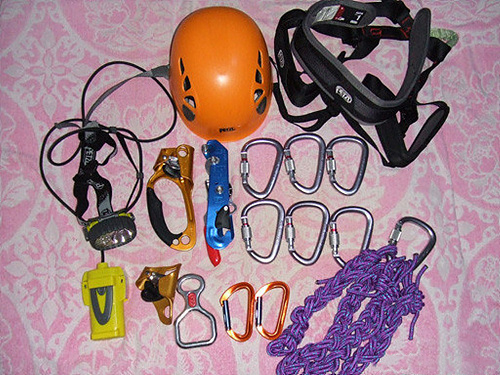
I. Equipment Preparation:
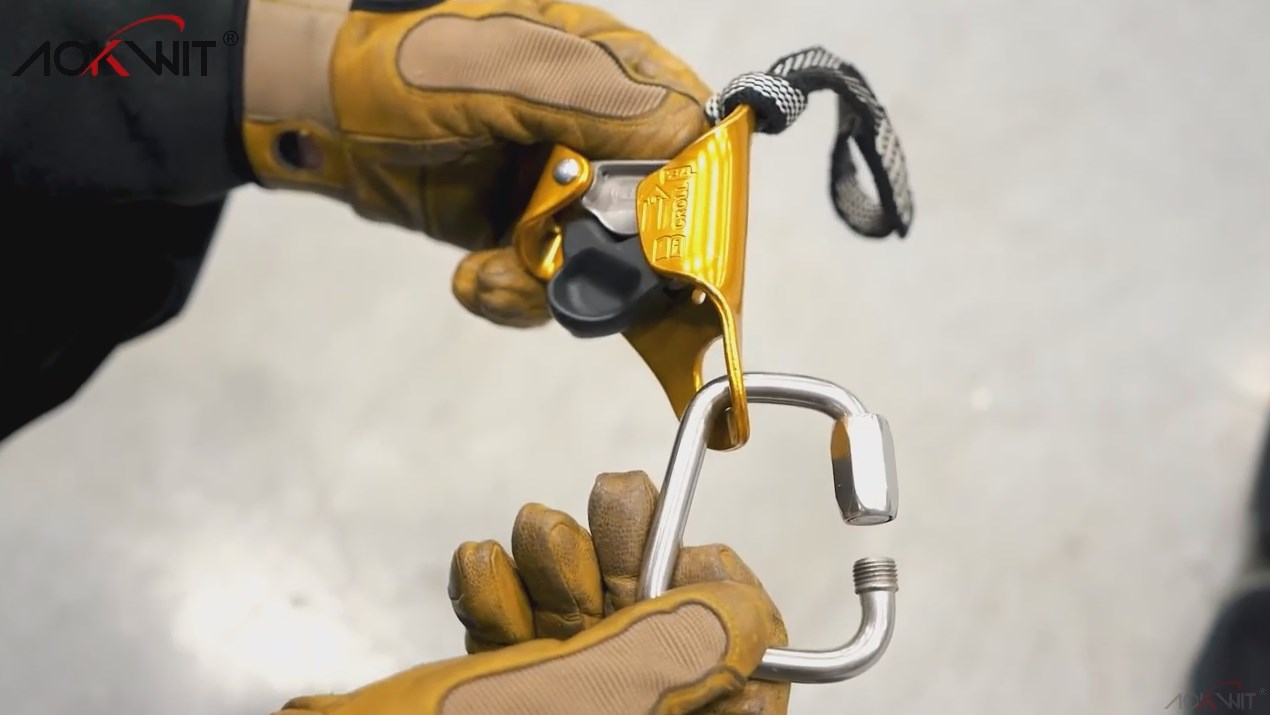
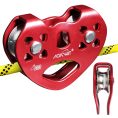
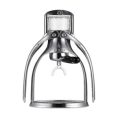
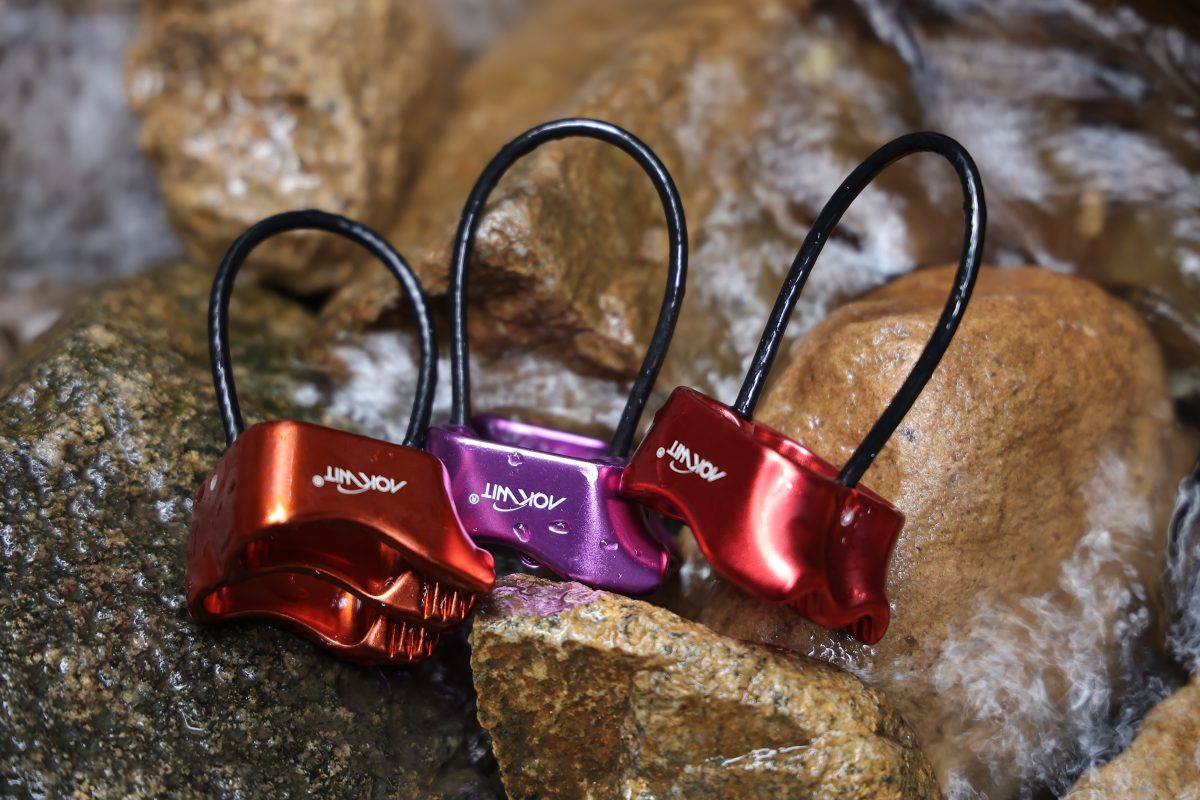
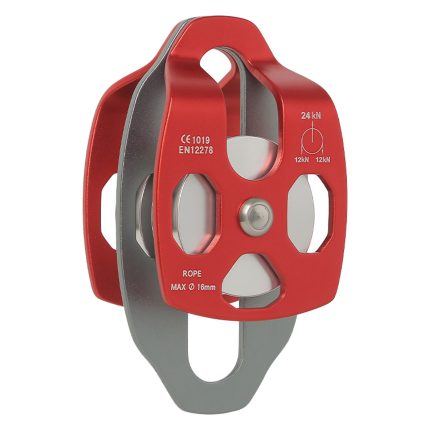
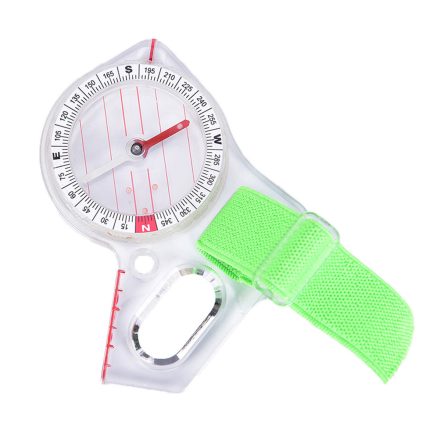
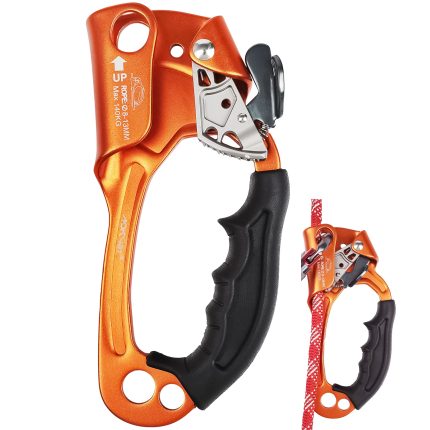
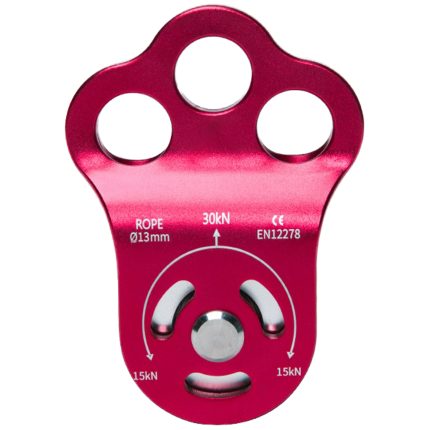
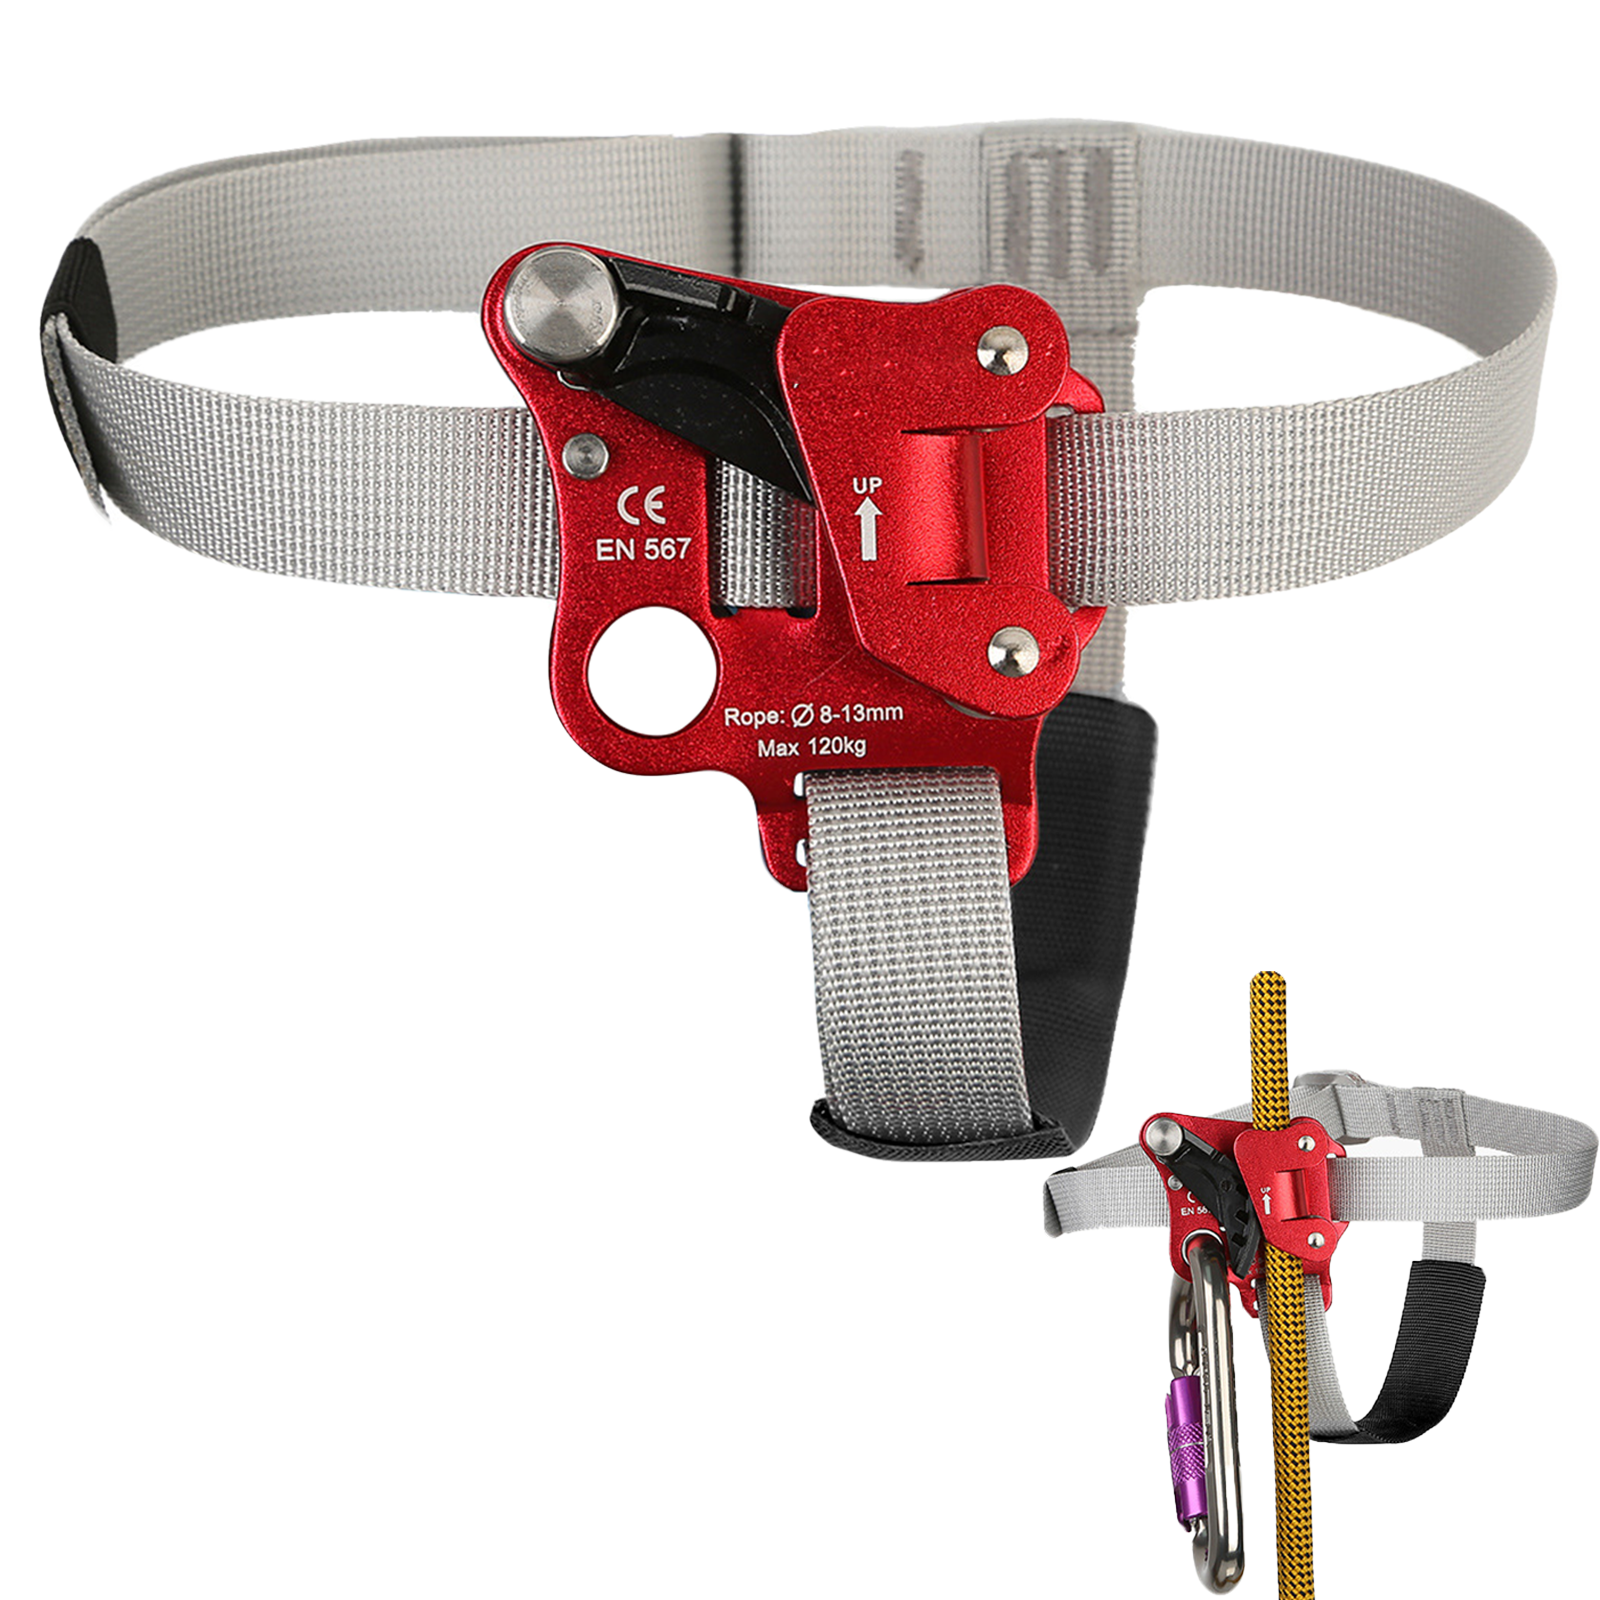
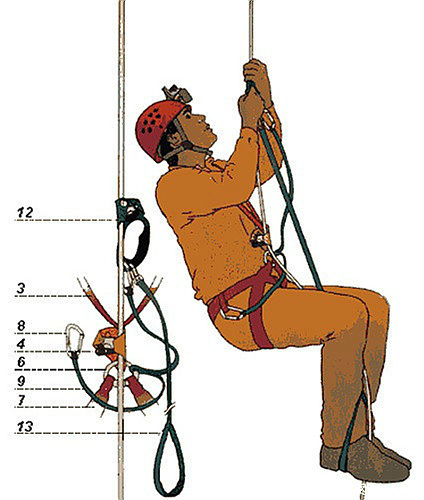
Hand ascender, GO screw – lock carabiner (A), GO screw – lock carabiner (B), foot loop, main lock, caving harness, D – shaped screw – lock carabiner, lanyard, chest ascender, adjustable harness, descender, O – shaped screw – lock carabiner, helmet.
II. Connection Relationship Between Equipment:
- Hand ascender + GO screw – lock carabiner (A) + GO screw – lock carabiner (B)
- GO screw – lock carabiner (A) + foot loop
- GO screw – lock carabiner (B) + long end of lanyard
- Main lock + short end of lanyard
- Chest ascender + adjustable harness
- Caving harness + D – shaped screw – lock carabiner
- O – shaped screw – lock carabiner + descender
- D – shaped screw – lock carabiner + lanyard + chest ascender + O – shaped screw – lock carabiner
III. Wearing and Using Precautions:
- None of the equipment can be missing.
- All places with live buckles on the harness must be reverse – buckled; the leg loops and waist belt of the harness should be tight (it is better that a finger can be inserted, not too tight).
- The screw of the main lock must be fastened; the screw main lock connected to the descender should have the lock door facing the body and be locked downward.
- The length of the foot loop should be from the ground to the position of the D – lock; the length of the lanyard connected to the hand ascender should be from the D – lock to the position of the mouth.
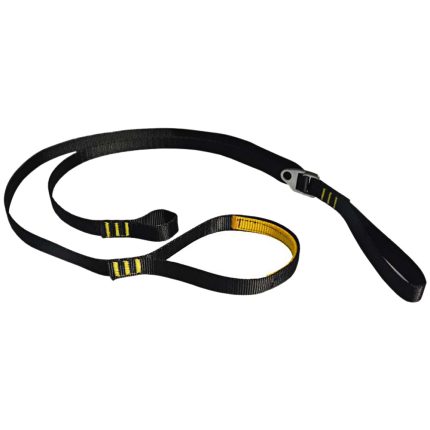
- The lanyard can be replaced by a tested static rope or dynamic rope. If a slip occurs, it should be replaced immediately.
- The equipment on the D – lock should be arranged in order.
- Strictly pay attention to the direction of the chest ascender and the descender.
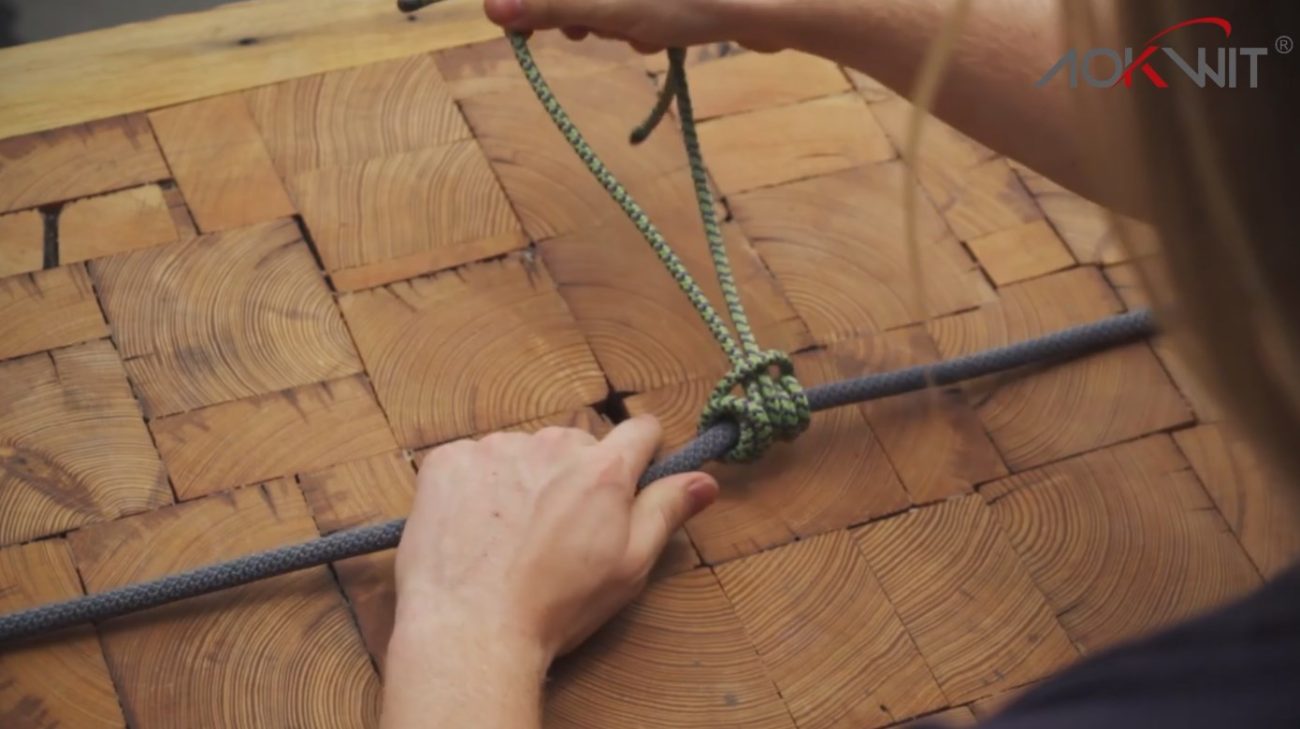
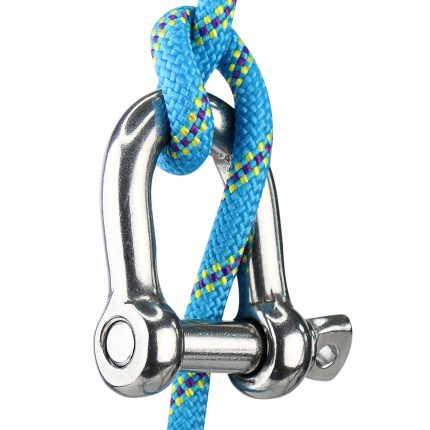
IV. Learning of Knots:
Master proficiently the most commonly used figure – eight knot, as well as clove hitch, overhand knot, fisherman’s knot, bowline, butterfly knot, prusik knot, etc.
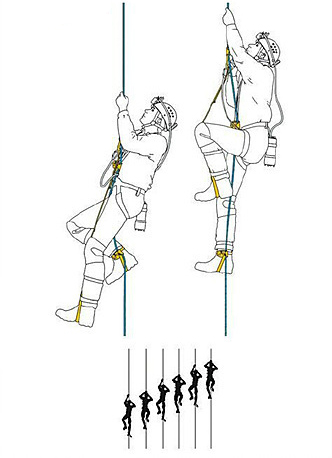
V. Ascent Technology: (Refer to Caving Equipment)
- Before ascending, adjust the adjustable harness (the adjustable harness can also be self – made with webbing) to make the chest ascender close to the body.
- First, hang the chest ascender on the static rope, then hang the hand ascender, and tighten the upper part of the rope so that the body can be suspended smoothly. After suspension, put one foot (or both feet) into the foot loop, hold the handle of the hand ascender with one hand, and hold the upper part of the hand ascender with the other hand.
- When ascending, use force with both hands and feet at the same time to make the body upright, drive the chest ascender to move upward, and then gently transfer the body weight to the chest ascender. Then move the hands and feet upward at the same time, and use force again… Repeat this operation to achieve the purpose of rapid ascent.
- When ascending, use the unloaded foot to coordinate the body balance to prevent the body from being injured by collision with the rock wall.
- When using a foot ascender, it can replace the foot loop or be used together with the foot loop. At this time, the hand ascender, chest ascender, and foot ascender are all on the rope. The foot ascender is suitable for long – distance ascent.
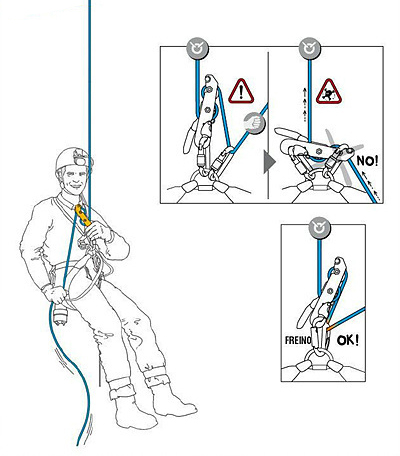
VI. Anti – Slip Technology:
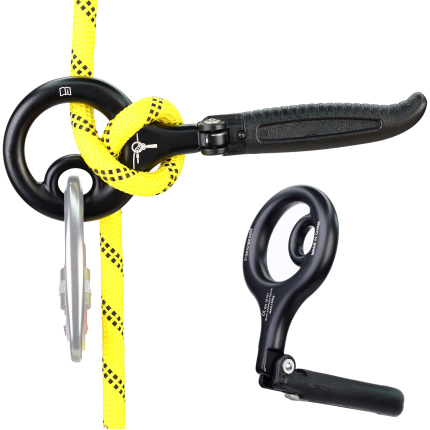
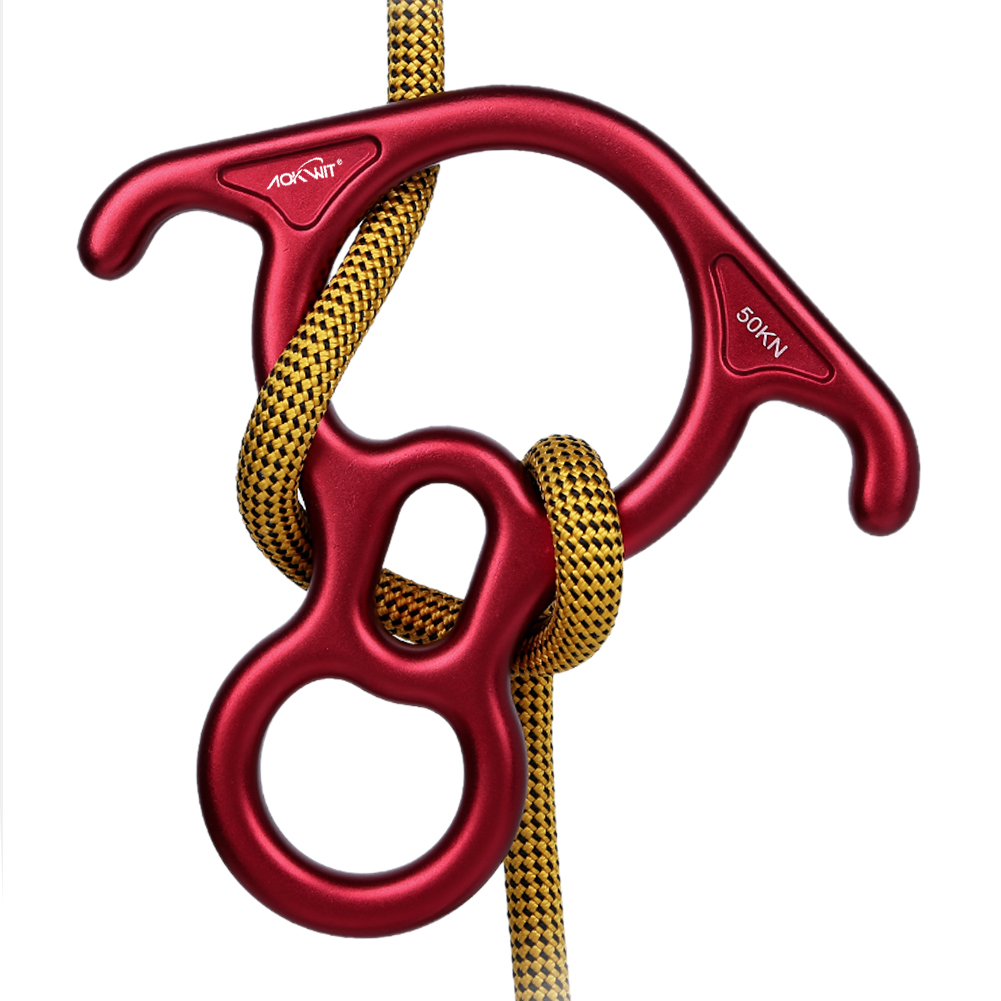
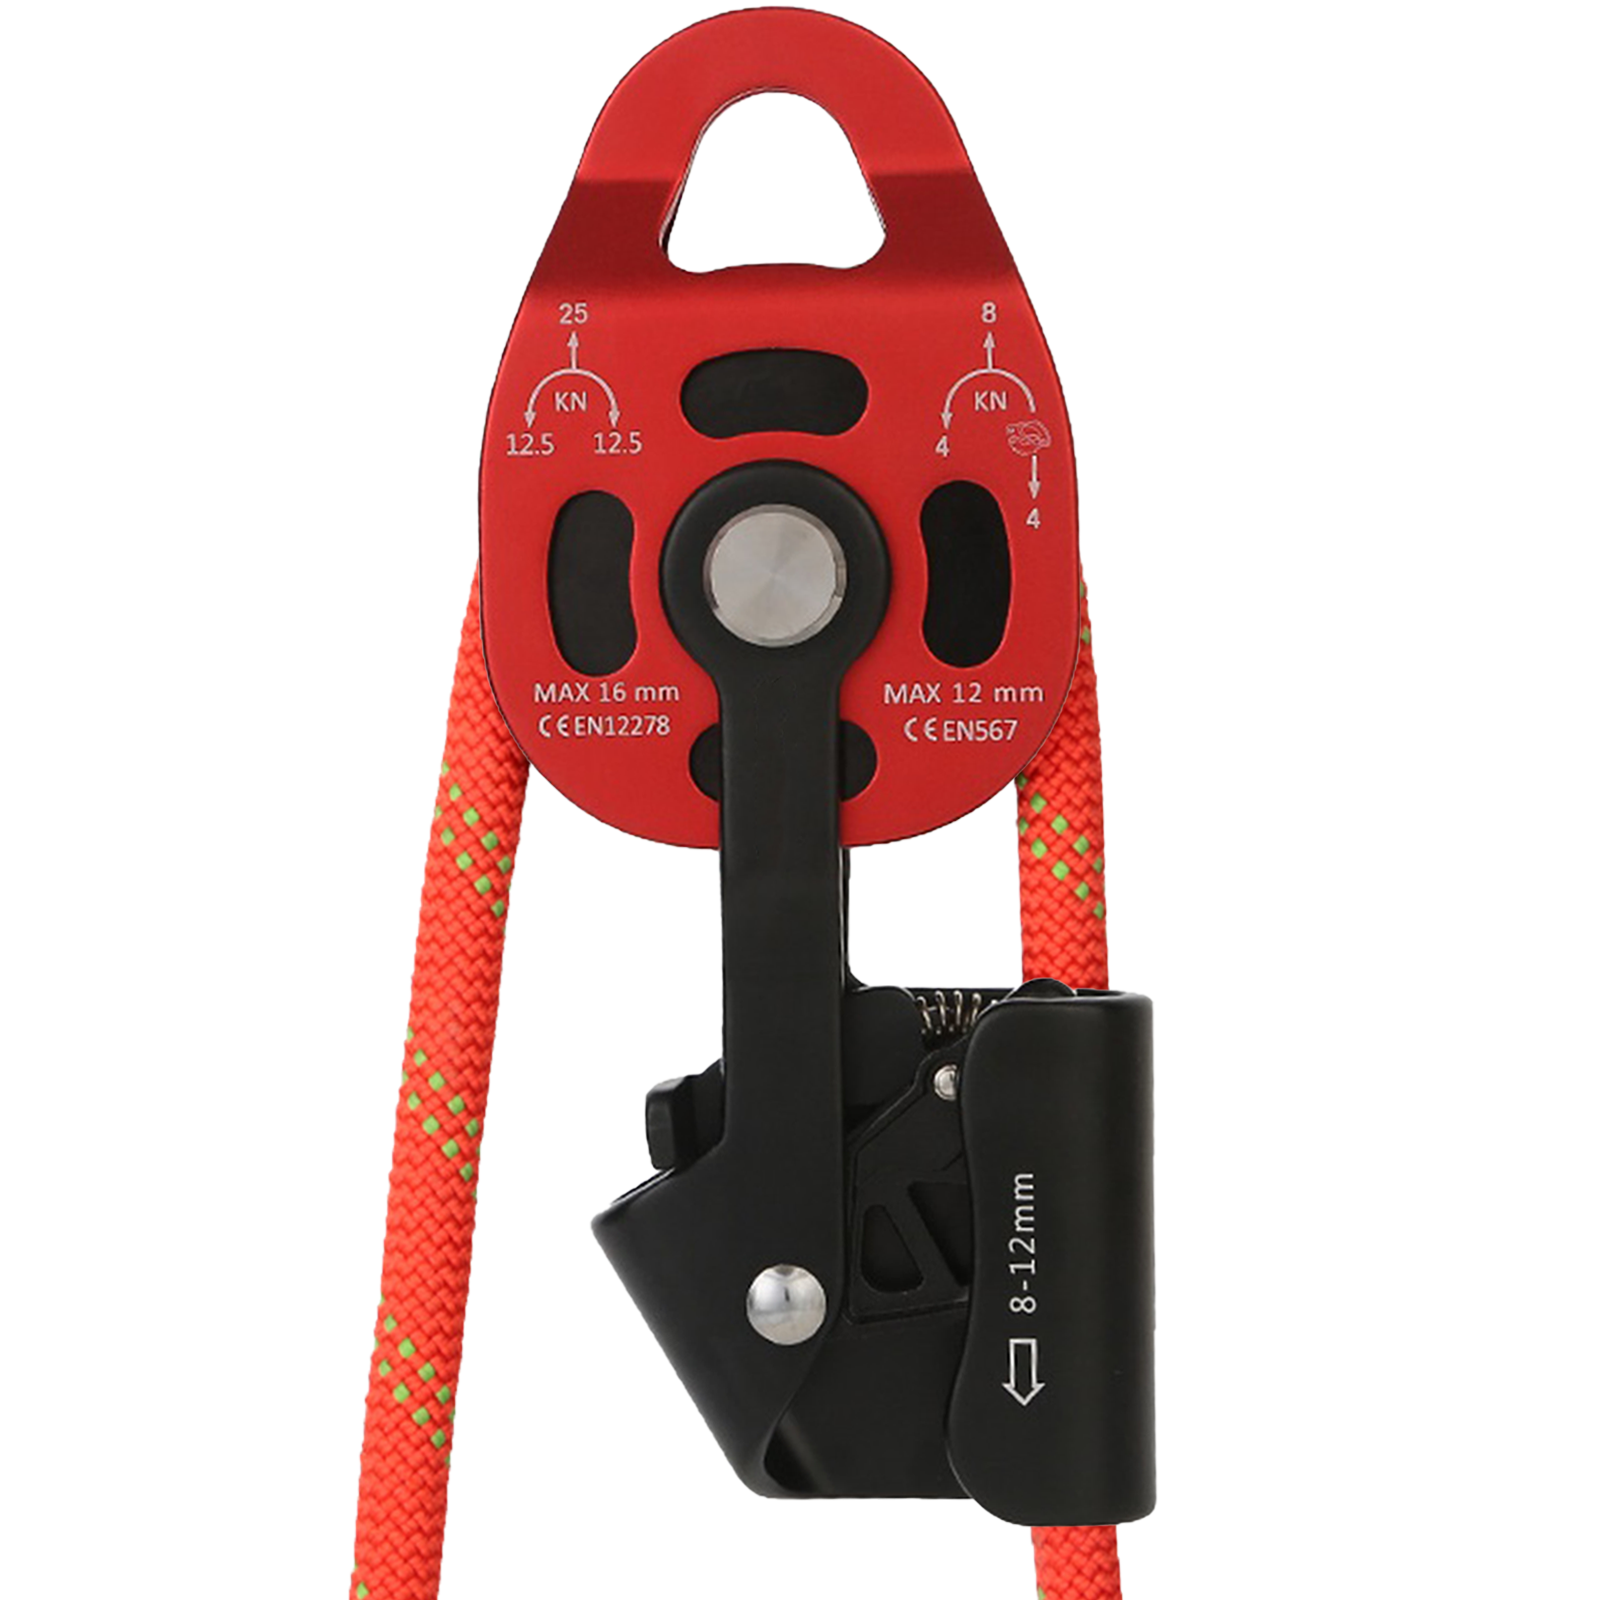
Mastering the use of self – locking and semi – locking descenders (such as STOP, RACK) is a very important technology or step.
Remember: As long as the descender does not slide on the rope or you do not want it to slide, lock it immediately.
VII. Descent Technology:
- Before descending, first connect the anchor point with a lanyard (commonly known as a cowtail rope), then correctly put the descender on the rope and lock it.
- Before being stressed, retract the lanyard. After all the body weight is transferred to the descender, unlock it and start descending.
- When descending, both hands should coordinate the force to control the uniform speed as much as possible. The descent height should be from low to high, and during the descent, practice the self – locking of the descender more.
VIII. Descent Posture:
Adopt a sitting posture, and it is better that the upper body and thighs form a right angle. Do not lean back too much.
IX. Point – Passing Technology:
Point passing is inevitable in large – scale cave exploration, so it must be mastered very skillfully.
X. Lower Point Passing:
- When descending to the anchor point position, immediately connect the anchor point with a lanyard, and then continue to descend until the lanyard is fully stressed. Hang a hand ascender on the rope just below the anchor point for protection. Replace the rope of the descender and lock it. After checking that it is correct, use the hand ascender to take the lanyard. After transferring the weight to the descender, take the hand ascender and put them back in place respectively.
- If proficient, you can not hang the hand ascender for protection. Instead, hold the anchor point with the left hand, lift the rope on the right side of the descender with the right hand to relax the lanyard, then remove it from the anchor point, put it back on the equipment rack, unlock the descender, and then descend.
XI. Upper Point Passing:
- When ascending to the anchor point position, first hang the lanyard on the anchor point, untie the chest ascender from the lower rope, and put it on the upper rope (remember not to put it on the rope below the anchor point). After being stable, change the hand ascender, adjust the state, ascend a few steps, take the lanyard, and put it back on the equipment rack.
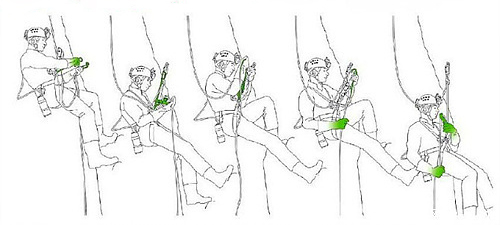
XII. Switching Technology:
An important technology that must be mastered to deal with various needs on a single rope. The actions include: switching between single – rope ascending and descending, and switching between double ropes.
- Switching from Descent to Ascent: First, lock the descender, hang the hand ascender on the upper main rope, then stand up using the foot loop, and hang the chest ascender on the main rope between the descender and the hand ascender. Then remove the descender and put it back on the equipment rack, and then enter the ascending state.
- Switching from Ascent to Descent: First, hang the descender in the correct position of the D – lock, and then lock it. Stand up using the foot loop, loosen the chest ascender from the main rope, then slowly transfer the body weight to the descender, and remove the hand ascender from the main rope and put it back. Then enter the descending state.
Note for this group of actions: The position of the descender on the rope should not be too random. It should ensure that the hand ascender can be taken after bearing gravity, otherwise, the operation will be repeated, which will waste a lot of physical strength.
Ascending and descending switching can also be completed with ascending equipment. This is a very creative action and also the mastery and excavation of the functions of the equipment.
Operate the hand ascender and the chest ascender with the left and right hands respectively.
When the chest ascender is under force, move the hand ascender downward but do not leave the rope. Step on the foot loop to make the hand ascender under force, loosen and move the chest ascender downward, and then make the chest ascender under force…
Operate in a cycle to achieve descent. (Insert moving the hand ascender down, move the chest ascender down)
XIII. Safety Measures:
- Self locking: Prevent slipping on the rope when suspended and after replacing equipment.
- Lanyard: Provide protection before suspension and during aerial actions, and provide protection during traversing.
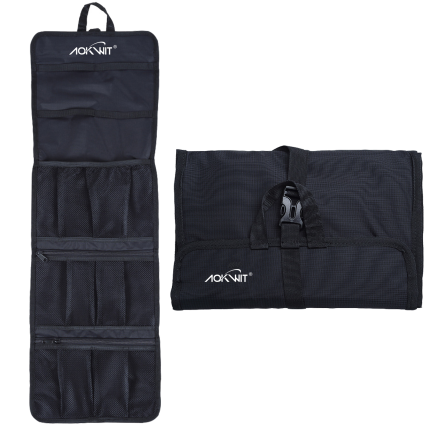
- Protection bag: Prevent the rope from being directly rubbed.
- The end of the lower rope must be knotted to prevent it from slipping off the rope.
XIV. Technical Applications
- Descent: Passing a Knot in the Rope
- Due to the influence of some descent widths, it is impossible to connect two main ropes through an intermediate anchor point. In this case, the two main ropes can only be directly connected without using an intermediate anchor point.
- Descent: Pass Anchor Operation
- When descending to the intermediate anchor point, the operator hangs the cowtail rope end into the anchor point, and the anchor point bears the weight.
- Then transfer the descender to the rope at the lower end of the intermediate anchor point, and tighten the movable end rope of the descender to make it closer to the knot.
- Take out the cowtail rope end from the anchor point and continue to descend.
3. Ascent: Pass Anchor Operation
- When ascending to the intermediate anchor point, the operator hangs the cowtail rope end into the anchor point for protection.
- Then transfer the ascenders to the rope at the upper end of the anchor point in order. Warning: the chest ascender must be transferred first.
- After taking out the cowtail rope end from the anchor point, the ascent can continue.