


Rock Climbing Technique Guide: Topping Out
Introduction: Understanding Topping Out
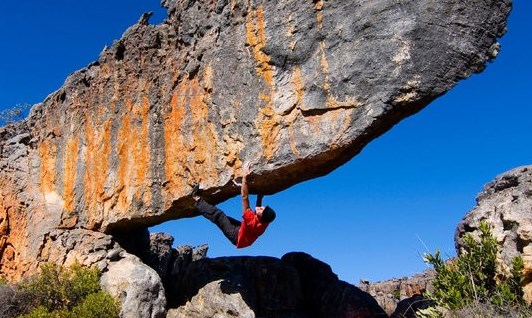
Definition: Topping out refers to the final move of completing a climbing route (especially a boulder problem), where the climber transitions from the climbing surface to the top platform or safe zone.
Importance: In outdoor climbing, a route is not truly complete until the climber successfully tops out and stands atop the rock face or boulder. This differs fundamentally from gym climbing, where climbers typically jump down or downclimb from the highest point.
Challenges: Topping out is often one of the most demanding phases of climbing, especially for those lacking outdoor experience. Smooth, featureless rock tops (e.g., sandstone, conglomerate, or granite formations) can make even low-grade finishing moves strenuous, hazardous, and intimidating.
I. Core Topping-Out Techniques Explained
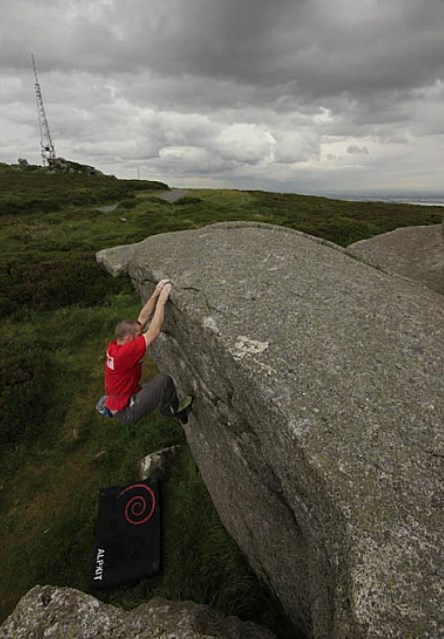
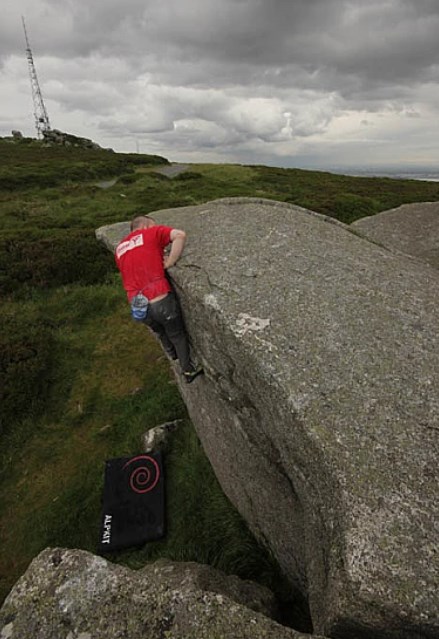
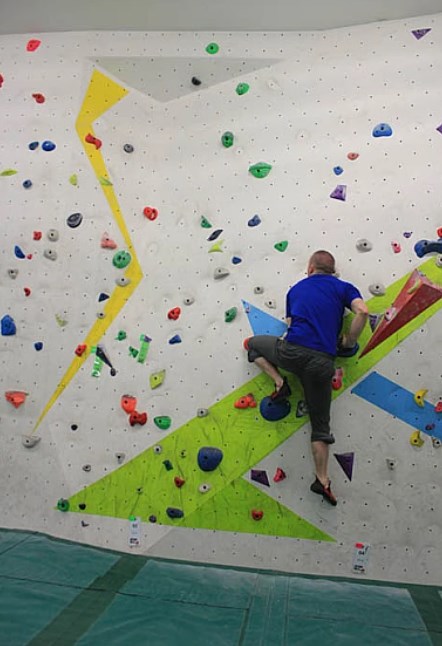
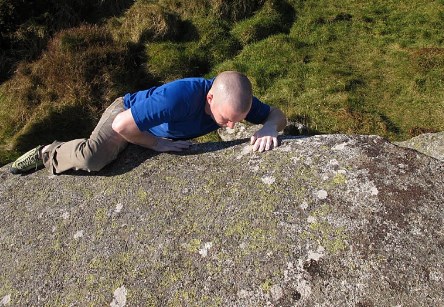
1. Mantling
Concept: The most common topping-out technique, centered on transitioning from a hanging position (finger-pull) to a supporting position (palm-push), ultimately propelling the body onto the platform.
When to Use: When the lip (top edge) of the rock has sufficient space for palm placement to push down.
Technical Breakdown:
1) Preparation:
- Reach just below the lip.
- Choose a dominant hand (or adapt to lip height/shape) as the primary pushing hand.
- Position one foot high on a foothold (ideally allowing hips to rise near hand height).
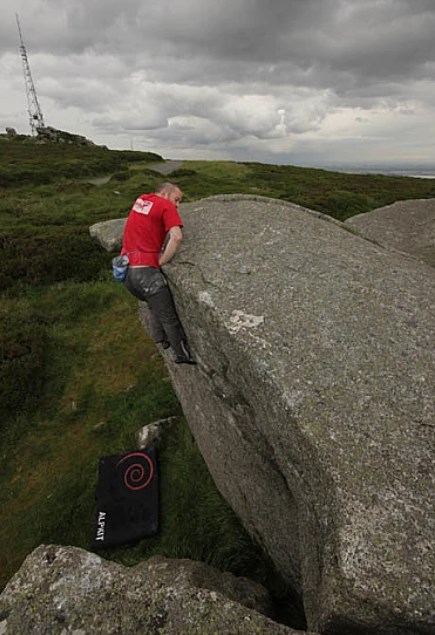
2)Power Transfer (Critical Step):
- Pull shoulders aggressively toward the top while standing up from the high foothold.
- As shoulders rise above the lip, rotate the pushing hand inward (fingers toward the body), flattening the palm on the rock (elbow bent and pointing upward).
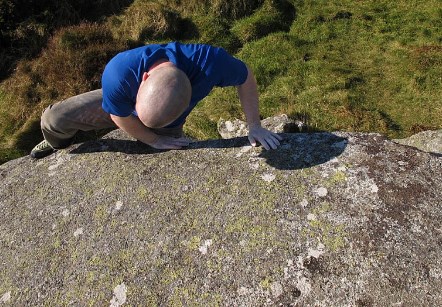
3)Body Propulsion:
- Forcefully extend the bent arm to push the body upward.
- Quickly rotate the other hand into a palm-press position, fingers opposing the first hand.
- Press down until arms are nearly straight.
4)Weight Shift & Completion:
- Lift one foot onto the edge, shifting weight forward onto it.
- Release the inner hand (or adjust position), then bring the other foot up to stand.
- Key Difficulty: Fluid power transfer and weight shift during Steps 2–3.
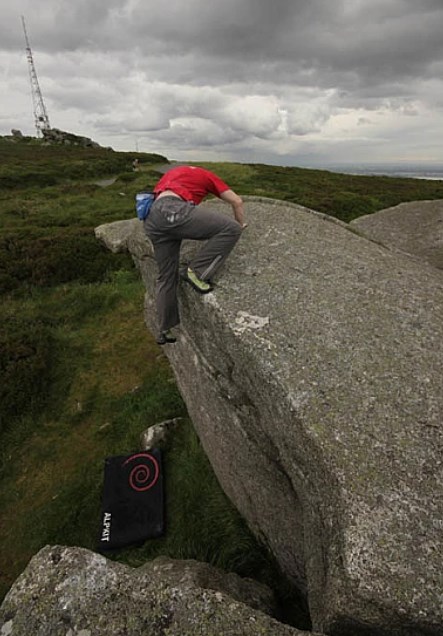
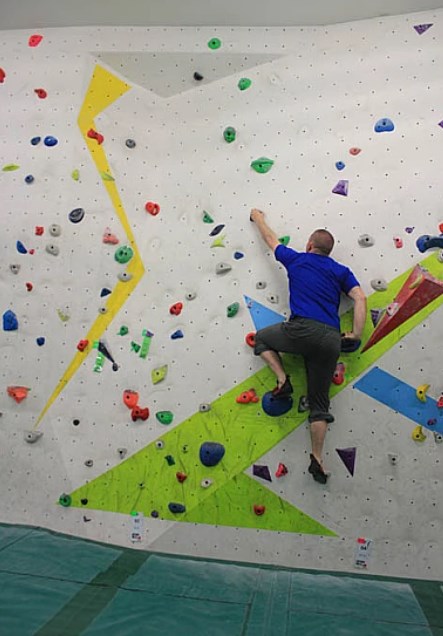
2. Rockover
Concept: Utilizing a high foot placement to stand up (like a deep squat), relying primarily on leg strength, with arms providing balance.
When to Use: On vertical/slabby faces with limited handholds at the top. A foundational climbing move beyond topping out.
Core Requirements: Strong legs (quadriceps, glutes – train via squats, pistol squats), balance, and coordination. Can be executed statically or dynamically.
Technical Breakdown:
- Precise Foot Placement: Place the foot (toe or heel) securely on the highest possible foothold.
- Weight Shift: Gradually transfer weight to the high foot while using handholds for balance.
- Standing Up: Press steadily through the high foot to stand up, pressing down on handholds for stability.
- Critical Challenge: Initiating upward momentum. The trailing foot may lift off or “ratchet” up the wall to lock in height.
Pacing Tip: Choose speed based on context; dynamic initiation is sometimes more effective.
3. Heel Hook Rockover
Concept: An advanced technique for slick, rounded, or grooved lips, combining heel hooking with rockover power.
When to Use: When mantling or standard rockovers are impractical. Scout the top beforehand; mark subtle features with chalk (erase later). Decisive execution is key.
Technical Breakdown:
1)High Heel Hook:
- Lift one foot near hip height.
- Bend the arm and hook the heel under the lip.
2)Synchronized Power:
- Pull upward with arms and heel hook simultaneously.
- Extend the hooked leg to push hips upward.
- As hips approach the lip, rotate the same-side hand into a palm-press position.
3)Press & Commit:
- Drive down with the palm.
- As hips clear the edge, lean forward, transferring weight to the palm.
- Roll the heel forward to convert into a foot press on the edge.
4)Stabilize & Finish:
- Extend arms and continue leaning forward.
- Bring the trailing foot onto the top near the body.
- Note: This position is initially unstable—swiftly shift weight to both feet.
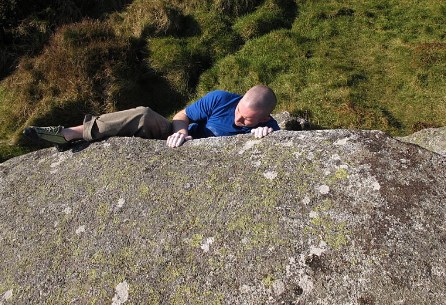
4. Last Resort: Beached Whale
Concept: An inefficient, inelegant fallback.
When to Use: When all standard techniques fail and the top platform is large/secure.
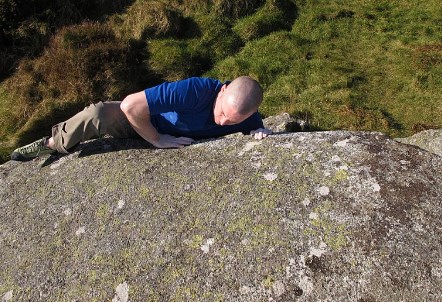
Execution: Launch onto the platform abdomen-first. Kick and wiggle until you can roll or push upright.
Assessment: High injury risk and energy drain. Mainly entertains spectators (and alarms your spotter).
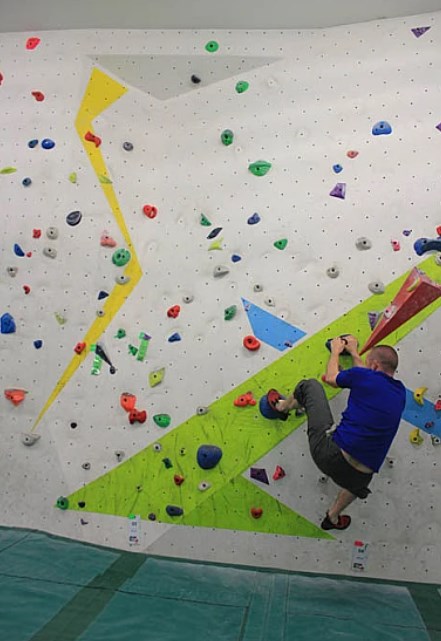
II. Targeted Training: Improving Topping-Out Skills
Gym Simulations:
- Practice boulder problems requiring mantling/rockover moves mid-route.
- Use walls with good edges to drill topping-out techniques (start easy, progress gradually).
Strength Training:
- Push-ups: Strengthen chest, anterior deltoids, triceps (core pushing muscles).
- Planks: Build core stability (balance/power transfer).
- Prioritize technique-specific drills over fingerboard/campus board training.
Identify & Correct Weaknesses:
- Self-Assessment: Note preferences—e.g., which hand/leg you lead with for presses or high steps.
- Targeted Practice: Force yourself to use non-dominant limbs for presses and high steps.
- Goal: Develop balanced left/right proficiency and reduce reliance on the “Beached Whale.”