


Multi-Point Techniques to Prevent Accidents and Ensure Your Safe Retreat
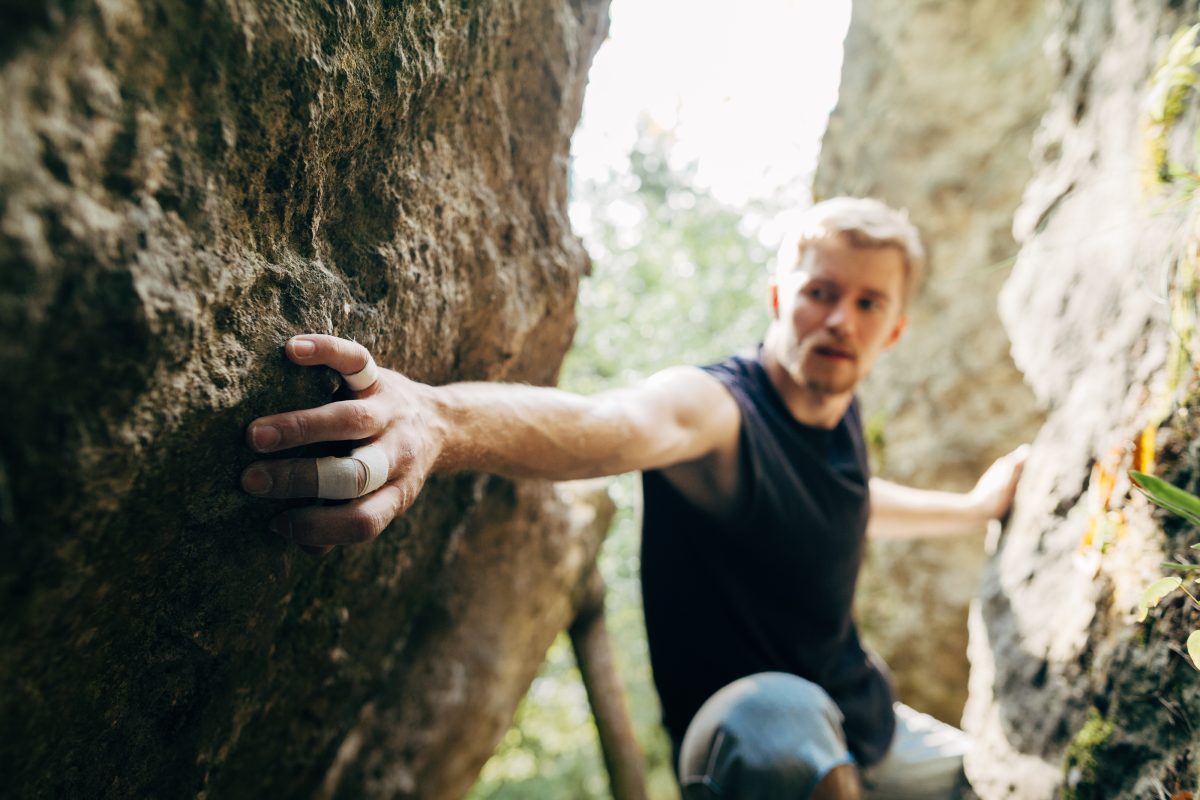
Multi-pitch climbing elevates climbers to new heights, offering broader vistas and unique experiences.
However, climbing higher means being farther from the ground and facing greater challenges in executing simple rescues.
Therefore, preventing accidents and avoiding situations requiring rescue becomes critically important in multi-pitch climbing.
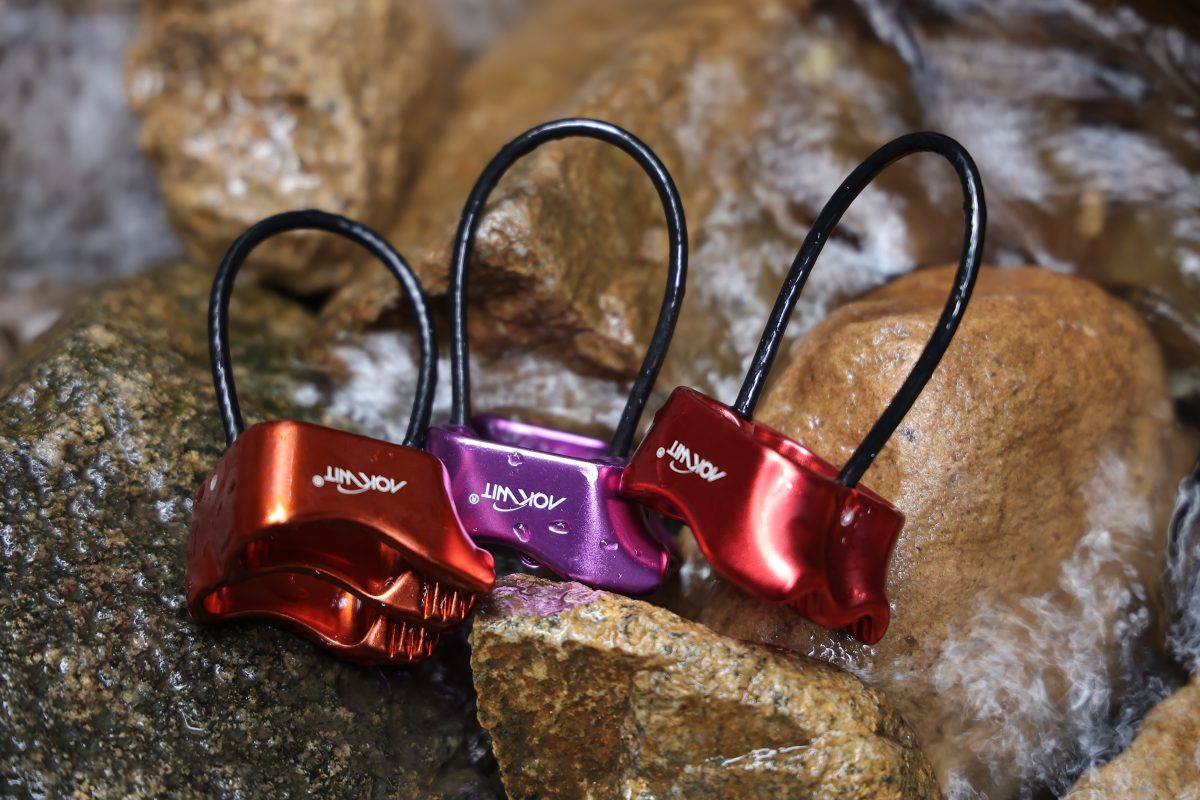
AOKWIT has compiled a series of essential skills designed to help you avoid multi-pitch accidents and retreat safely when facing adversity.
Mastering these skills will enable you and your partner to climb safely again while avoiding costly rescue operations.
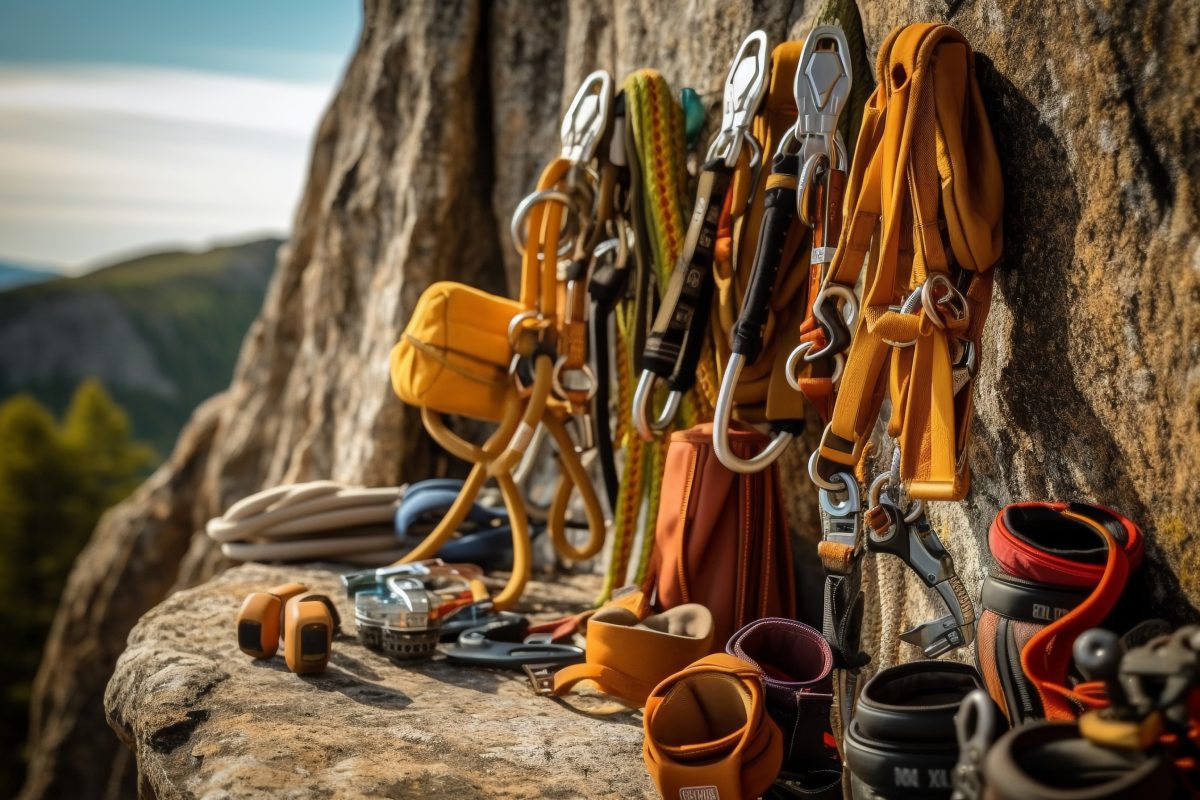
I. It All Starts with a Solid Anchor
Whether you’ve reached the end of the rope, arrived at a ledge for rest and gear organization, reached a guidebook-designated belay station, or prematurely exhausted gear in a crack—forced to build an anchor with your last three pieces on the gear sling—the method of anchor construction is crucial in any scenario.
A well-designed anchor should withstand fall impacts, the failure of a single component, and accidental rope cutting.
Such an anchor largely determines whether an incident can be prevented or escalate into a disaster.
A robust anchor also helps maintain organization and safety, aiding in avoiding rescue or extracting yourself from the belay when necessary.
Unless you’re using deeply rooted trees, massive boulders, or (in specific cases) reliable vehicle tow hooks as anchors, your constructed anchor must possess the following four characteristics:
Solid, Equalized, Redundant, No Extension (SERENE)
Details are as follows:
- Solid: Each anchor component (e.g., nut, cam) must be properly placed and secured to a solid object. Test rock stability by tapping, inspect cam lobe contact points, and use your best judgment.
- Equalized: The anchor should distribute force evenly. Before tying the master point knot, tension the cordelette, sling, or rope connecting the anchor points to ensure they share the load equally in the direction of pull.
- Redundant: The anchor system must include backup components. If any single component fails, the others should be capable of bearing the load.
- No Extension: The equalized master point should ensure that even if one anchor component fails, the master point does not extend significantly, thereby preventing shock loading on the remaining components.
Untying a frozen clove hitch or figure-eight master point anchor can be extremely difficult. A practical tip: Clip a carabiner into the bend of the knot. This effectively prevents the knot from over-tightening and facilitates subsequent untying.
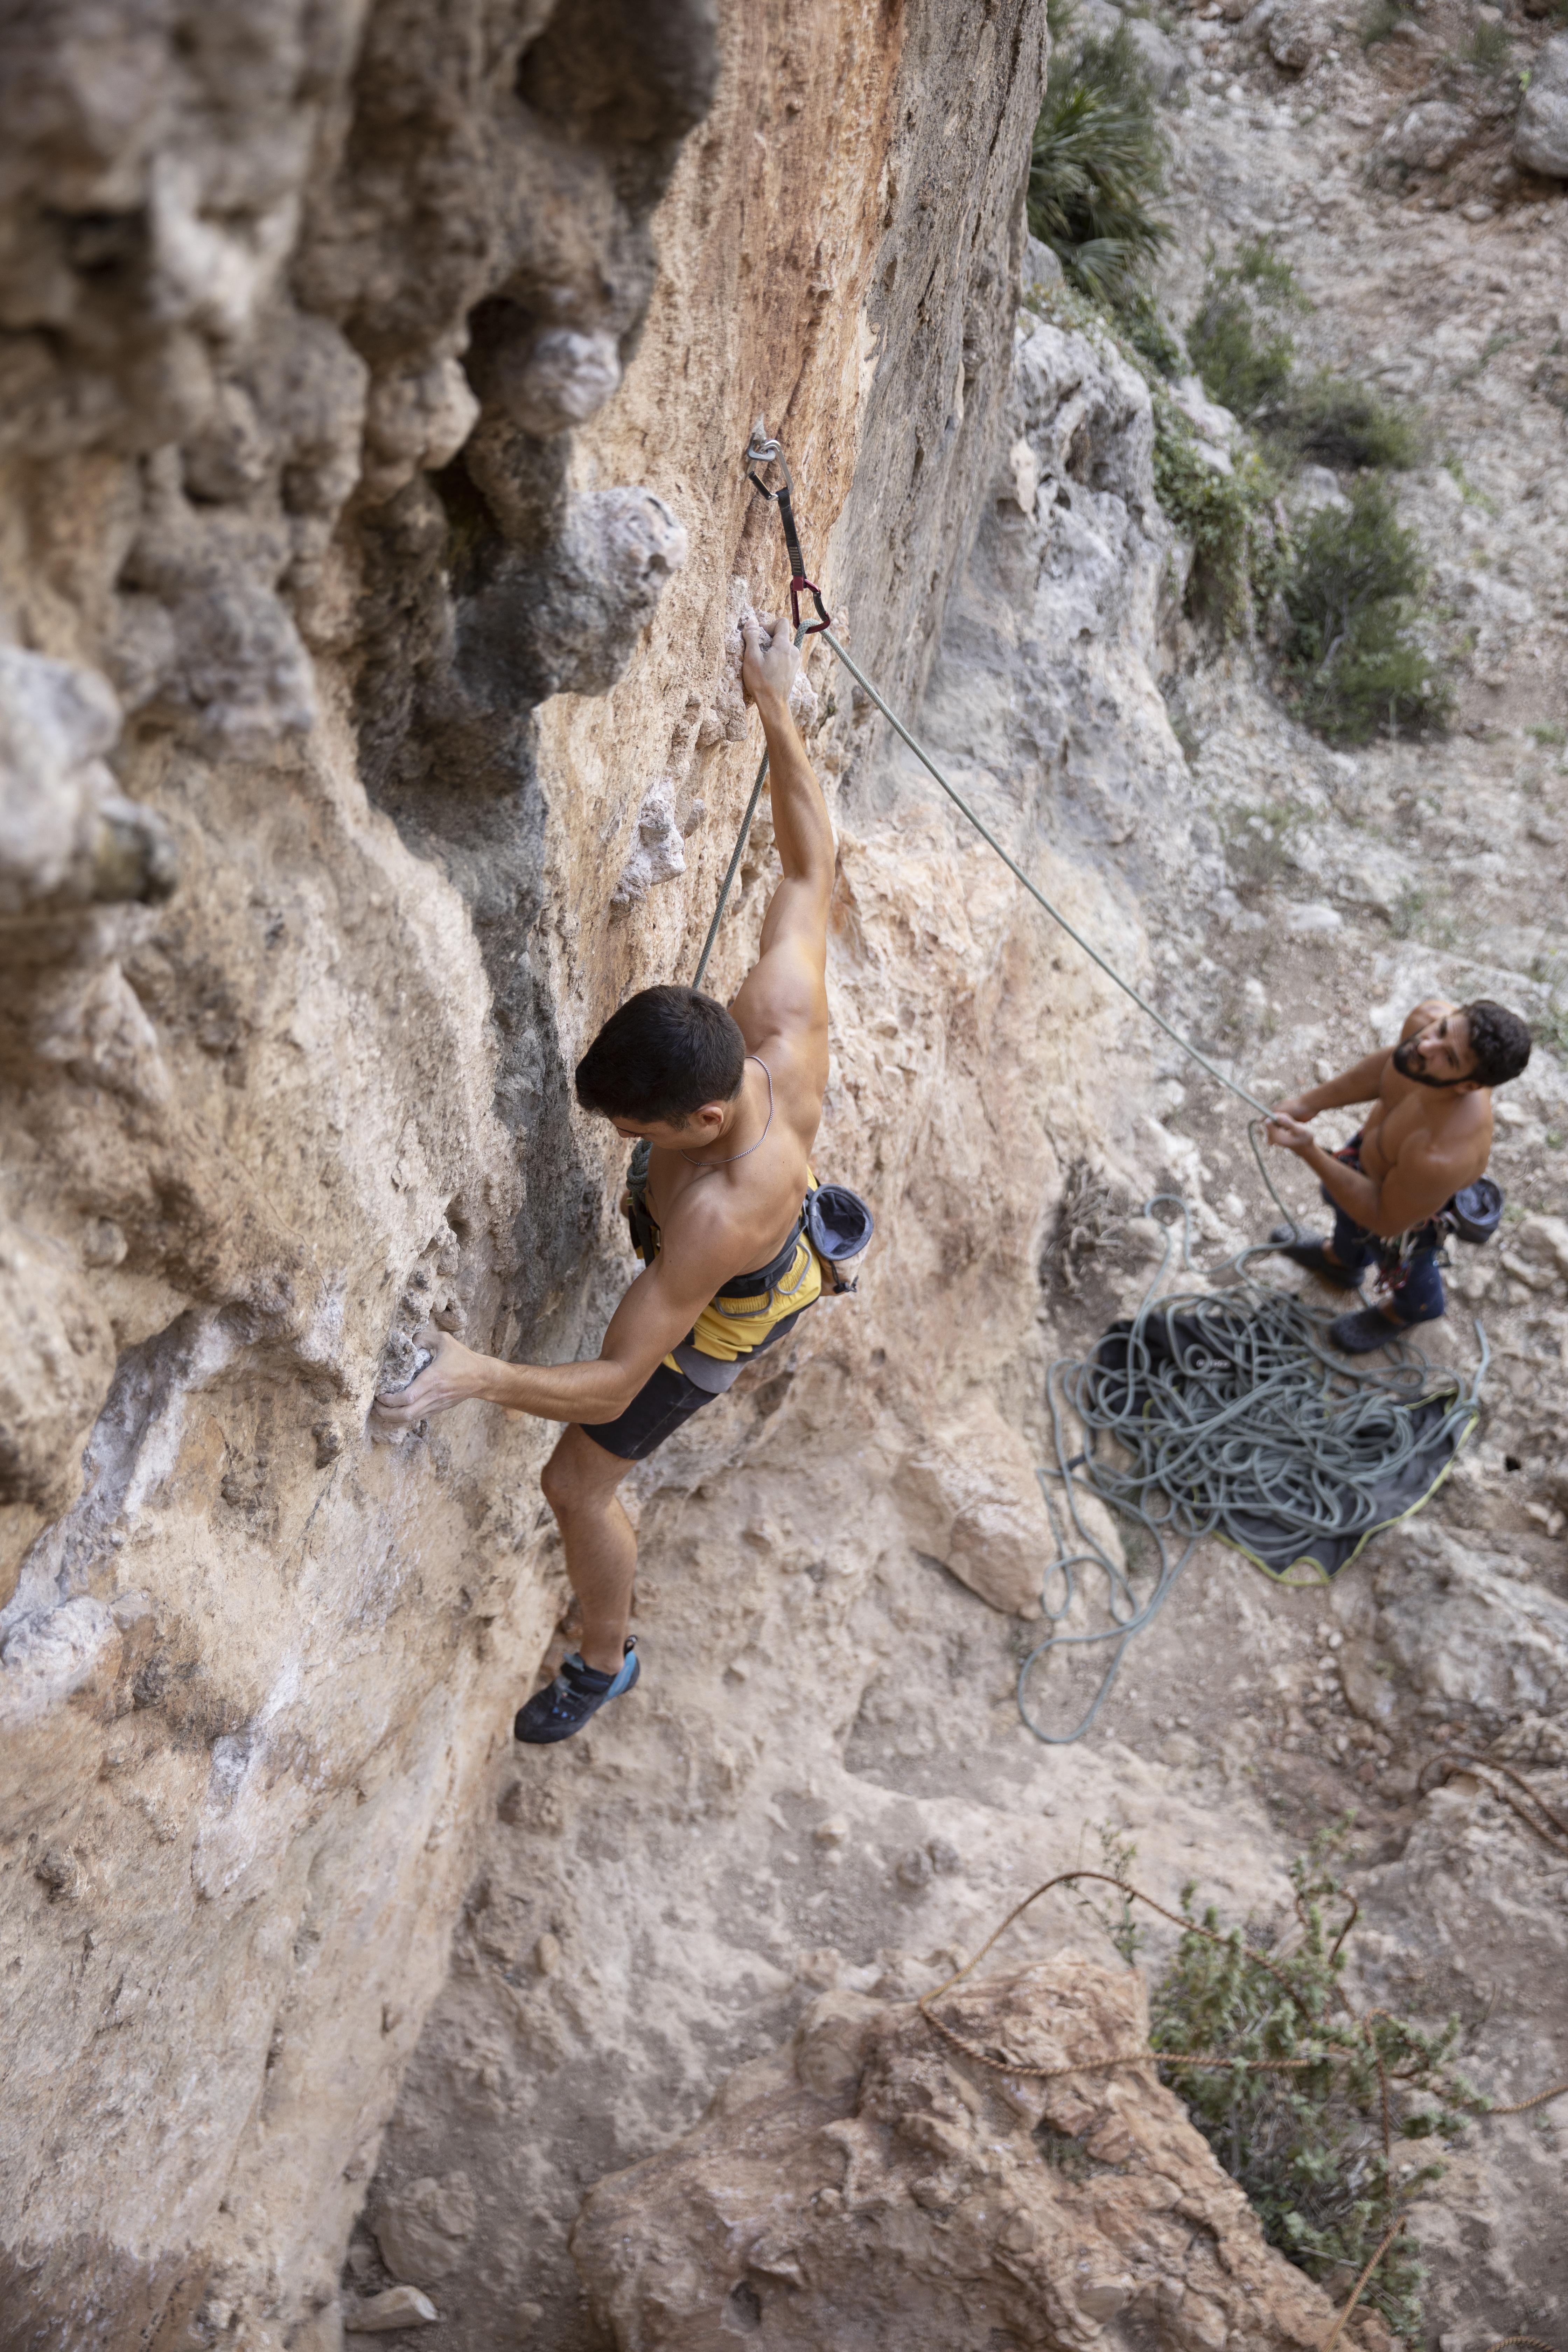
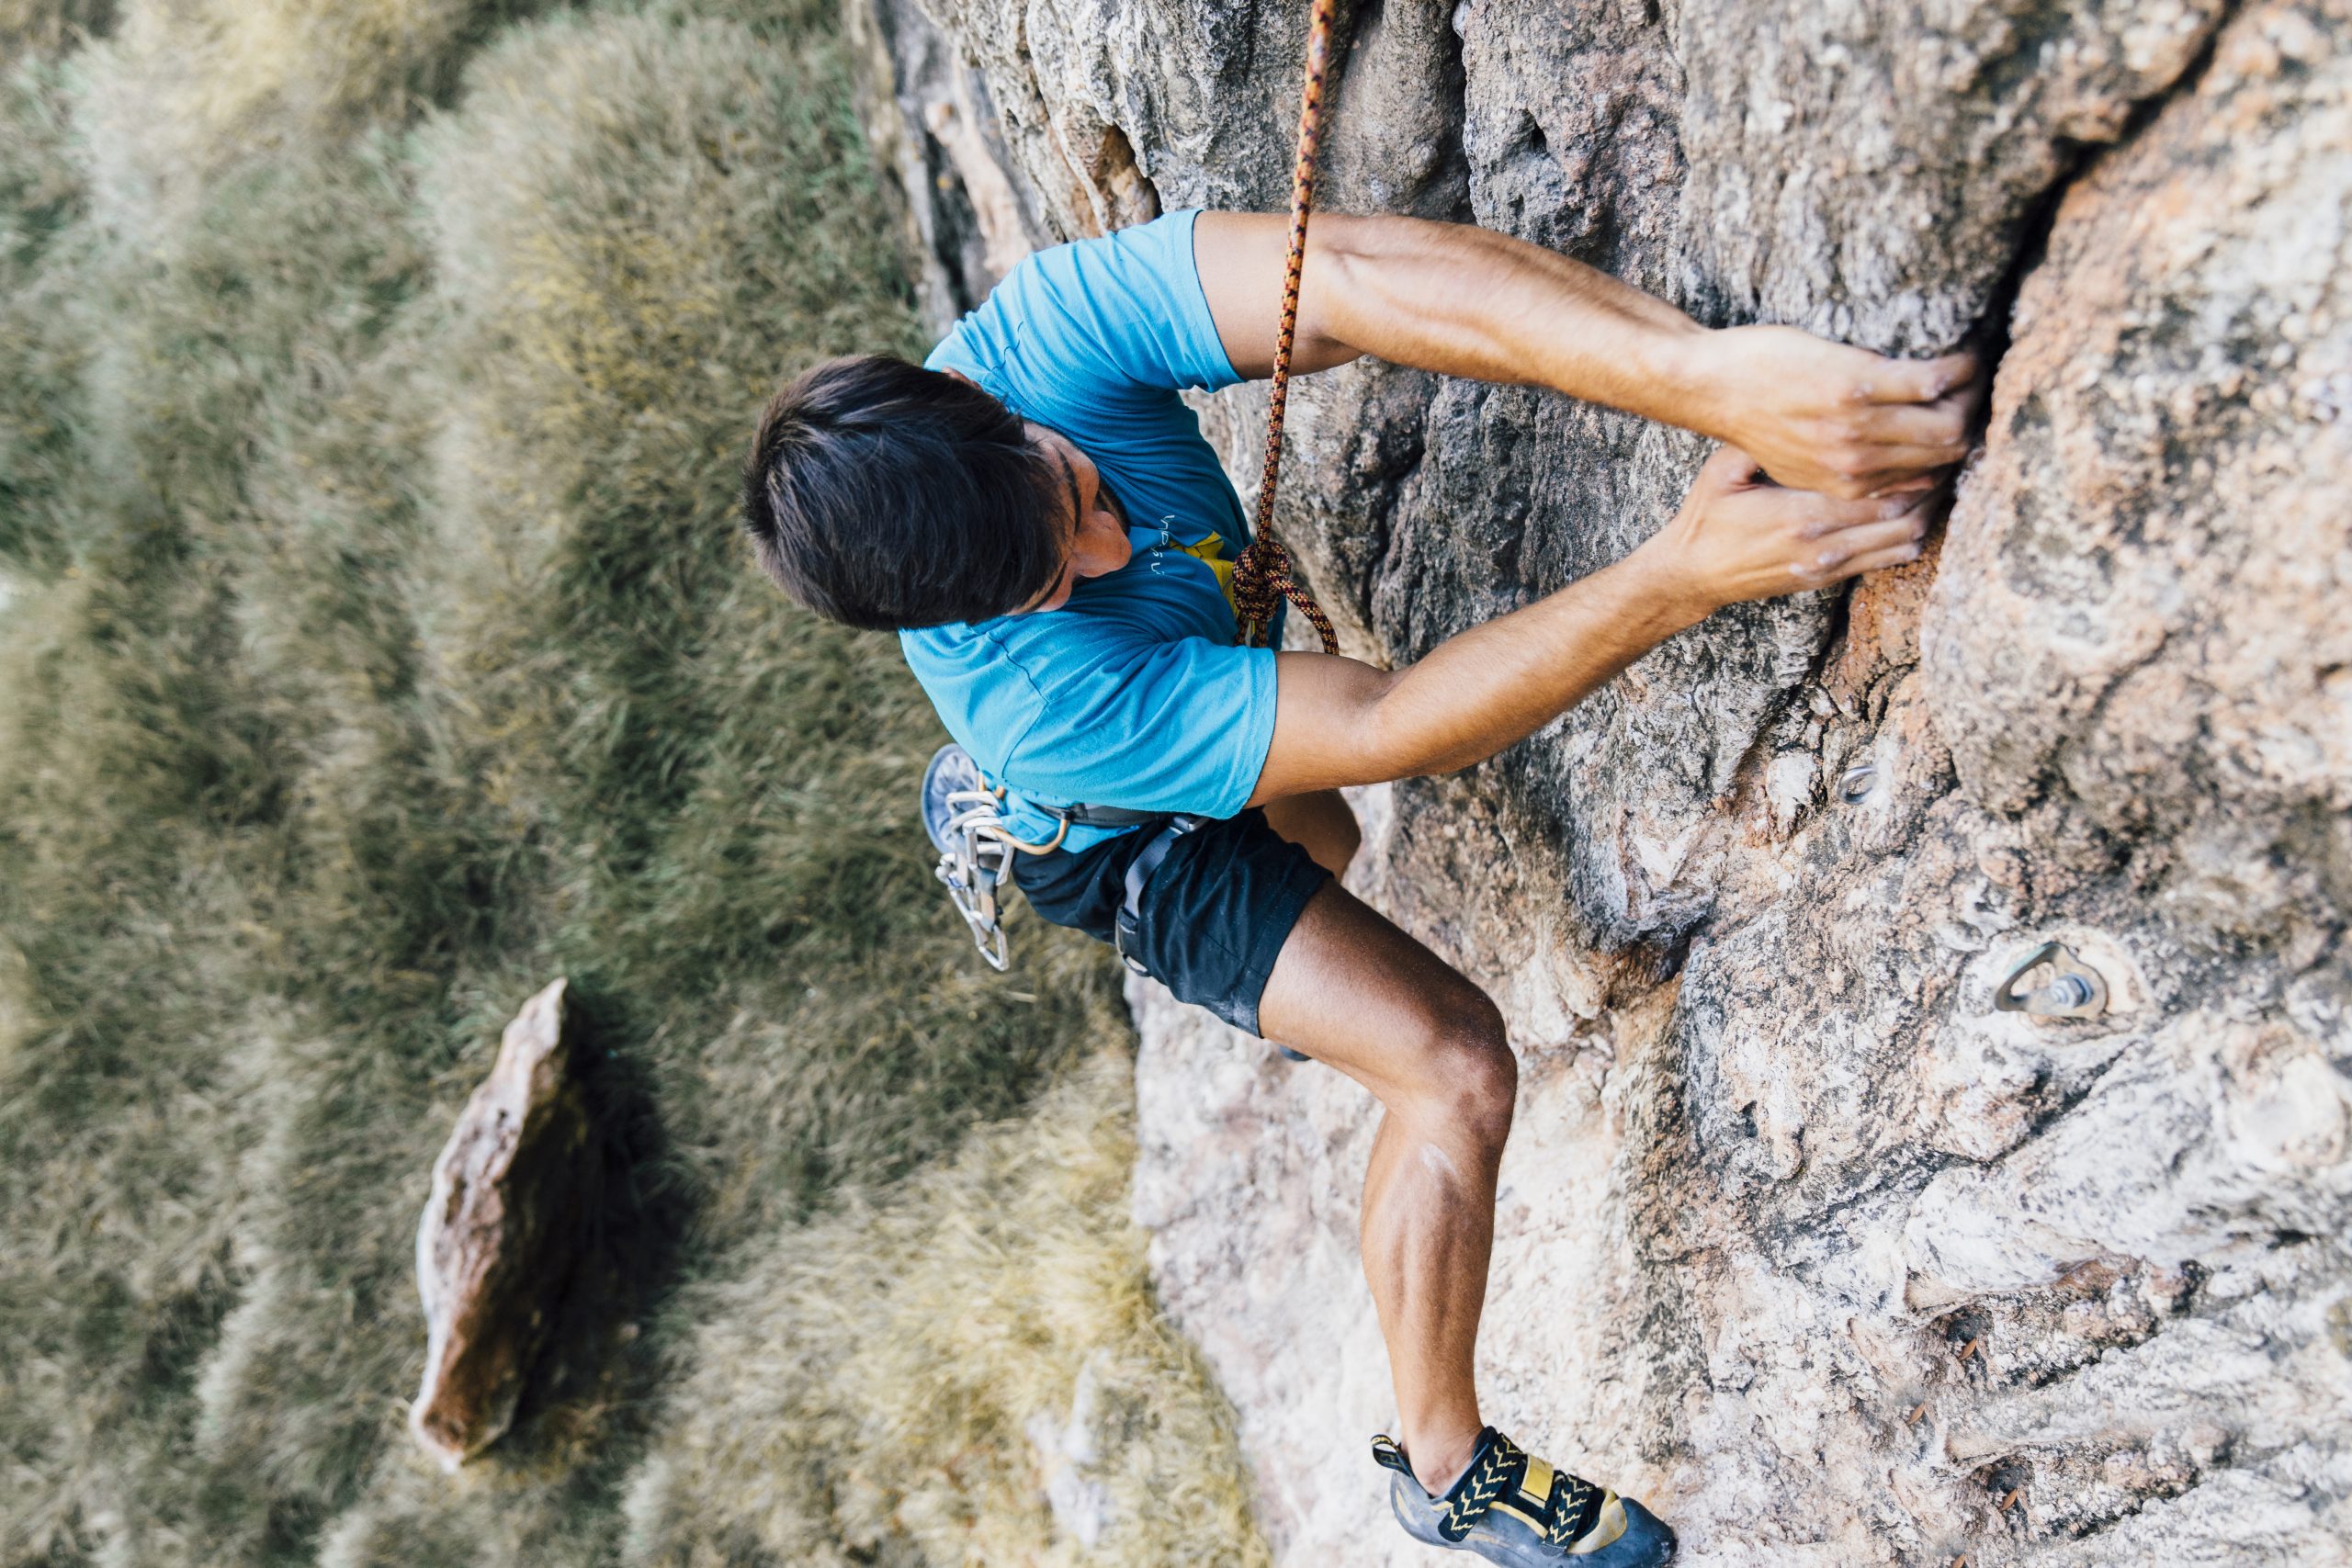
II. A Better Method for Belaying from Above
Belaying the follower from the anchor station might seem straightforward: Thread the rope through the anchor as usual, then shout “On belay!” Your partner wipes energy bar crumbs and chalk from their face and begins climbing. Simple, right?
If you belay directly off your harness, a follower fall could pull you violently into the rock face.
Indirect belaying (redirect) via an anchor connected to your harness is slightly better, but it transmits double the force to the anchor. In a severe fall, you could still be slammed into the rock.
The optimal solution is to attach your belay device directly to the master point carabiner of the anchor. This way, the force on the anchor is 1:1 (bearing only the climber’s fall impact).
If the follower falls, rope tension won’t drag the belayer into the wall.
Furthermore, in the event of an incident, releasing the belay device is easier since it’s already fixed to the anchor. This setup also simplifies belaying two followers simultaneously.
III. Master the Method for Emergency Belay Release
Suppose your partner is trapped and needs help (hopefully just a knee stuck in a crack requiring Vaseline, not a serious injury). The trouble is: You didn’t follow the above recommendation and are belaying directly off your harness (not the anchor). How can you safely release the belay?
First, you need to free your hands:
- While maintaining tension on the brake strand of the rope, pass a bight of rope through the carabiner attached to the belay device.
- Tie a French Prusik (or other reliable friction hitch) onto this bight and clamp it tightly onto the main rope.
- Tie a simple stopper knot (e.g., overhand knot) in the tail end of this bight. Your hands are now free.
Next, set up a backup belay device to replace yours:
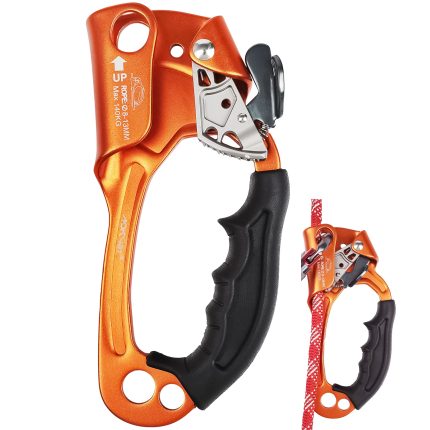
- Install a friction hitch (e.g., Prusik knot) and an ascender on the main rope (between your partner and your belay device).
- Connect the other end of the friction hitch cord to the anchor using a Munter Hitch.
- Pull the rope tight, dress the Munter Hitch, and set it for lowering.
- Secure the tail of the first Munter Hitch with another Munter Hitch plus a half hitch (or use a carabiner).
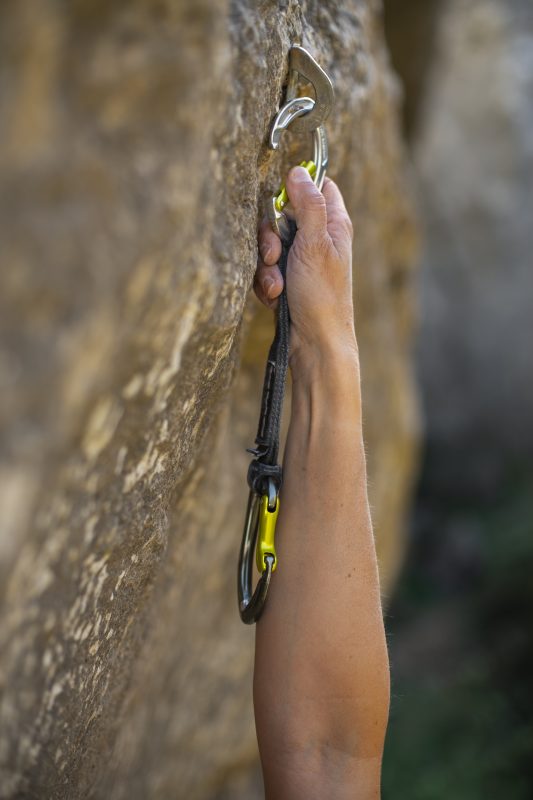
IV. Proper Rope Management is Crucial
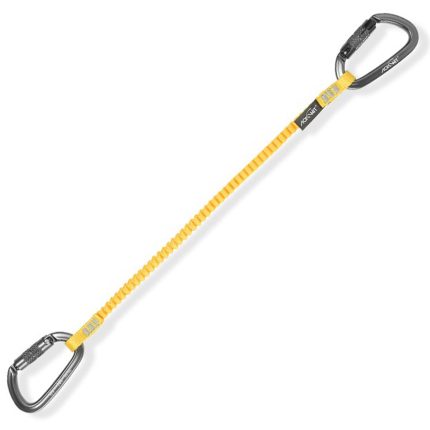
Short-roping your best partner at the belay station due to tangled ropes? That’s definitely one of the worst scenarios!
When your partner struggles to clip a quickdraw at a crux while the rope resembles a tangled pile of “spaghetti” or even forms several knots—this is the consequence of poor rope management.
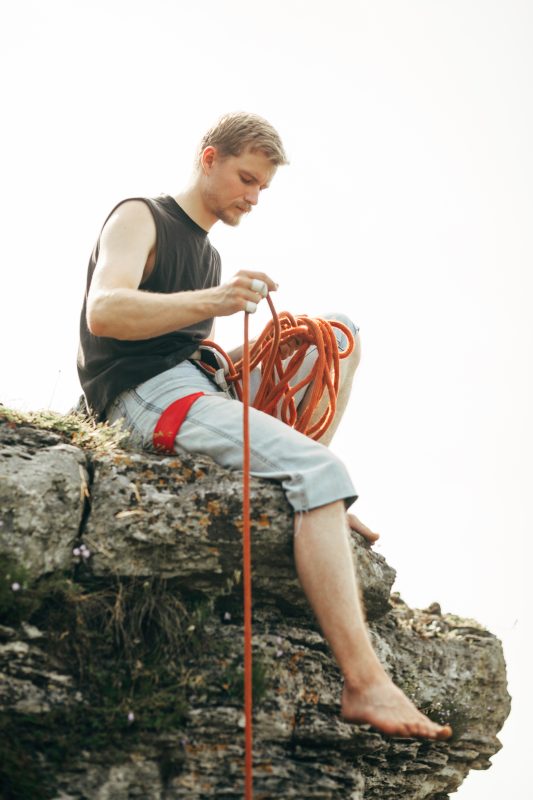
Rope management encompasses everything from neatly coiling the rope and proper belay technique to efficient rope transfers.
Practice these skills in good conditions to build good habits, ensuring you can handle situations when rain pours, emergencies arise, or lives are at stake.
Here are two recommended rope coiling methods:
1. Shoebox Coil:
- If you have a ledge the size of a shoebox or larger, the simplest method is to pile the rope in a “pancake stack.”
- To keep it neat and prevent the stack from sliding off the edge and tumbling down the cliff, periodically compact the pile with your hand or foot. Strive to keep the stack compact and orderly.
- Changing belay stations will be smooth if ropes are flaked carefully and in the correct orientation (e.g., flipping coils correctly). Challenge yourself: Try neatly coiling a soaking wet rope into an actual shoebox in the dark within one minute!
2. Curtain Coil:
- While taking in rope, alternately make loops on either side of your personal anchor point (e.g., a rope or PAS attached with clove hitches).
- Start with long loops close to your harness, gradually shortening the loop lengths as you coil outward (forming a curtain-like shape).
- Complete this coiling before starting to belay your partner.
- When changing belay stations, you can flip the entire coil onto your partner’s belay rope (turning the original top into the bottom). Alternatively, clip a carabiner to the anchor and hang the coiled rope directly from it.
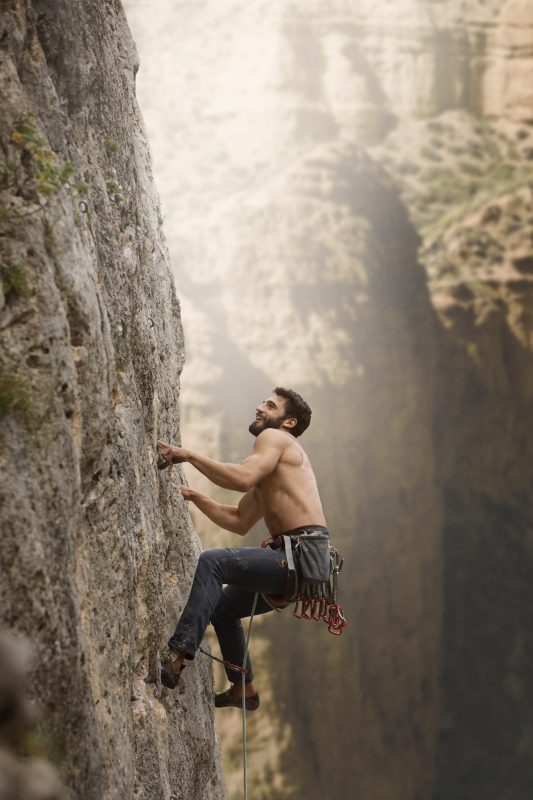
V. Retreating With or Without a Descender
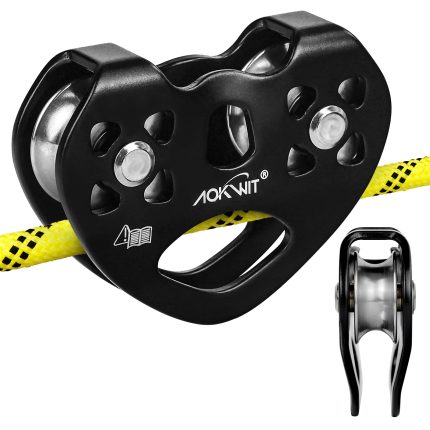
1. Partner-Assisted Method (Sharing a Descender):
- Two climbers descend using one descender.
- First, extend the descender (but keep it within operational reach).
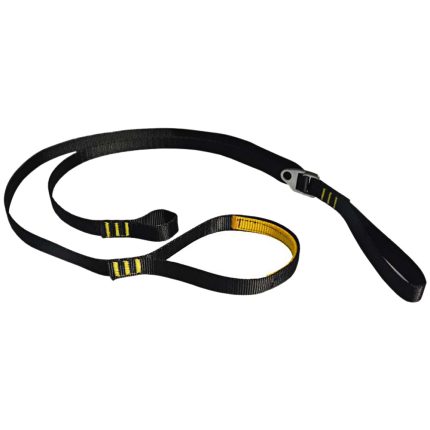
- Both climbers connect to this descender: The climber operating the descender connects via a longer sling/tether; the other climber connects via a shorter sling/tether. Both must also be backed up to the rope (e.g., with Prusik knots).
- This method can feel crowded and awkward to operate but is relatively quick and simple to set up. It’s also excellent rescue practice.
- Rotate roles each descent: One acts as the “rescuer” operating the descent, the other plays the “victim” hanging below.
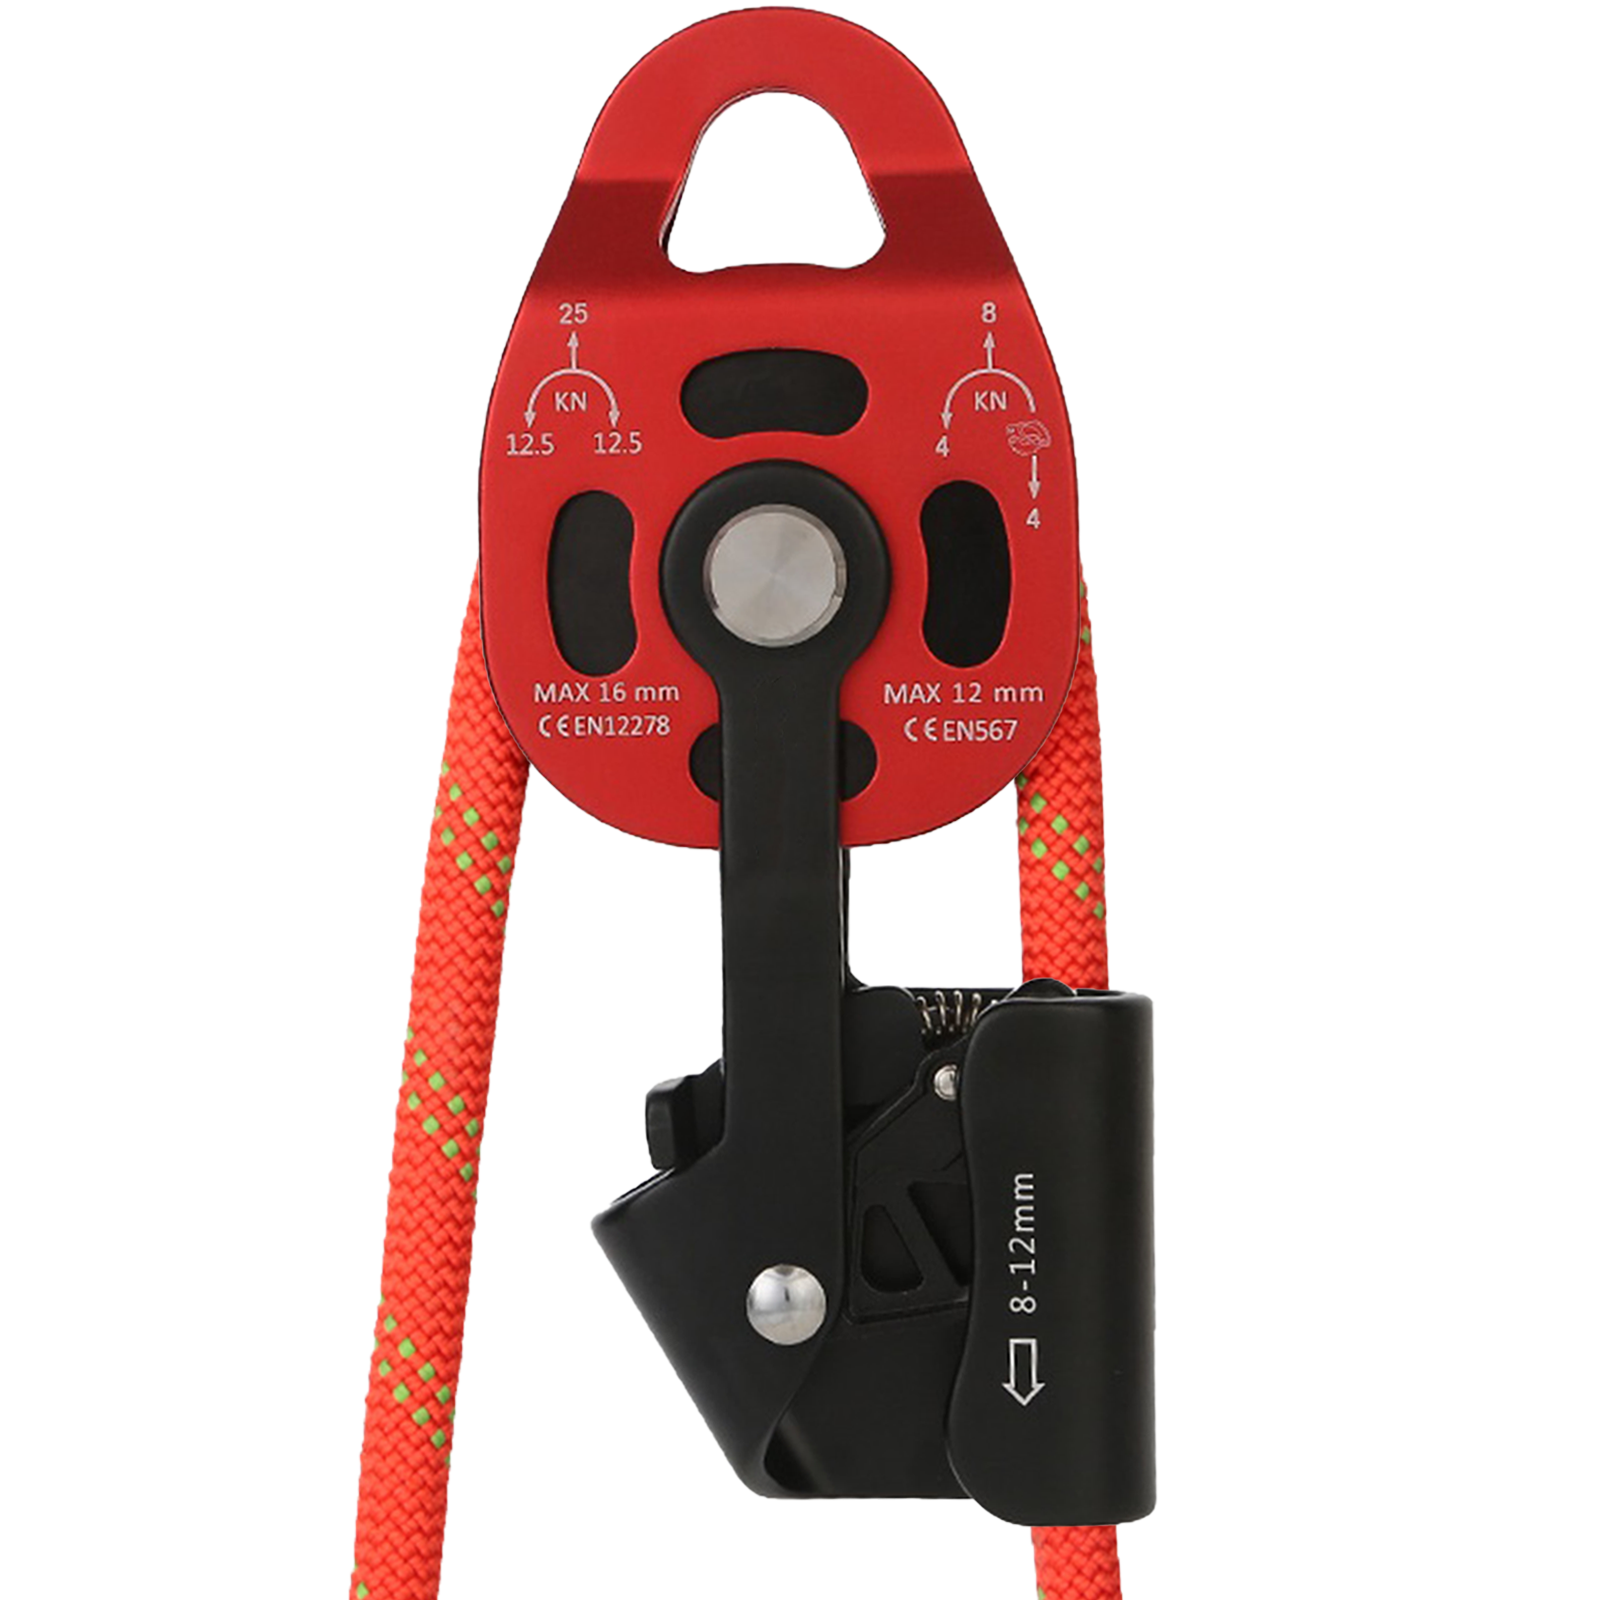
2. Rope Ladder Method (Prusik Traverse):
- Use two Prusik knots (or similar friction hitches) attached to your harness to descend (or ascend) the rope.
- Procedure:
- Weight the upper Prusik, release and lower the lower Prusik;
- Weight the lower Prusik, release and lower the upper Prusik.
- Repeat this process like an inchworm until you master the technique or safely reach the base of the wall.
3. Friction Systems Without a Descender (MUST BE BACKED UP):
The following two friction systems generate sufficient friction for safe descent but MUST be backed up with a friction hitch like a Prusik knot.
Note: Ascending with these systems is very difficult. Don’t forget your backup gear!
1) 3 Oval Locking Carabiners:
- Clip one locking carabiner (A) to the belay loop.
- Clip two more locking carabiners (B & C) into carabiner A.
- Pass the main rope through carabiner A, then sequentially through carabiner B and carabiner C, and finally back out through carabiner A.
2) 3 Standard Locking Carabiners (D-shaped/HMS):
- Clip the first carabiner (1) to the belay loop.
- Clip the second carabiner (2) into carabiner 1.
- Grab a bight of rope (forming a loop) and pass it through carabiner 2.
- Clip the third carabiner (3) through both this grabbed rope loop AND the two strands of rope between carabiners 1 and 2.